Channel Creation
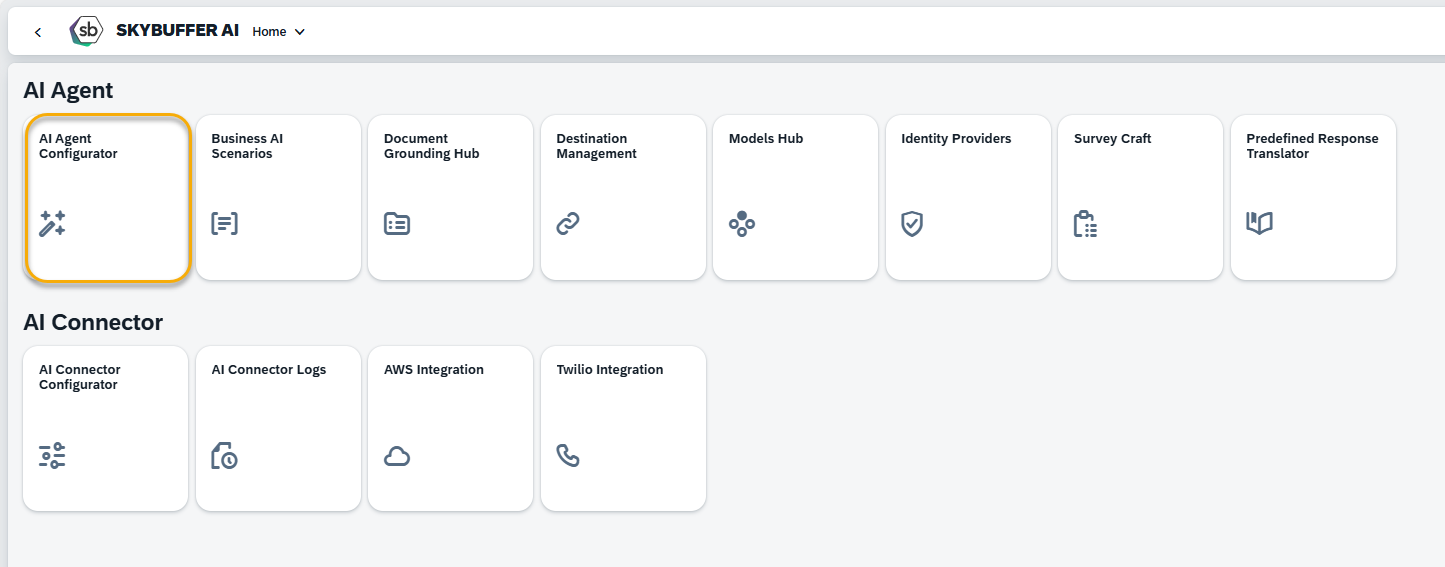
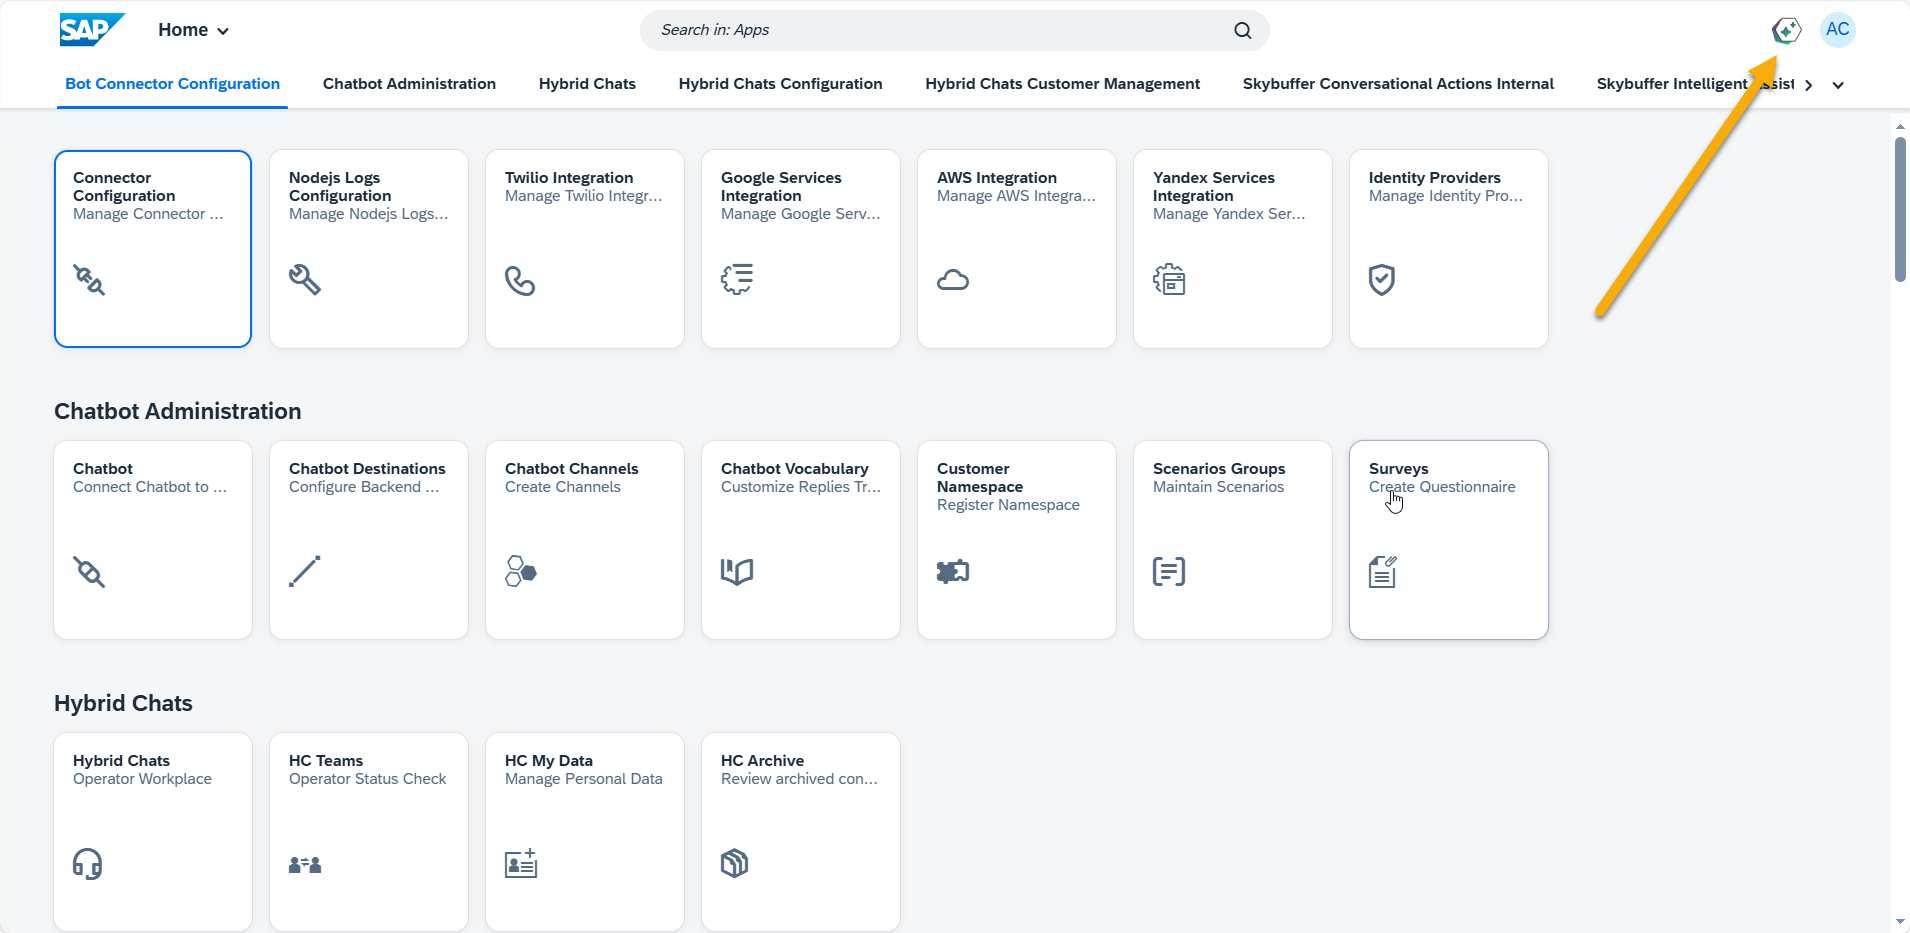
Step 1. Open the AI Agent Configurator application in the AI Agent group.
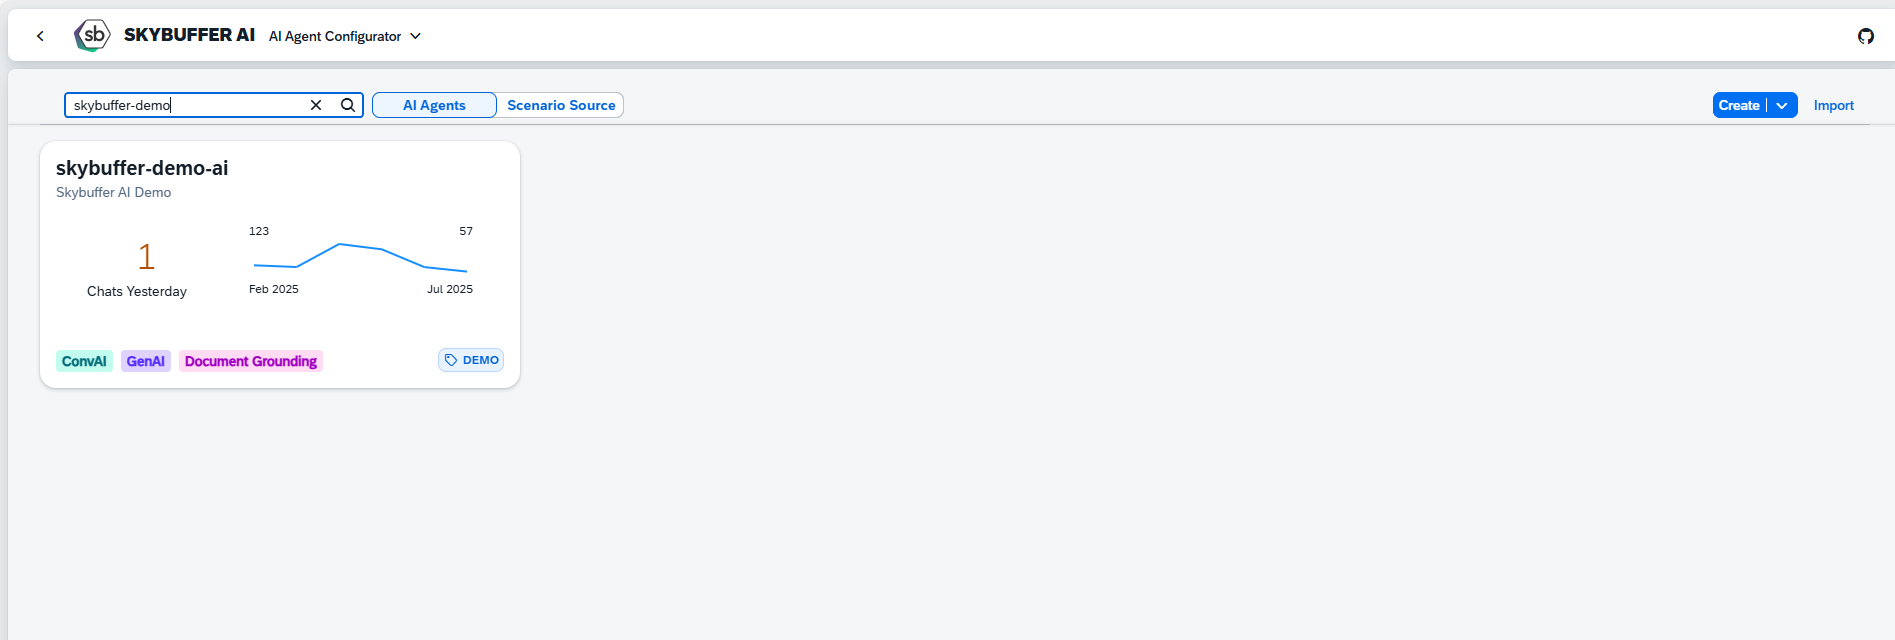
Step 2. After opening the application, you will see a screen displaying all available AI Agents. Each tile represents one Agent, including its name, description, and deployment status. Click on the Agent you want to work with to proceed.
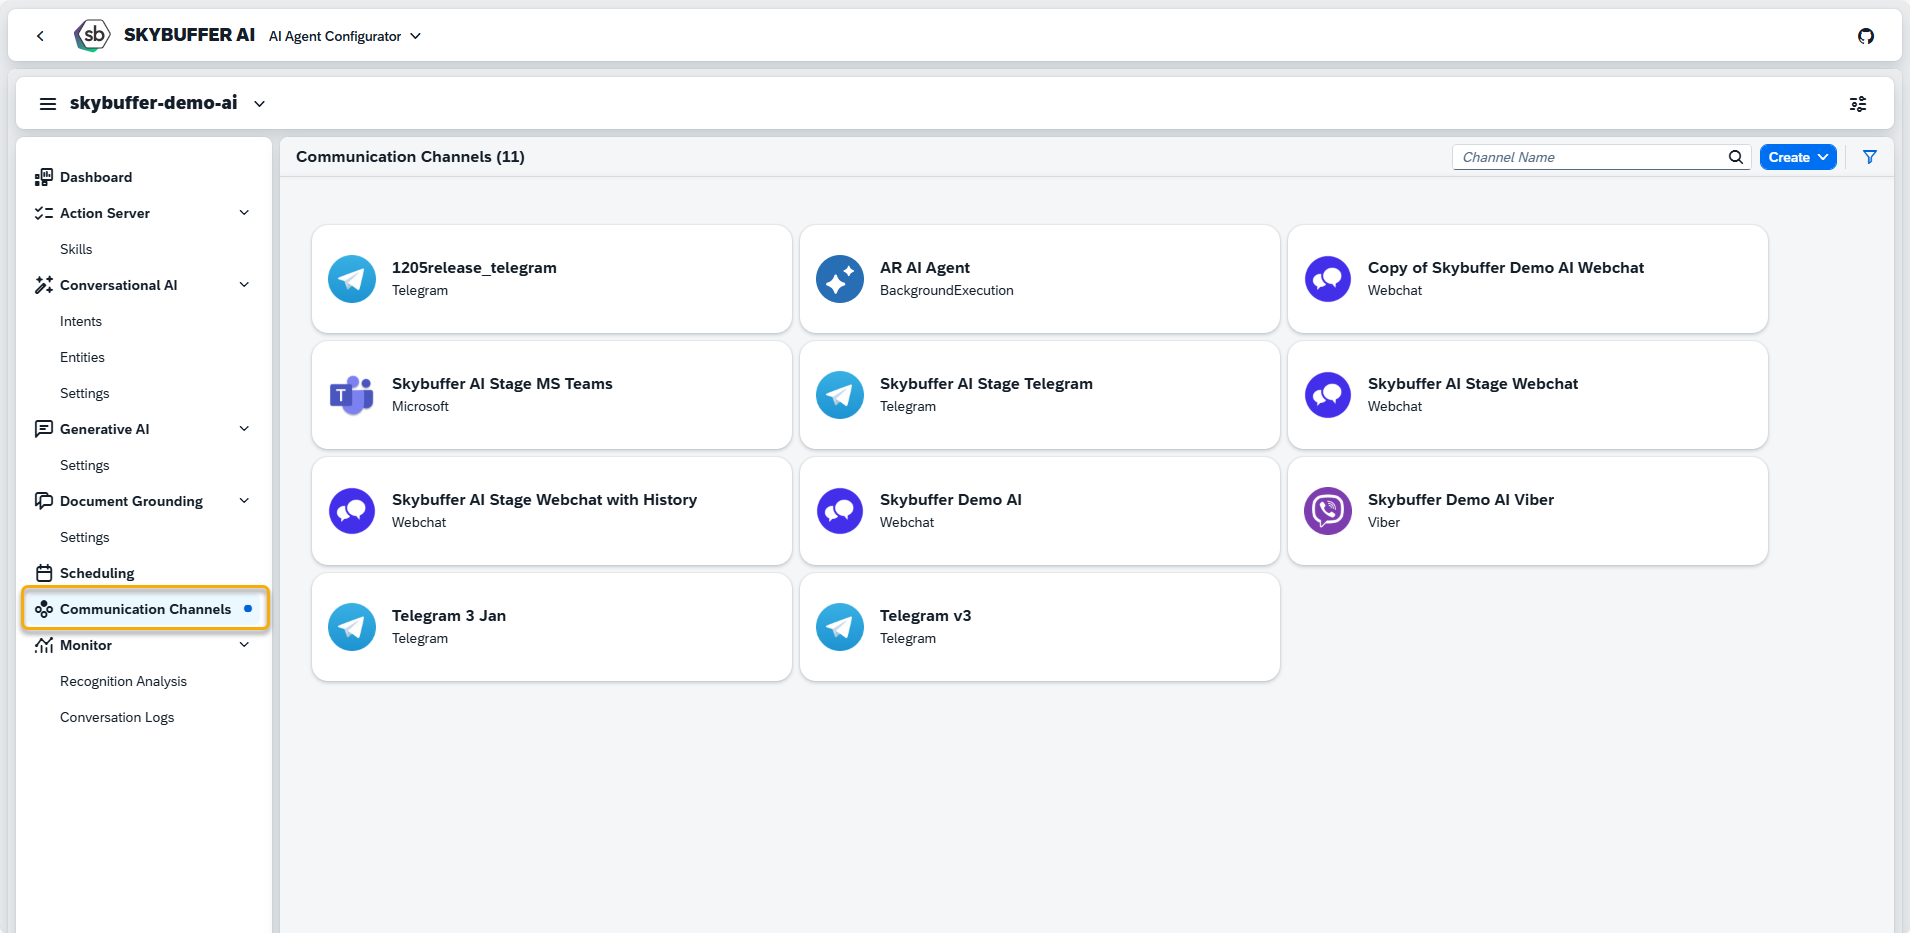
Step 3. Open the Channel management application- Communication Channels.
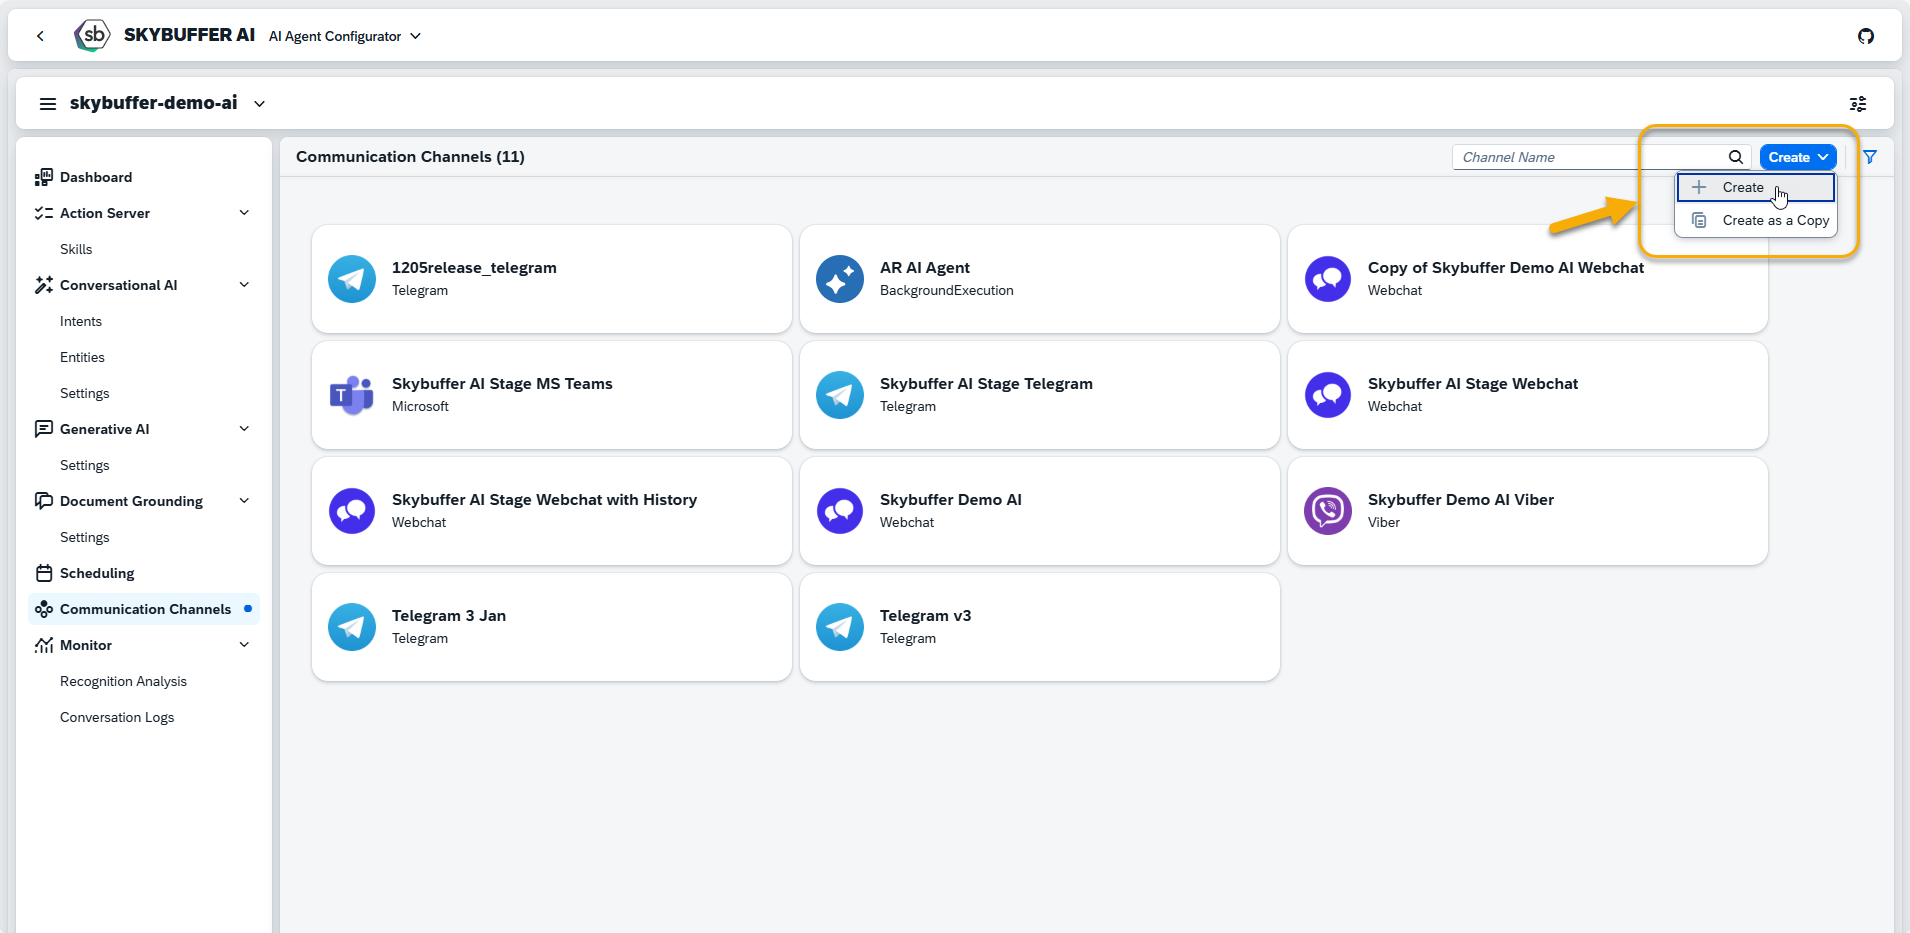
Step 4. Channel creation.
You can create a new Channel from scratch or Copy the Existing Channel.
To create a new Channel, click the Create button:
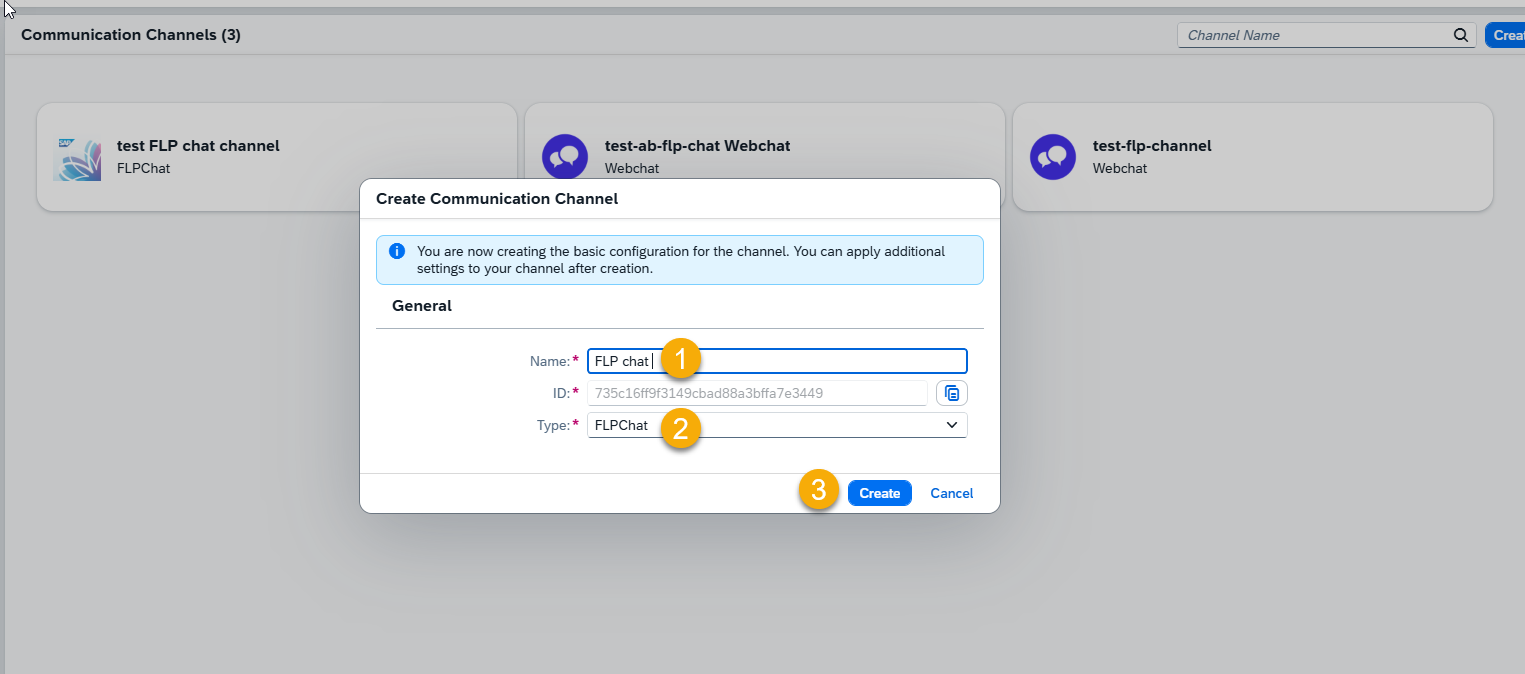
Step 5. Initial Parameters
Fill in the initial parameters for the new Channel. The form includes:
- Channel Name — follow your organization’s naming convention.
- Channel ID — this field is auto-generated.
- Channel Type — select from a list of available types (e.g., Webchat, Microsoft, Telegram).

Step 6. Channel Settings.
To configure additional Channel Settings for your FLP Chat Channel, click the Edit button.

Survey
Survey ID — select a previously created survey form from the drop-down menu.
NOTE: Surveys must be created in the Survey Craft application.
Send Survey Automatically — choose either Off or When chat ended.
Identity Provider
Identity Provider Application: choose the Identity Provider application from the list. This must be configured beforehand in the Identity Providers Application (see: Identity Providers)
Memory Retention Policy
Retention time — specify the number of days for which chat data will be stored. After this period, the system automatically deletes stored conversation data according to your retention rules.
Communication Protocol
FLP Chat uses WebSocket as its communication protocol to support real-time, bidirectional messaging between the Fiori Launchpad and the backend services.
NOTE: The WebSocket protocol is required for the FLP Chat channel and can only be used if the WebSocket server is running. Activate it by setting ‘Enable WebSocket Server’ to ‘X’ in the AI Connector Configurator and restarting the application.
Step 7. Skills Activation
Once your Channel is created, you can activate or deactivate skills defined within your AI Agent.
For more information, visit: Skills Activation.
Step 8. Destination Assignment
This setting allows you to assign destinations to skills that have backend-connected actions.
For more information, visit: Destination Assignment.
Step 9. Access Your FLP Chat
To access your FLP Chat, open the following link: https://gwx.skybuffer.com/login?sap-client=800&sap-language=EN#Shell-home
After logging in, click the chat icon in the Fiori Launchpad to open the chat interface.

Backend Configuration for FLP Chat
To enable the FLP Chat channel on the backend, you must maintain its configuration in the SAP Object Navigator.
Step 1. Open Object Navigator (SE80)

Step 2. Navigate to the configuration table: /SKYBFR/YAIC/LVL
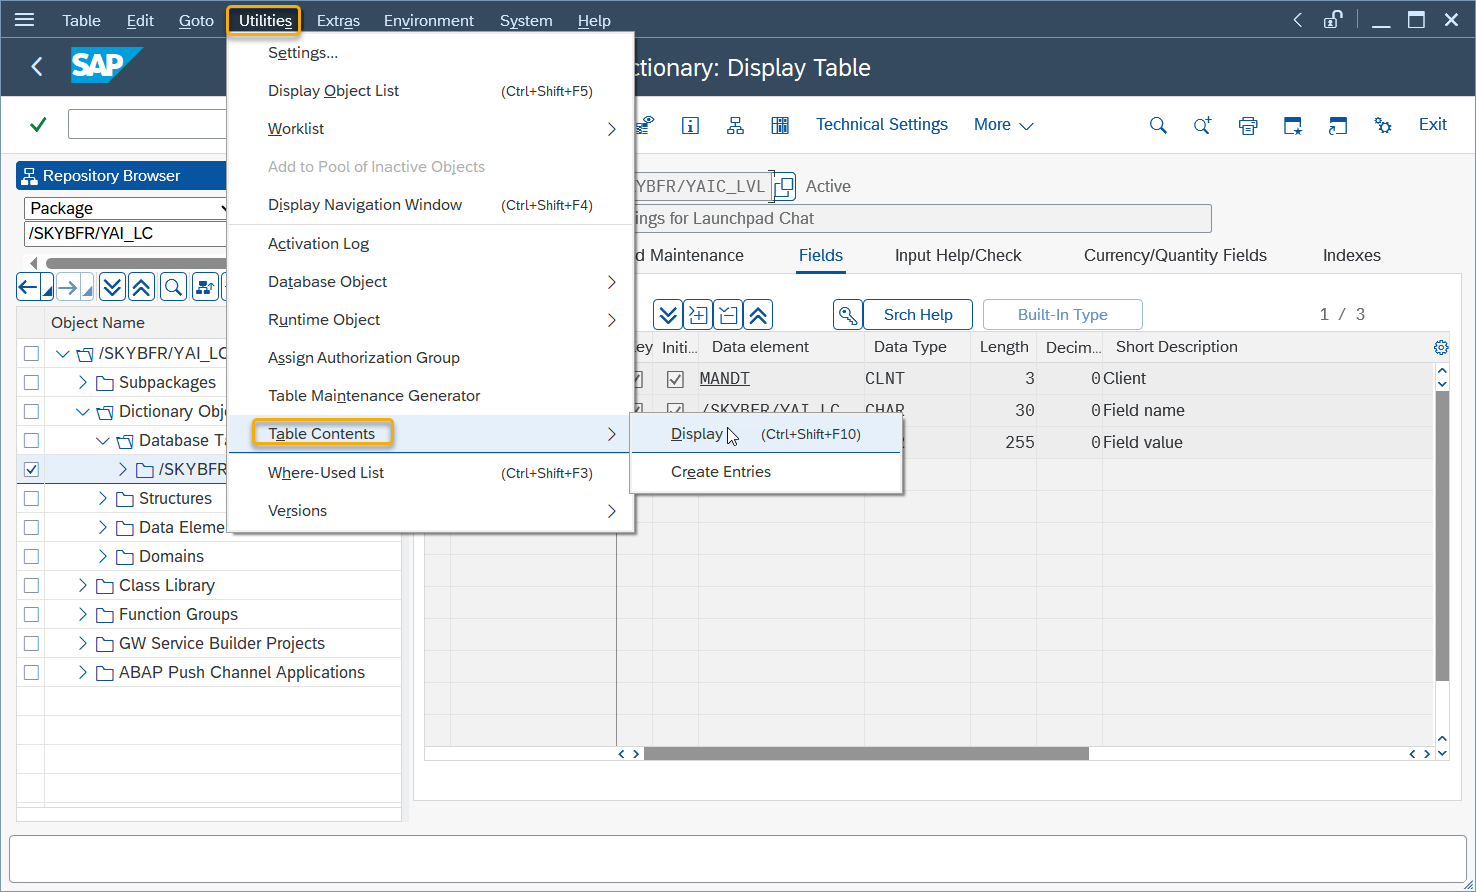
Step 3. Locate the row corresponding to your Channel ID

Maintain the following fields:
Channel ID — the identifier of the FLP Chat channel that you configured in the UI.
WSS_URL — the WebSocket Secure endpoint used for real-time communication.
This URL must point to the active WebSocket server instance.
The backend uses this entry to link the FLP chat front-end configuration with the WebSocket messaging infrastructure.