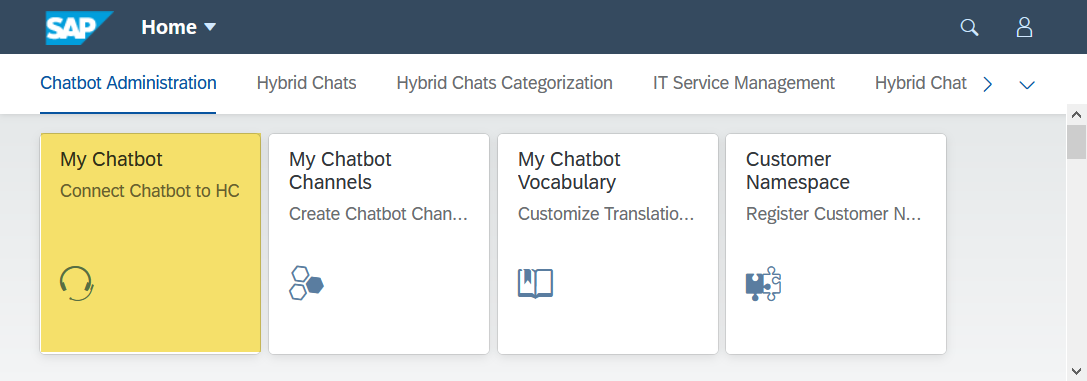
Step 1. Open the Chatbot Vocabulary app:

NB! In case you do not capture the translation in the Vocabulary, the chatbot can always give you the translation using Google translate API key in the runtime.
Step 2. In the Chatbot Vocabulary you should provide the skill ID (optional), the target language and the translated phrase. So, go to the Edit mode: 
– Click on the Add button:

– Capture your translations.
NB! Please use exactly the same phrase you have placed into the bot answer and keep JSON formation that is set by SAP Conversational AI (quotes in our case):

NB! If the phrase contains memory parameters, use &1, &2, &3… for each appropriate memory parameter in the Text Source and Target Text fields.

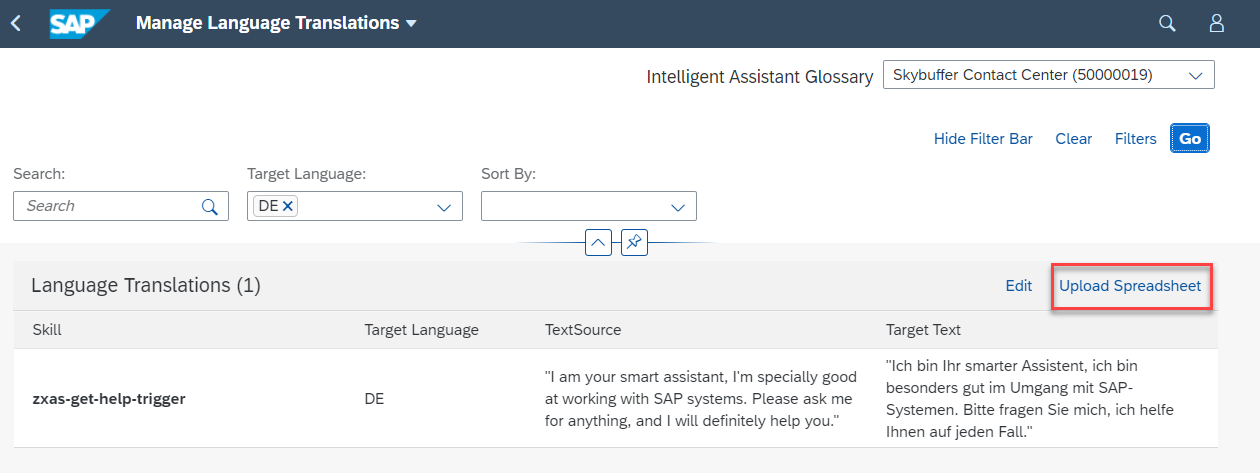
Step 3. Another way to add answers translation is to upload an excel file. To do it, click Upload Spreadsheet, and Browse the file.


NB! Please use the .xlsx file with coulumns:
Skill Name
Target Language
Text Source
Text Target
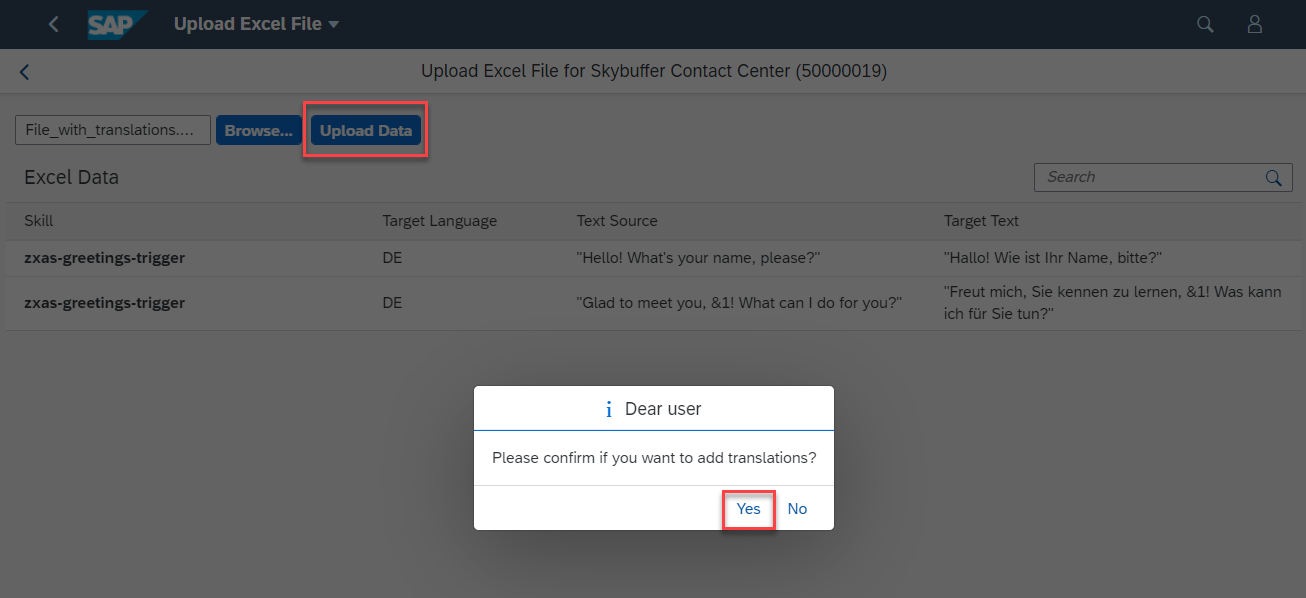
After browsing the file, click Upload Data and confirm.

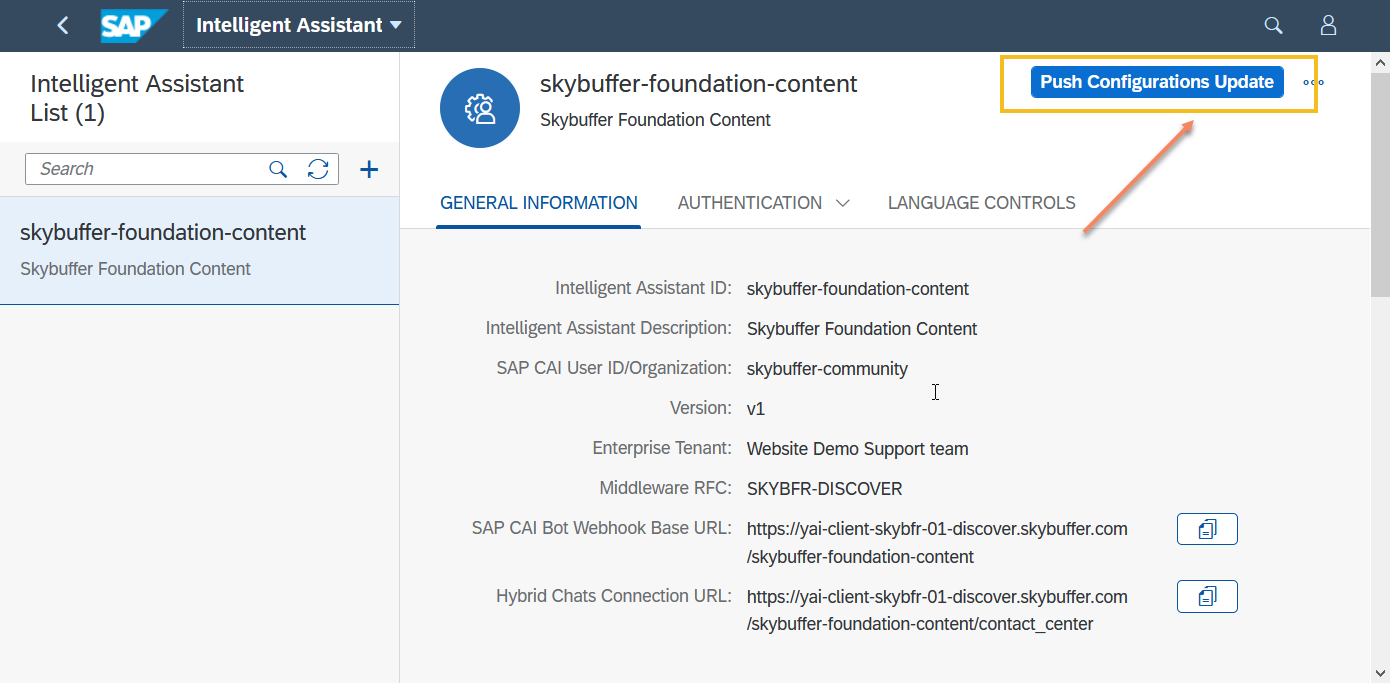
Step 4. As soon as you save the translations, it is necessary to move those settings to node.js engine for the chatbot management. To do this, you need to open My Chatbot application and click the Push Configurations Update button on the chatbot details screen:


Now your chatbot has the multilingual feature activated with a possibility to take responses from the Chatbot Vocabulary.