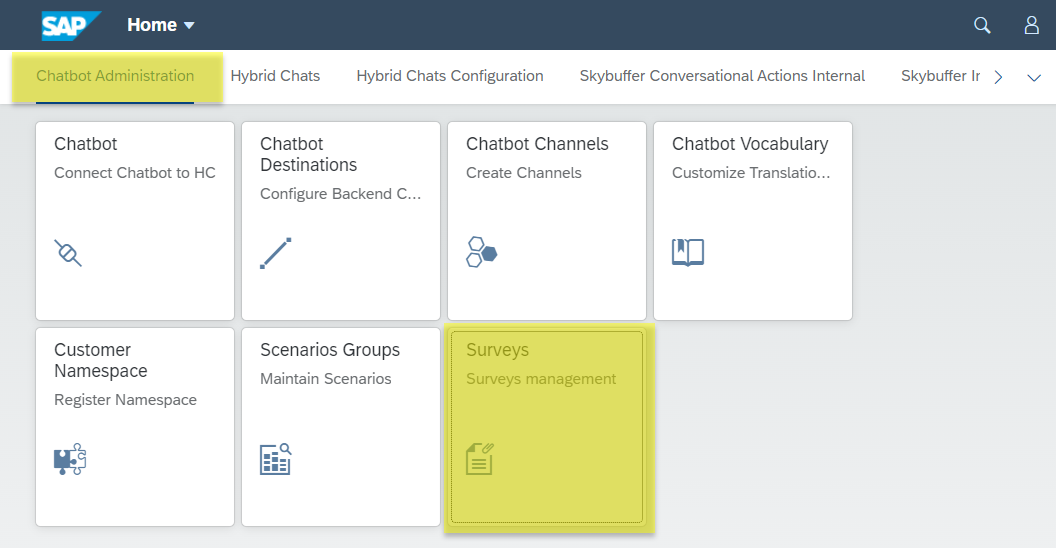
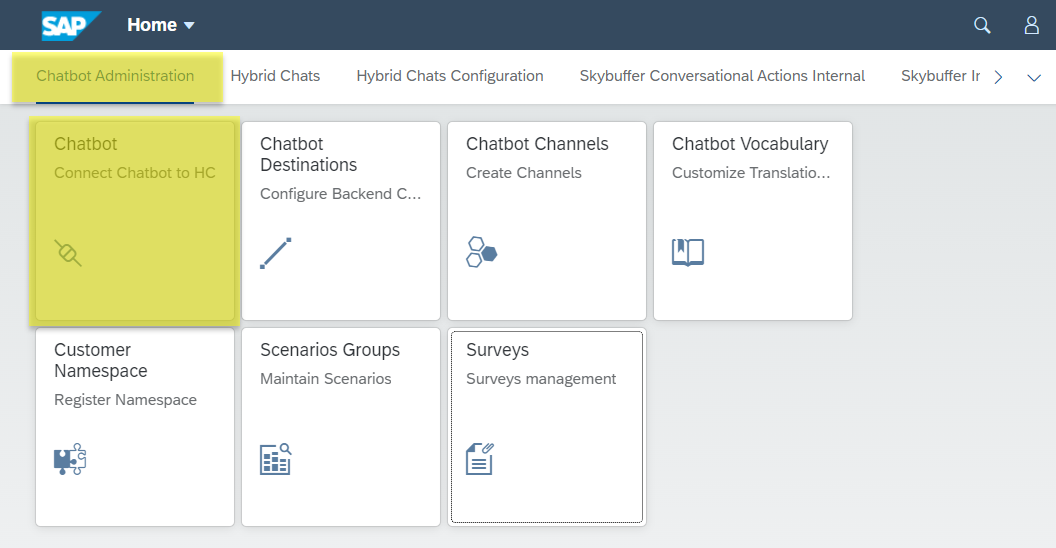
Step 1. Open the Surveys App
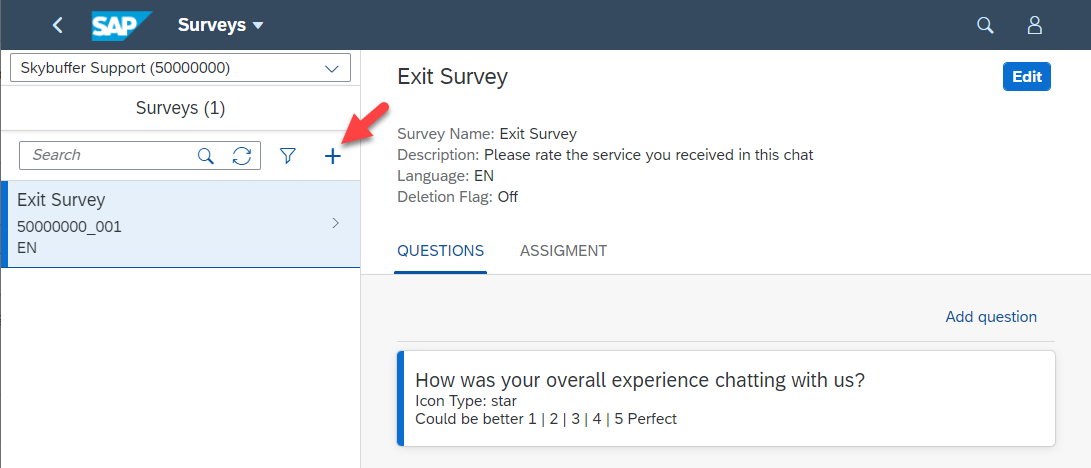
Step 2. Press the Add button.
Step 3. To create a new survey, you should provide the following data:
3.1. Name – your Survey name that will be visible to users
3.2. Description – your Survey description that will be visible to users
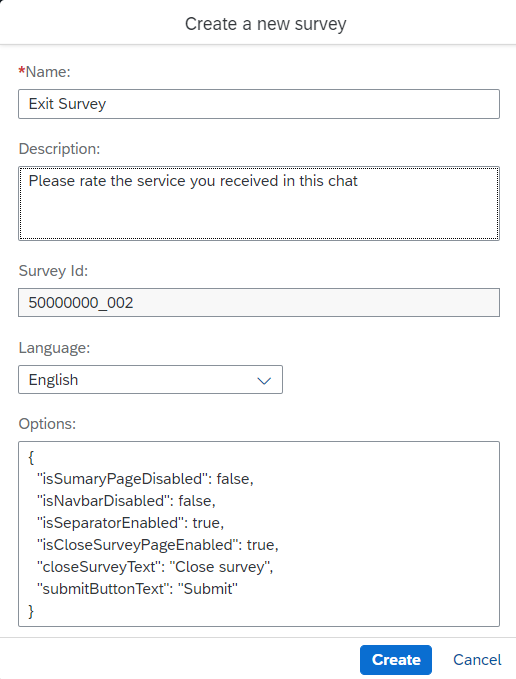
Step 4. Save your entries.
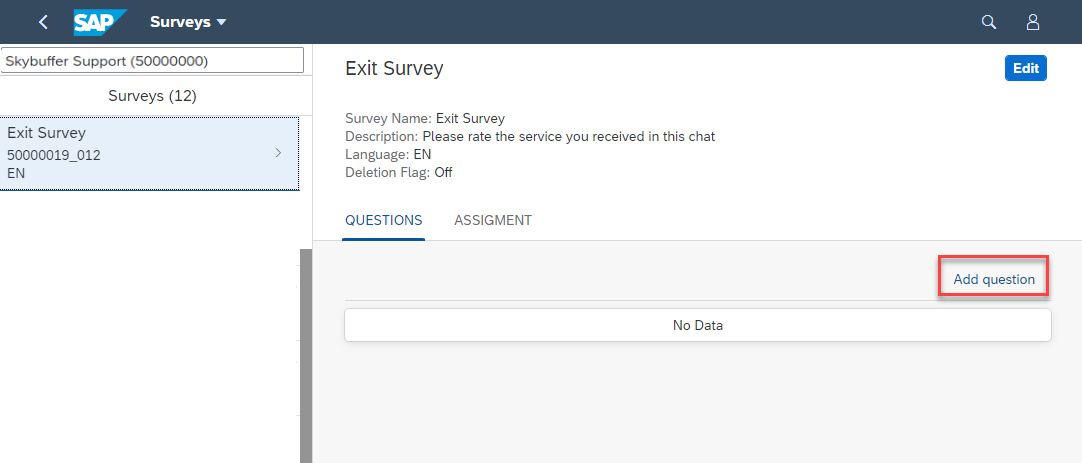
Step 5. Press the Add question button.
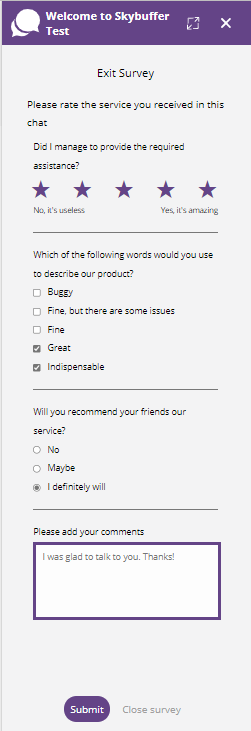
Step 6. To create a new question, provide Question order, Question text and Type.
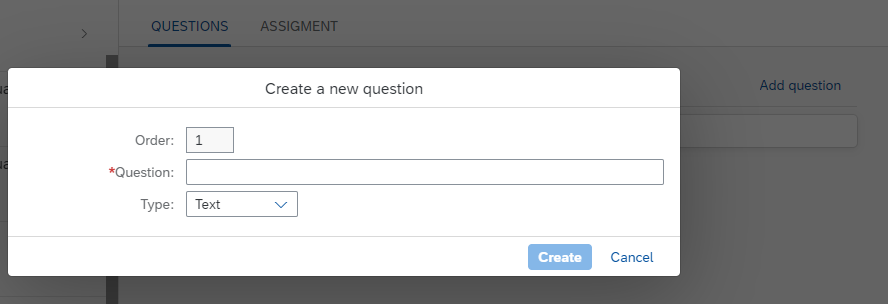
It is possible to create different types of questions:
6.1. Text
6.2. Date
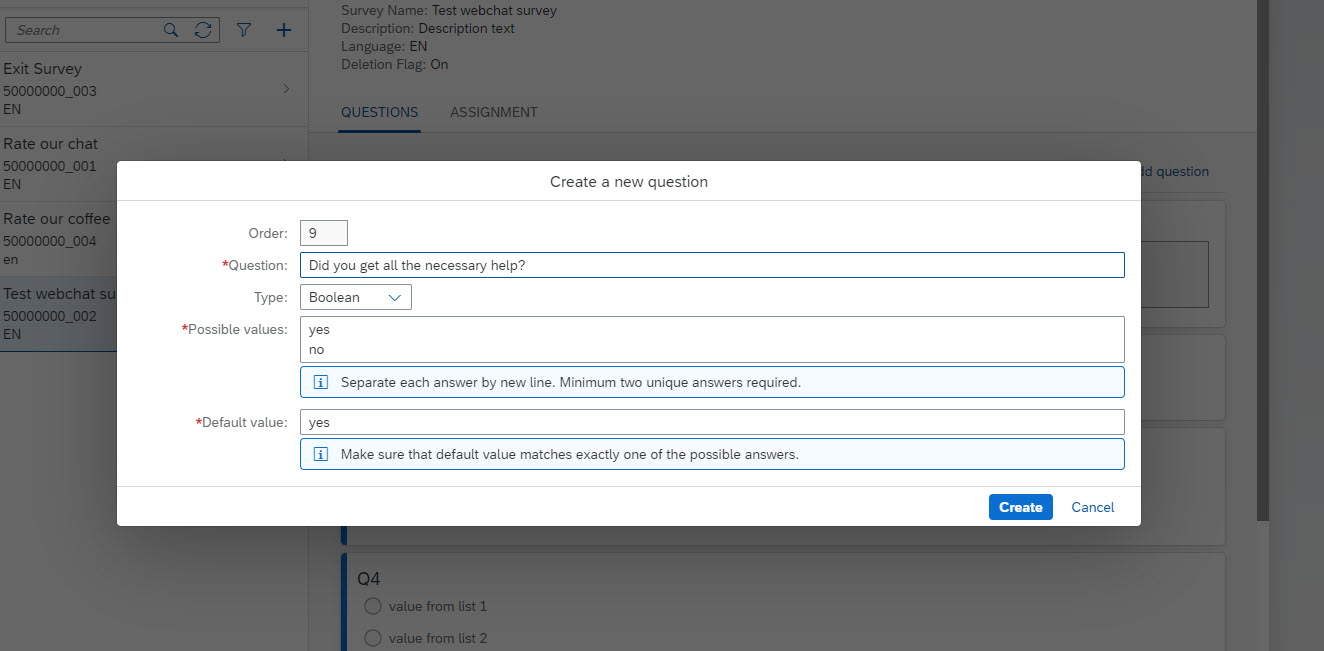
6.3. Boolean
To use Boolean message type you should provide two Possible values and Default value for user response.
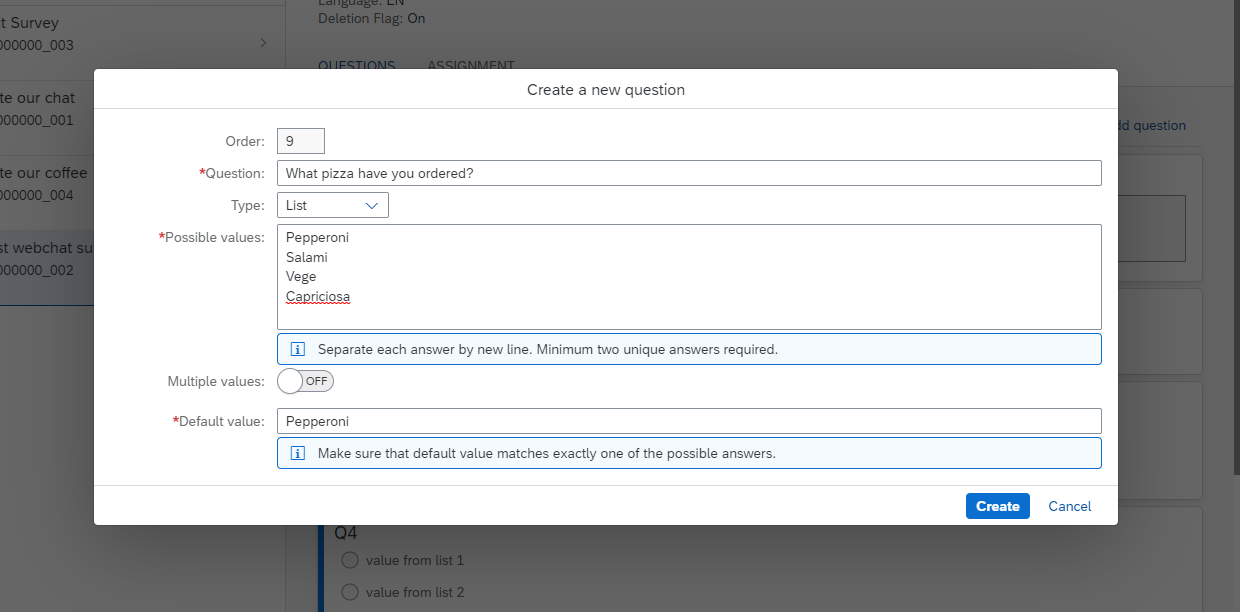
6.4. List
There are two variants of this question type – with multiple-choice or without.
For basic list with only one answer allowed – list all values in a new line. Then select one of them and put it in as “Default value”.
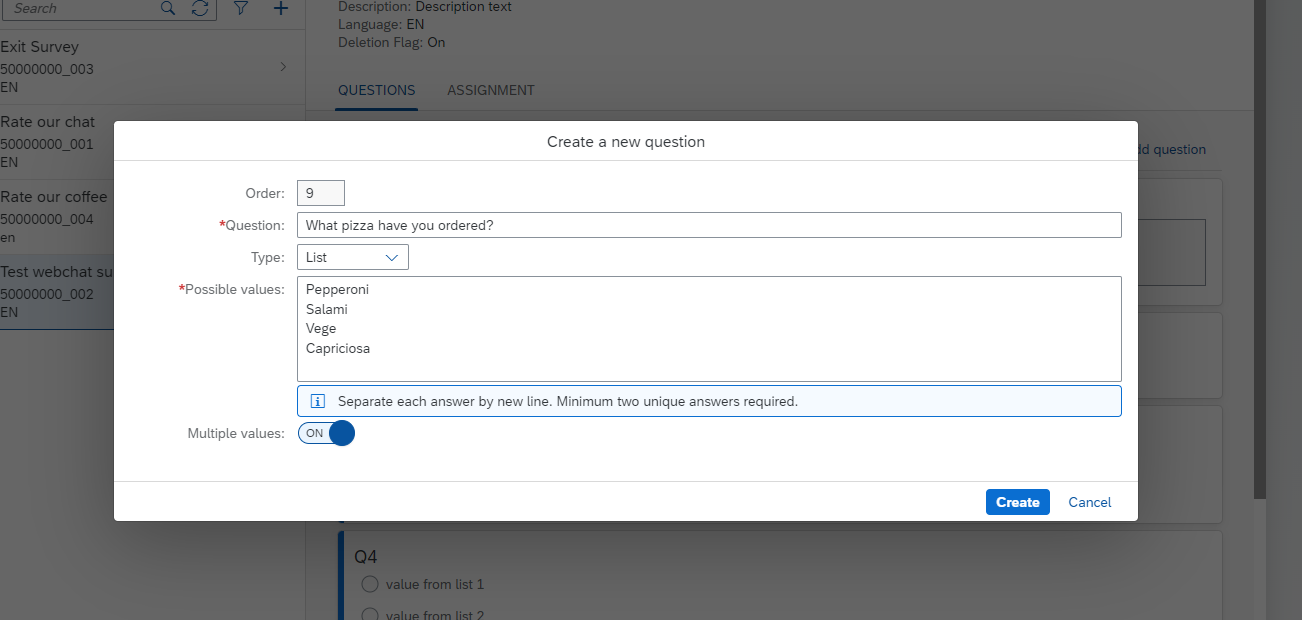
For multiple-choice list, toggle the “Multiple values” parameter. Default value is not used in this variant.
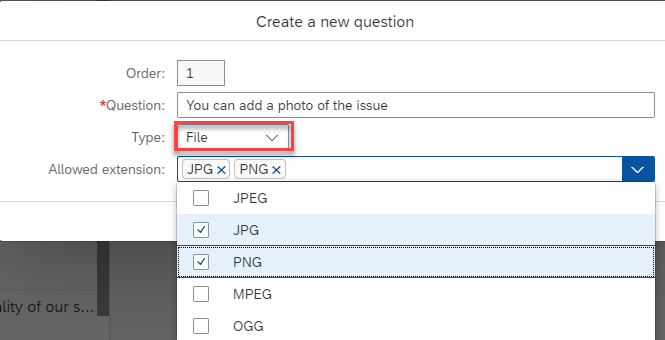
6.5. File
When using the File message type, you can allow upload file type extension (optional).
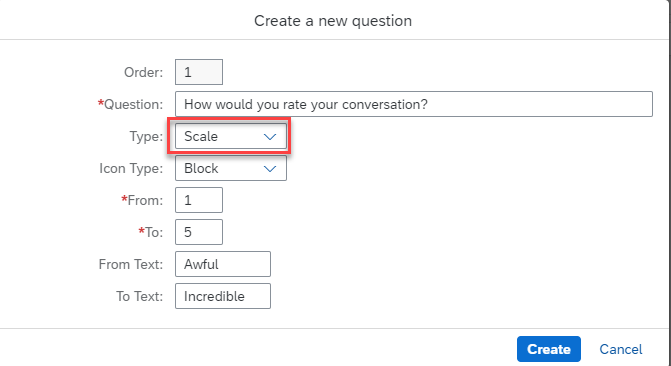
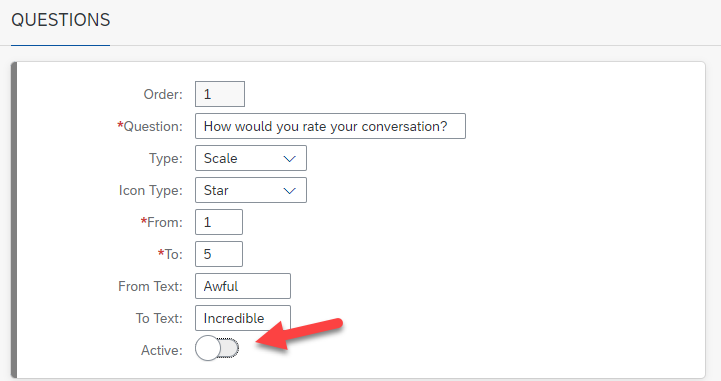
6.6. Scale
To use Scale message type you should add From and To values and some text description for them (optional). It is possible to use Block and Star icon type.
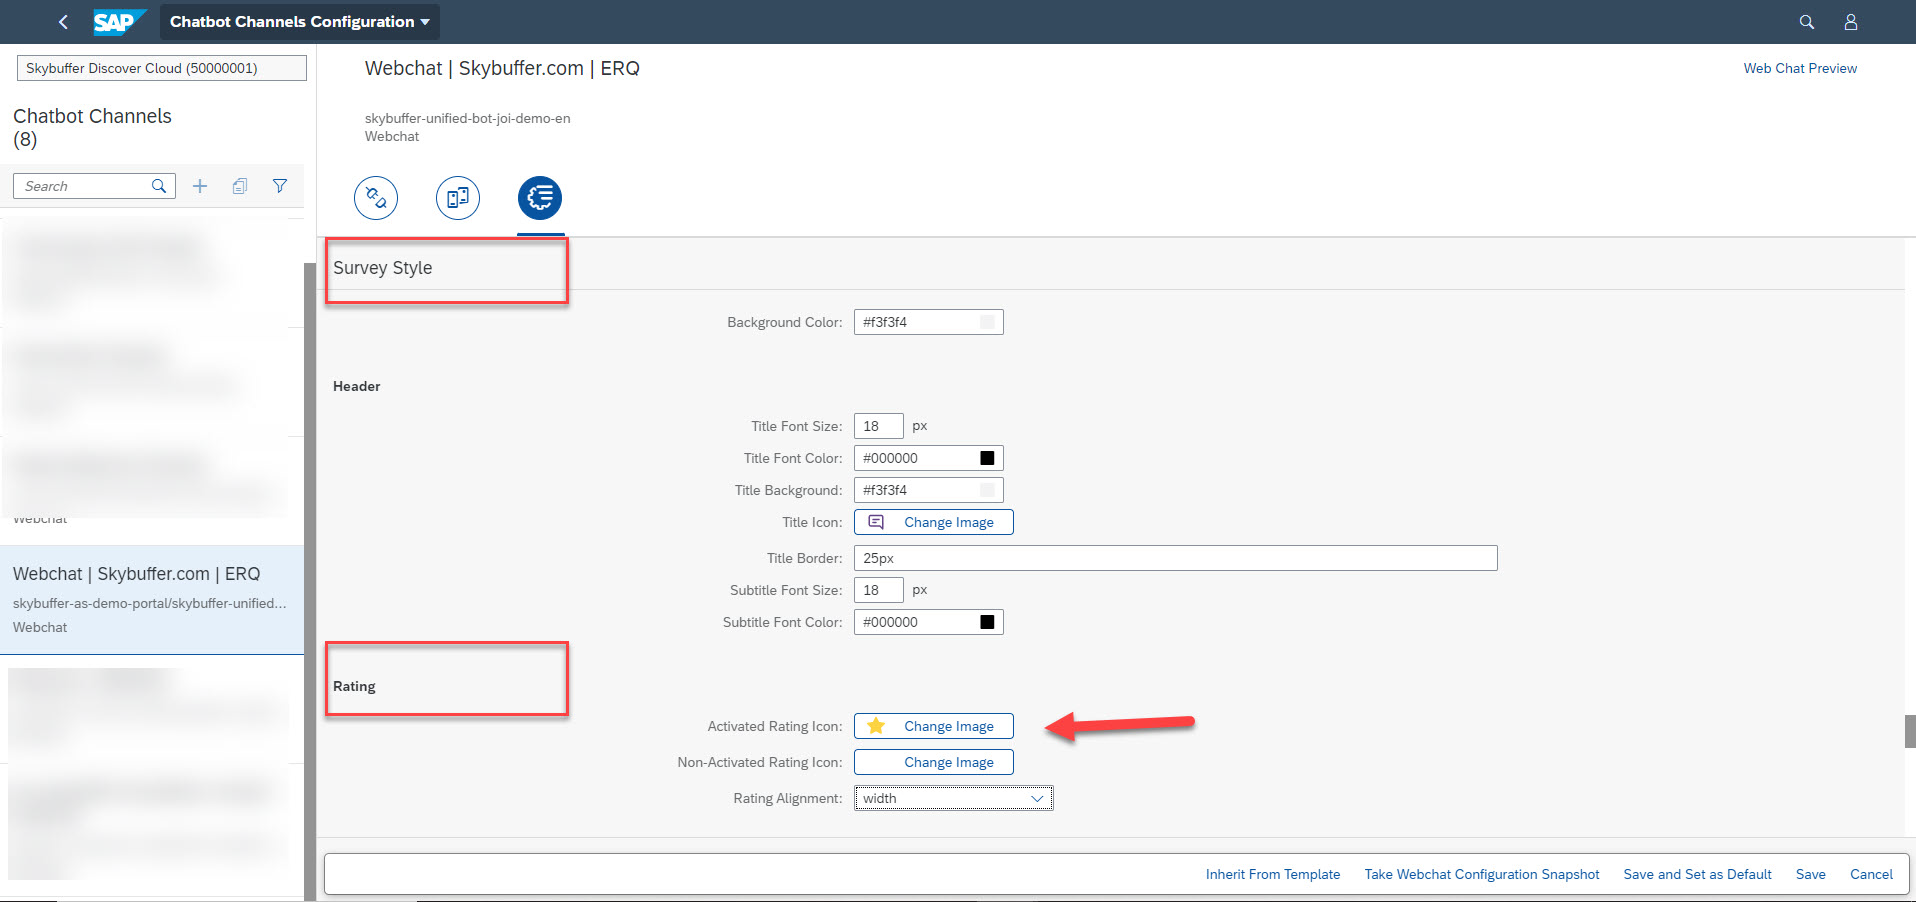
Note: Some settings affecting this type of survey question can be found in application Chatbot Channels Configuration, in the 3rd tab containing webchat styles settings. Find section “Survey Style”, and subsection “rating”.
You can set your own icon files ( e.g. customized star images).
Step 7. Save your entries.
To create more questions, repeat Steps 5-7.
Step 8. To edit the Survey, press Edit.
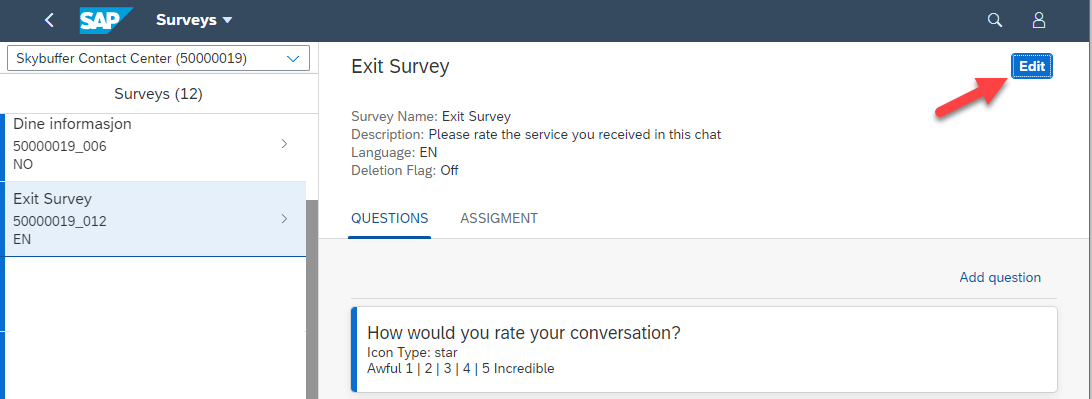
In the Edit mode you could change the data entered in steps 5-7, and it is also possible to:
8.1. Deactivate any question
To deactivate any question, turn off Activate toggle. This question won’t be visible in the Survey.
8.2. Swap questions
Select the question and hold down the left mouse button, then drag it to the desired location.
8.3. Mark the survey for deletion (in this case, this survey will not be available for connecting to a channel).
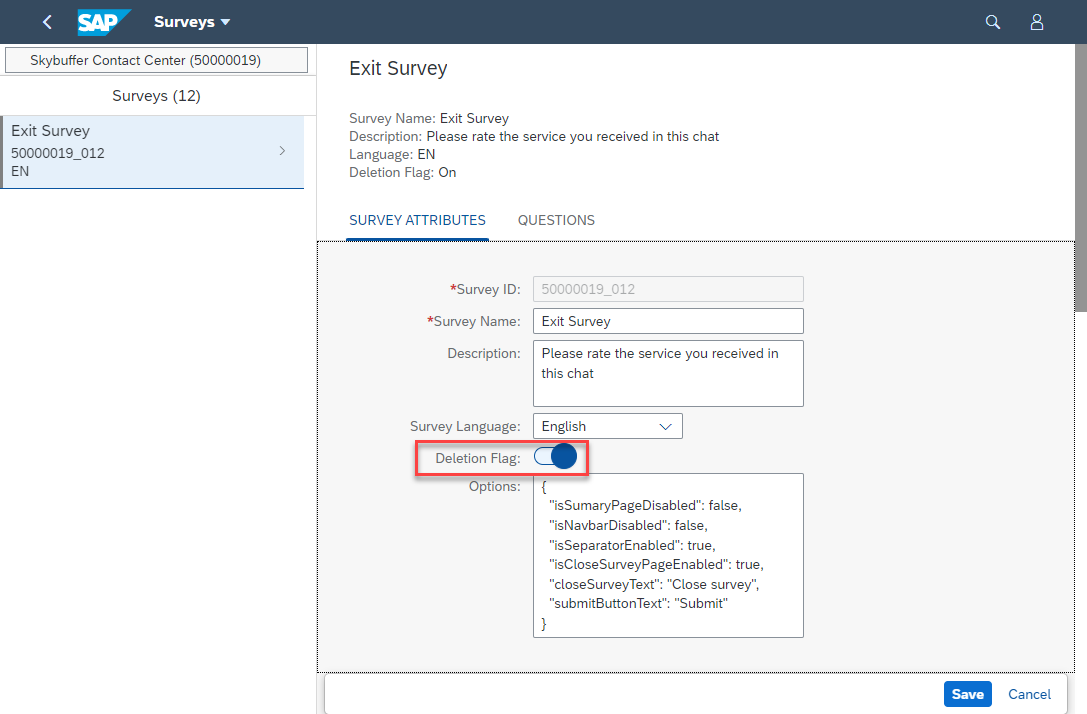
Save your entries.
Step 9. Assign your Survey to a channel.
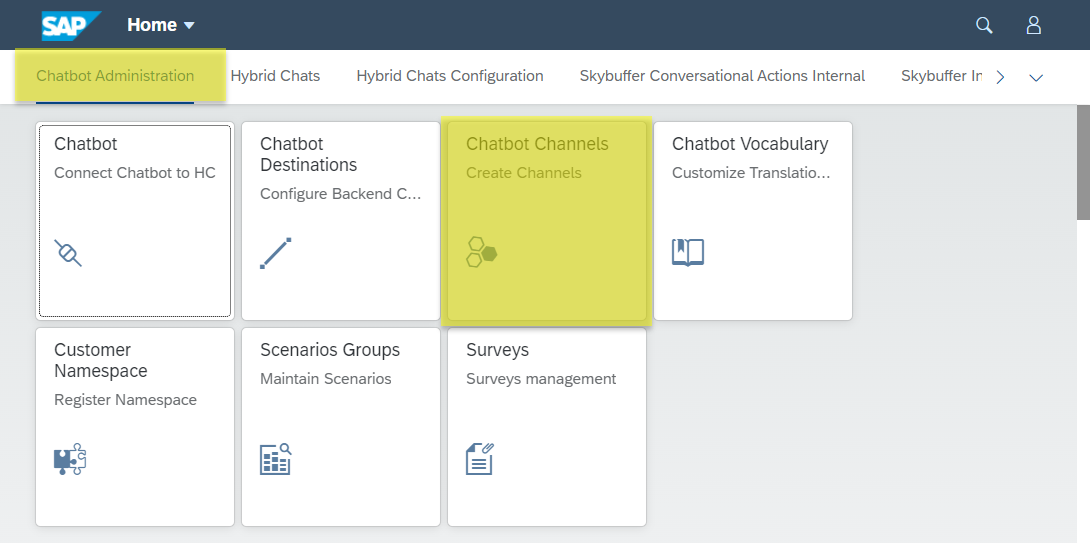
9.1. Open the Chatbot Channels App
9.2. Select your channel and press the Edit button. Select the required survey from the drop-down list and Send Survey Automatically attribute (possible values: Off, When chat ended).
Note: As of now, surveys work with Webchat and Microsoft Teams channel types.
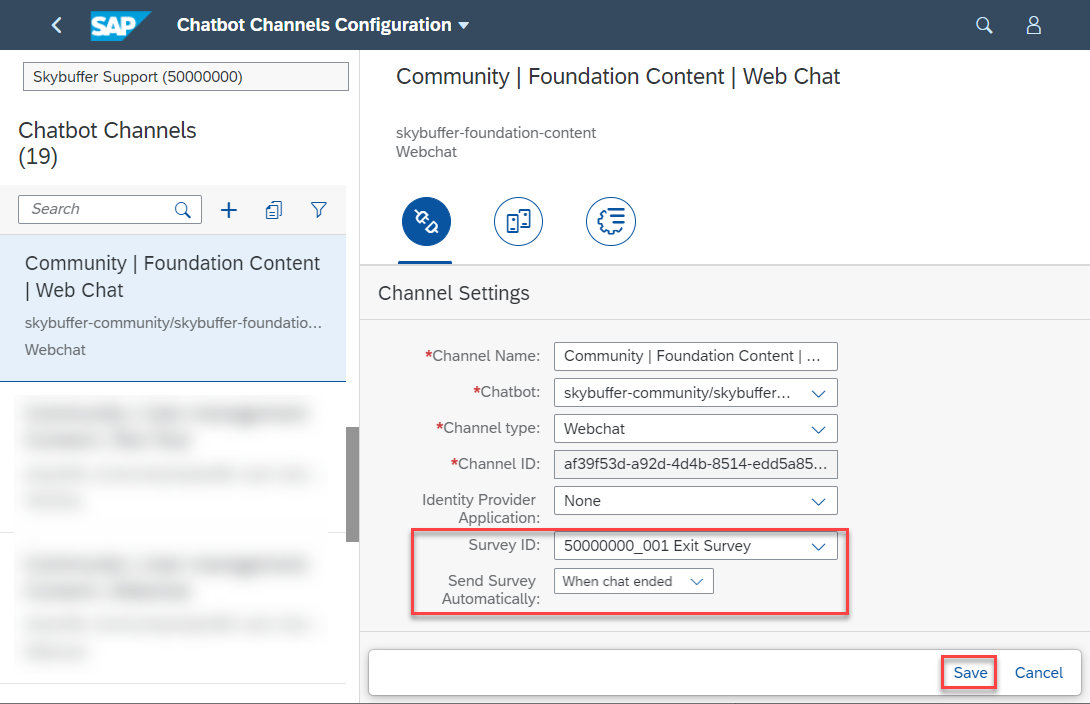
9.3. Save your entries.
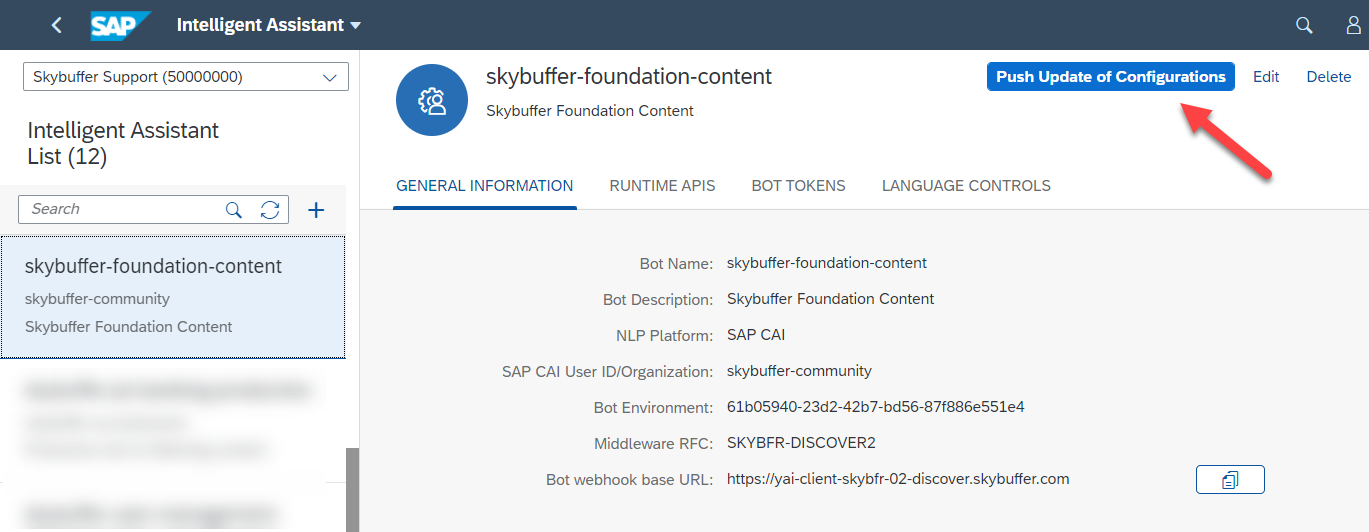
9.4. Open the Chatbot App:
9.5. Choose the bot and click the Push Update of Configurations button.
9.6. Open the Surveys App. In the Assignment tab you could find the information about the Survey assignment.

Step 10. Survey is assigned to your channel now.
Step 11. Please note that settings for look and feel of the survey, same as for chat window , are located in Chatbot Channels Configuration app.