Skills – Creation and Management
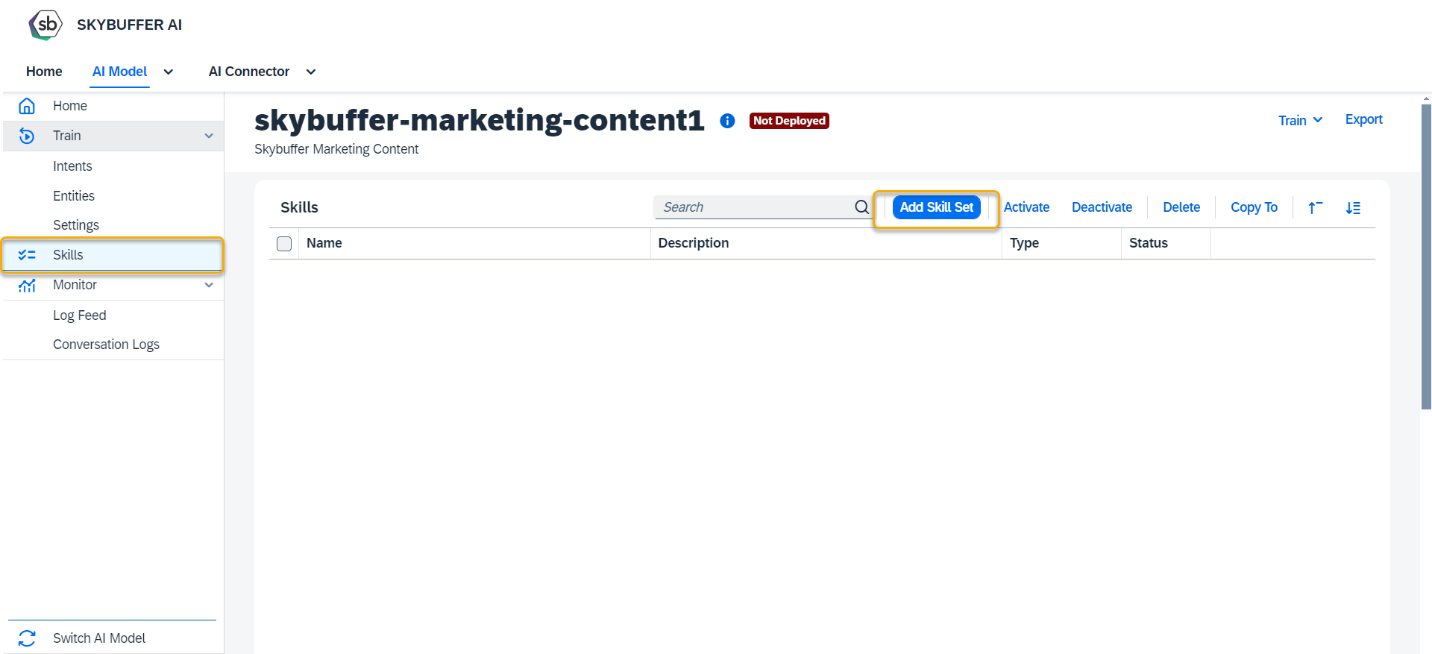
Step 1. Open the AI Model Configurator application, choose the Skills Section to create a new skill set, and press the button of Add Skill Set.
Step 2. Enter the necessary information and press the Save button.

(1) – Skill set name
(2) – Skill set description (optional)
(3) – Select skill set type.
NOTE!
Business skills reflect the core purpose of your AI Model.
Floating skills complement your AI Model core business skills (example: small talk).
Fallback gets triggered when no other skill does.
Initialize gets triggered at the beginning of the conversation.
Disambiguation reduces uncertainty between scenarios for overlapping skills.
Fallback, Initialize and Disambiguation skill sets can only be created in one instance.
(4) – Choose the skill set content (skills that will be created for a new skill set).
NOTE! Fallback, Initialize, and Disambiguation have only one type of skill content – trigger.
(5) – Skillset Status (Active by default).
(6) – Save your entries.
Step 3. A new skill set has been successfully created.
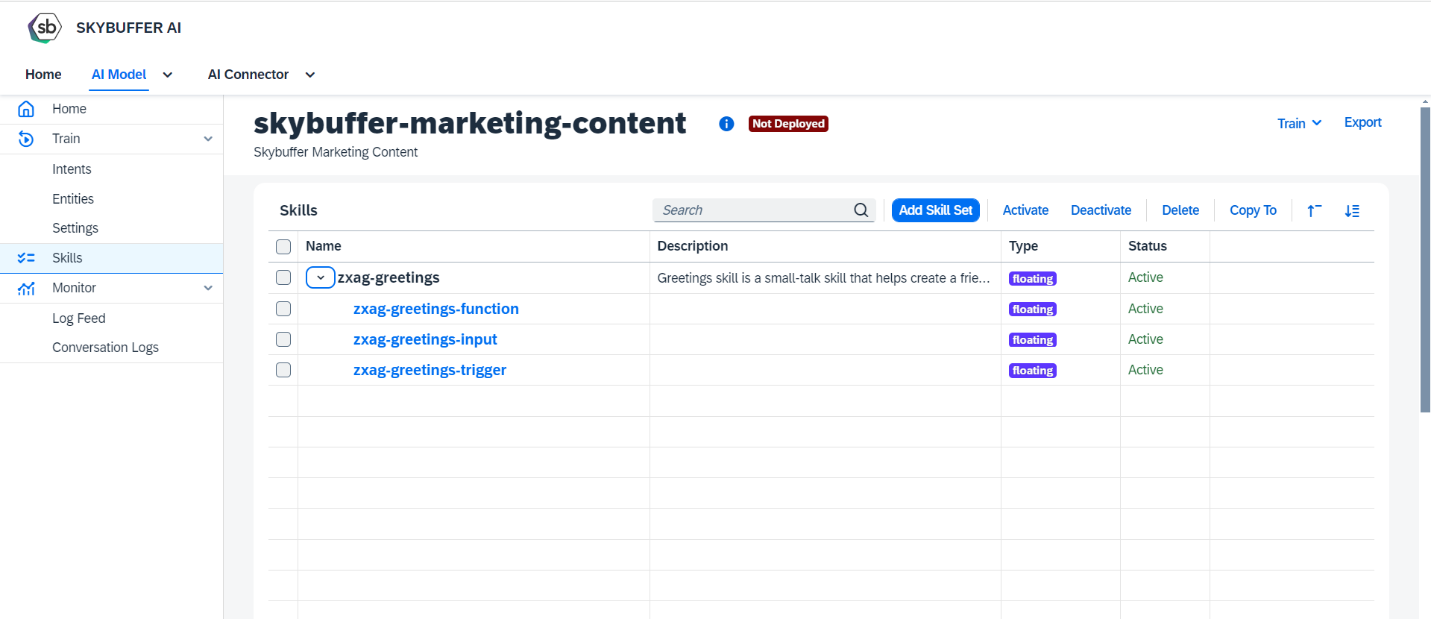
Step 4. To edit triggers and actions for your skill, open the skill from the skill set, go to the tab of Triggers and press the Edit button.

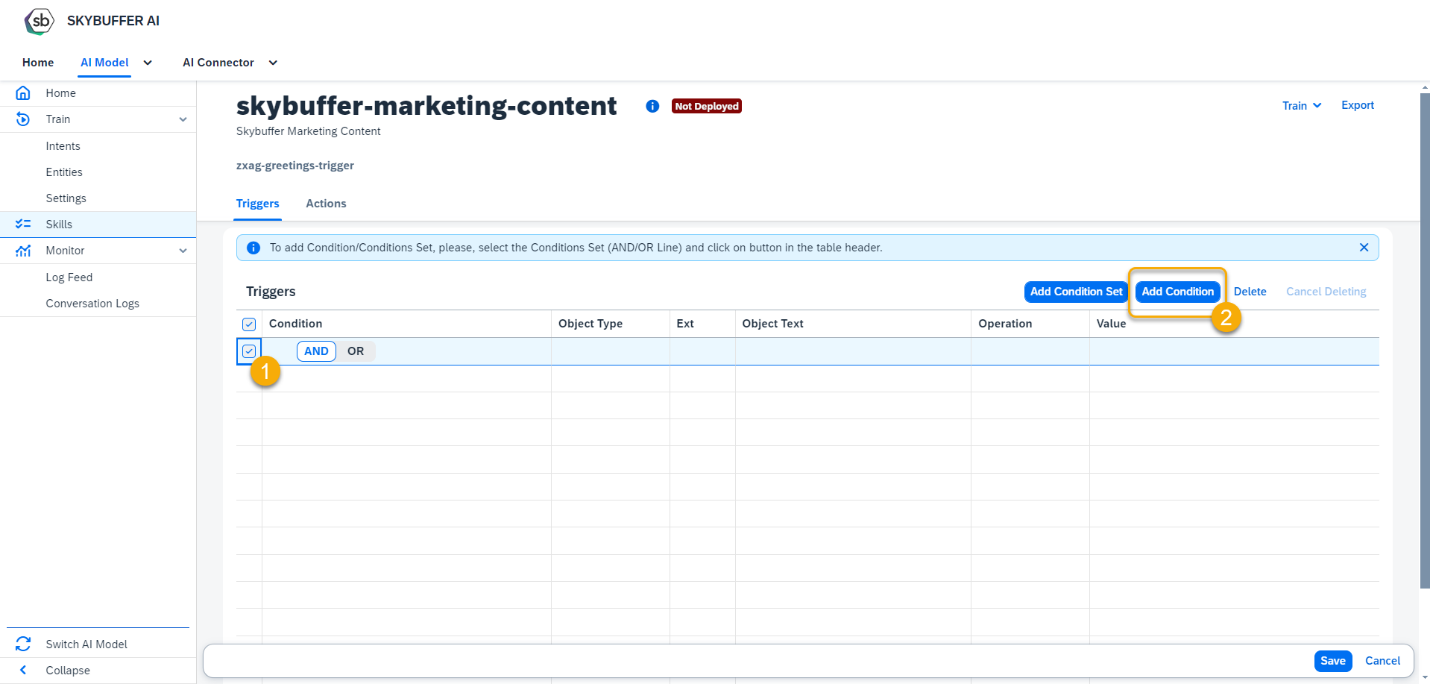
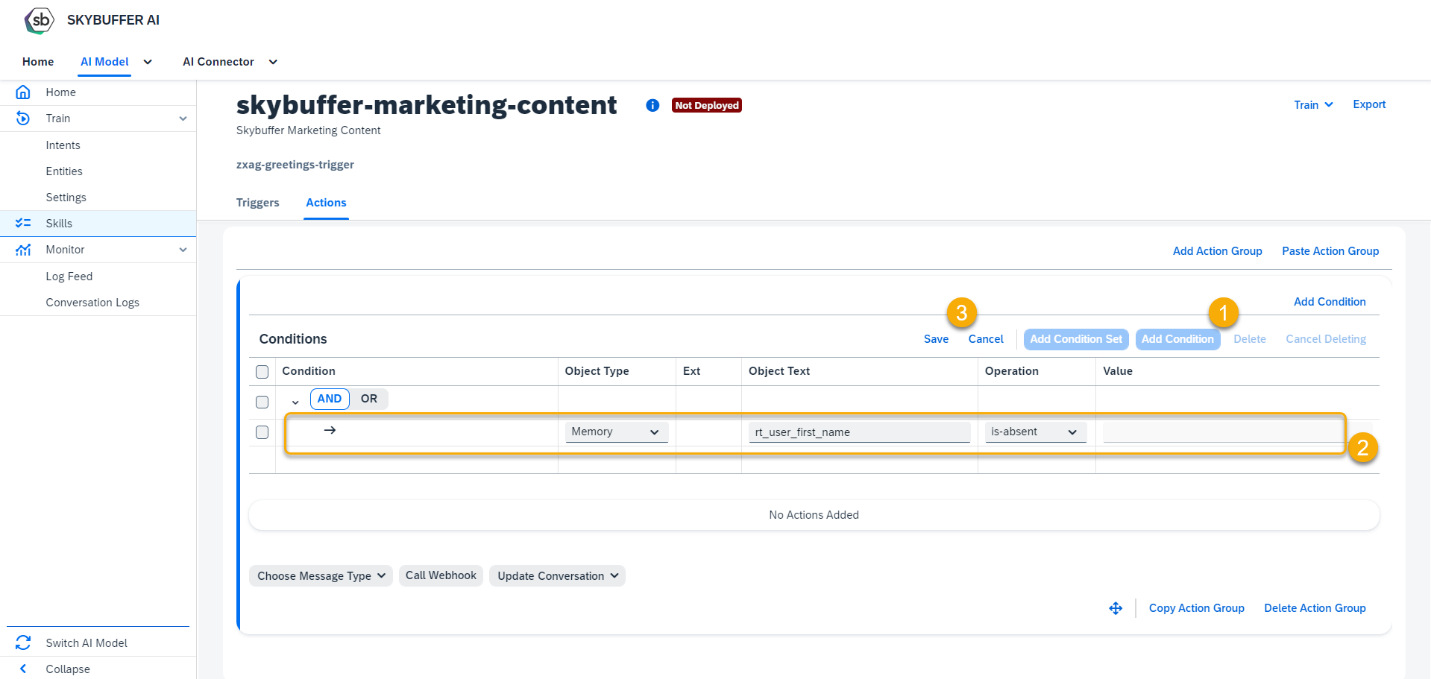
Step 5. Press the Add Condition Set button to add trigger conditions.
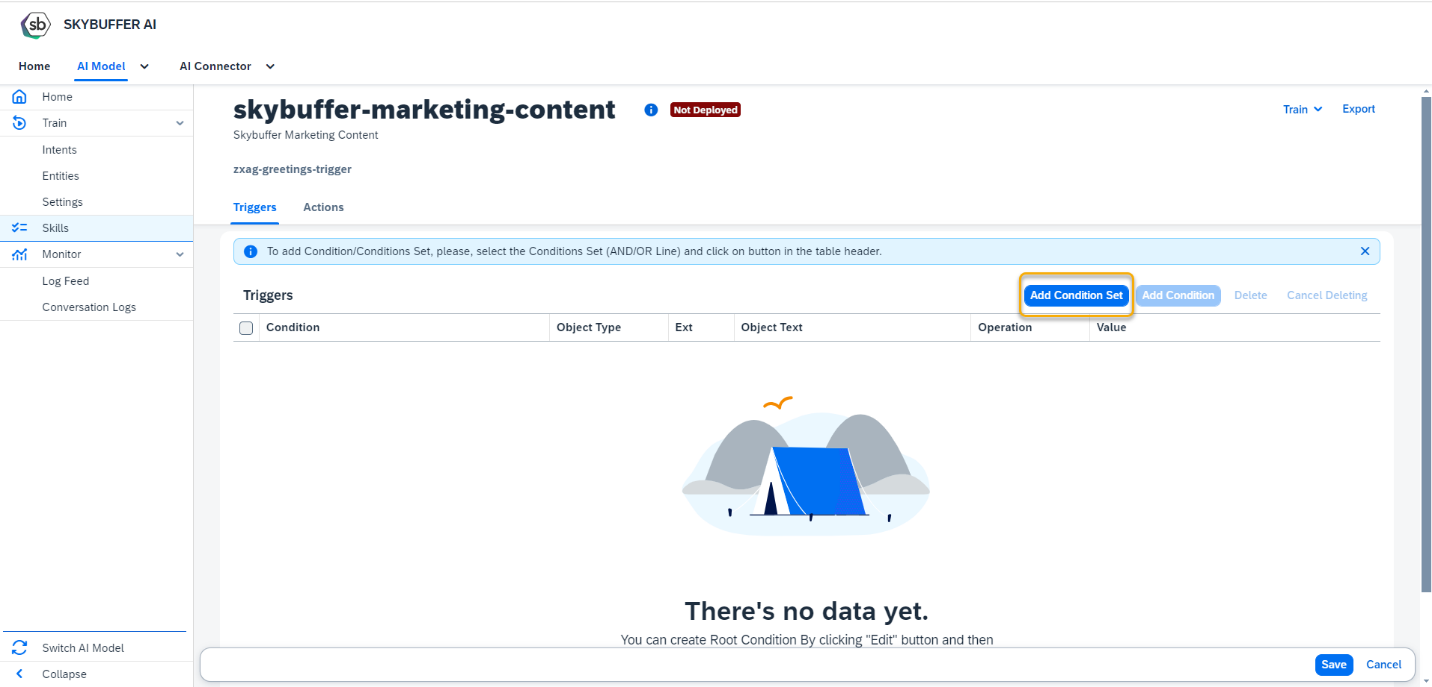
Step 6. To add Condition to Condition Set, select the root condition and press the Add Condition button.
Step 7. Select the Object Type, Object Name, Operation and add the value if needed. Press the Save button.
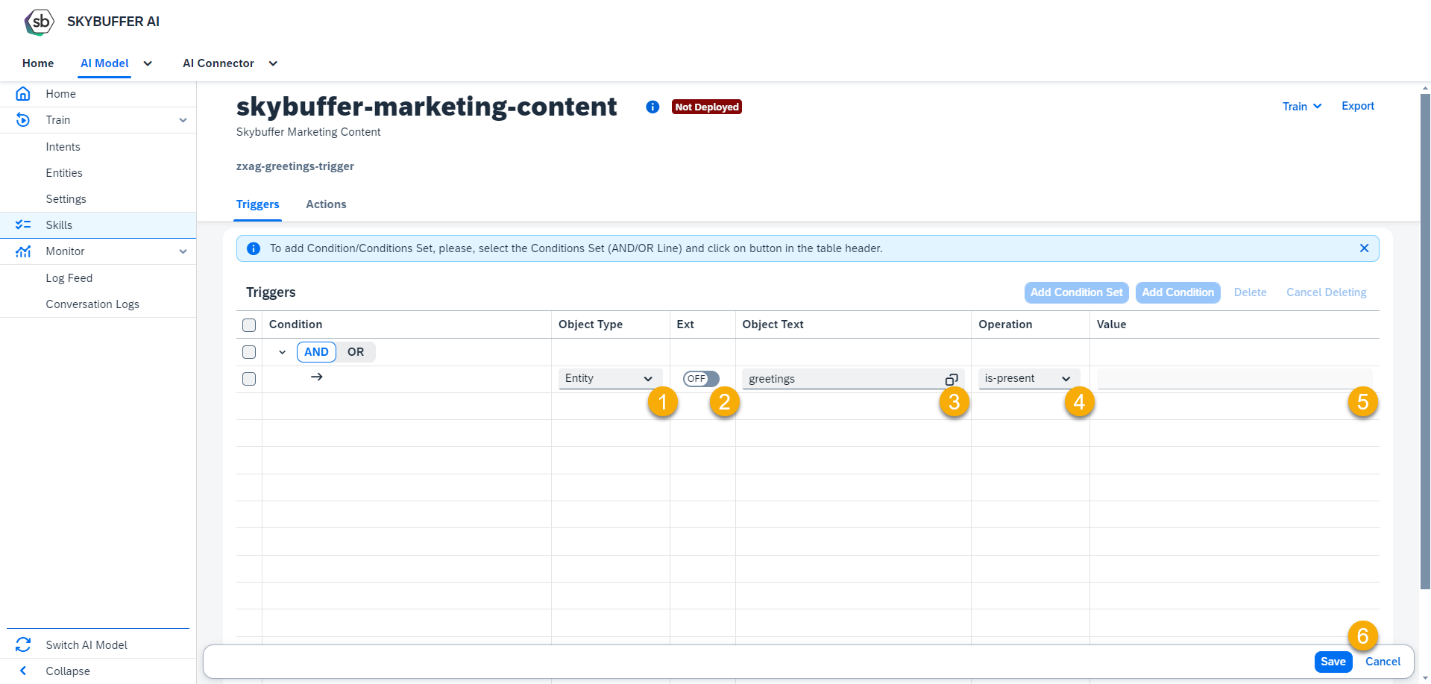
Processed Object types: Entity, Intent, Memory, Sentiment.
NOTE! By default, objects of Entity and Intent types should be selected from the list of existing ones. Switch the value in the Ext field to On for manual data entry.
Sentiment object allows working with Negative, Positive and Neutral sentiments.
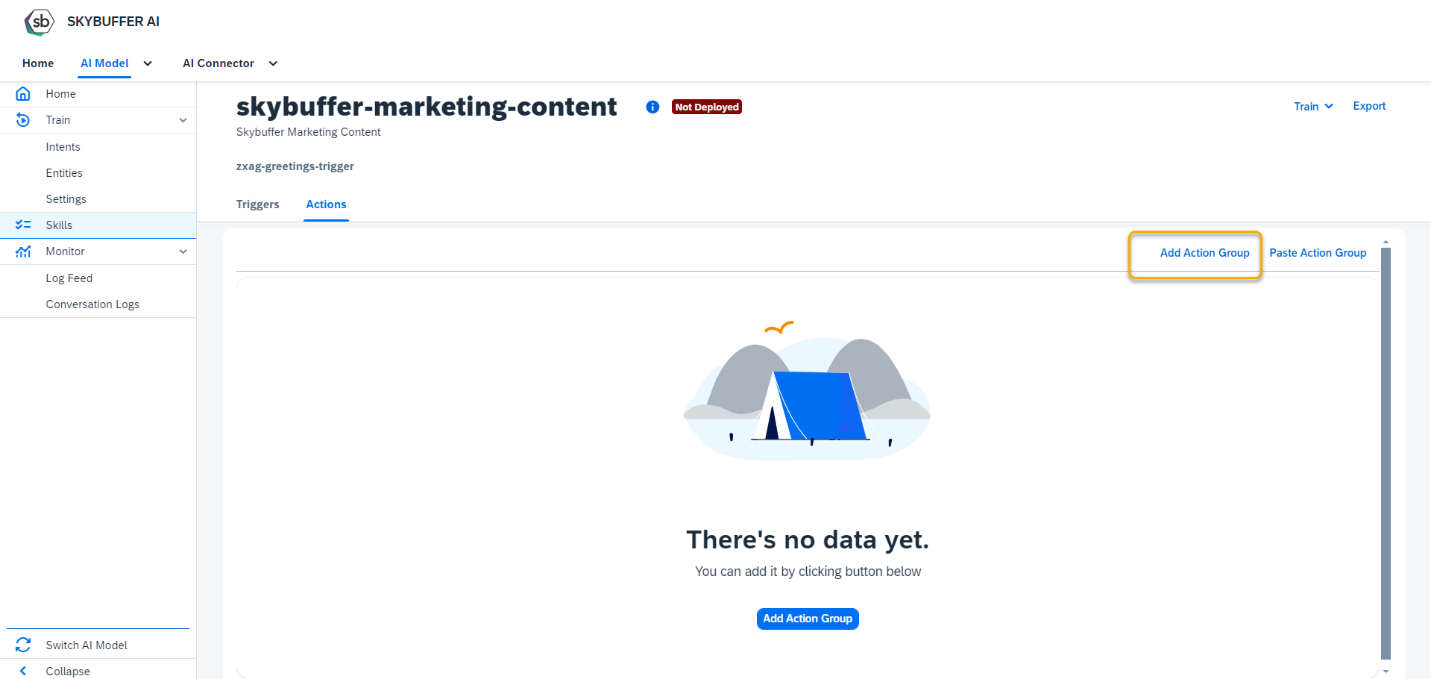
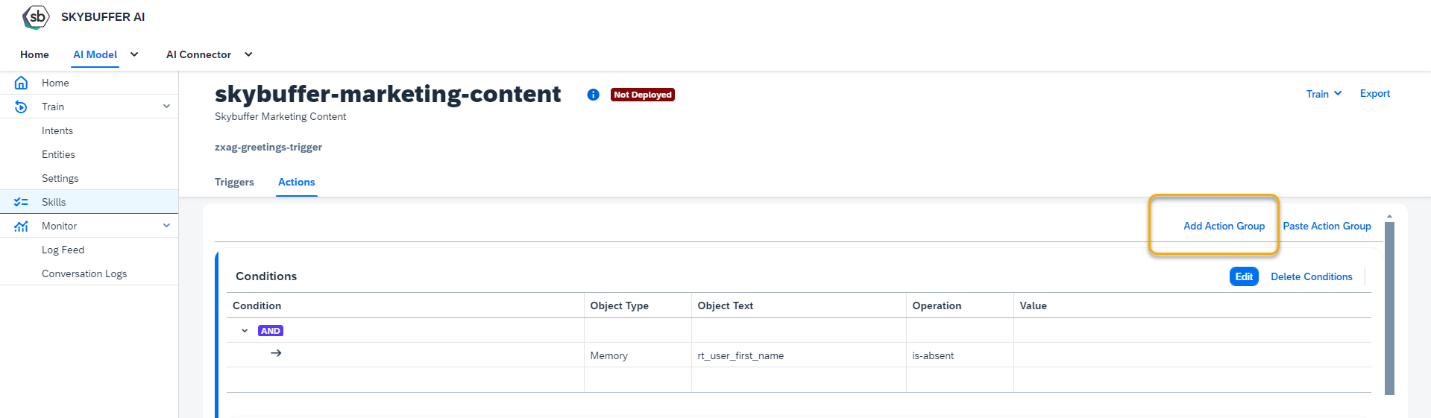
Step 8. Go to the Actions tab to create an action for your skill and press the button of Add Action Group.
Step 9. Here you can Add condition to your Action Group.
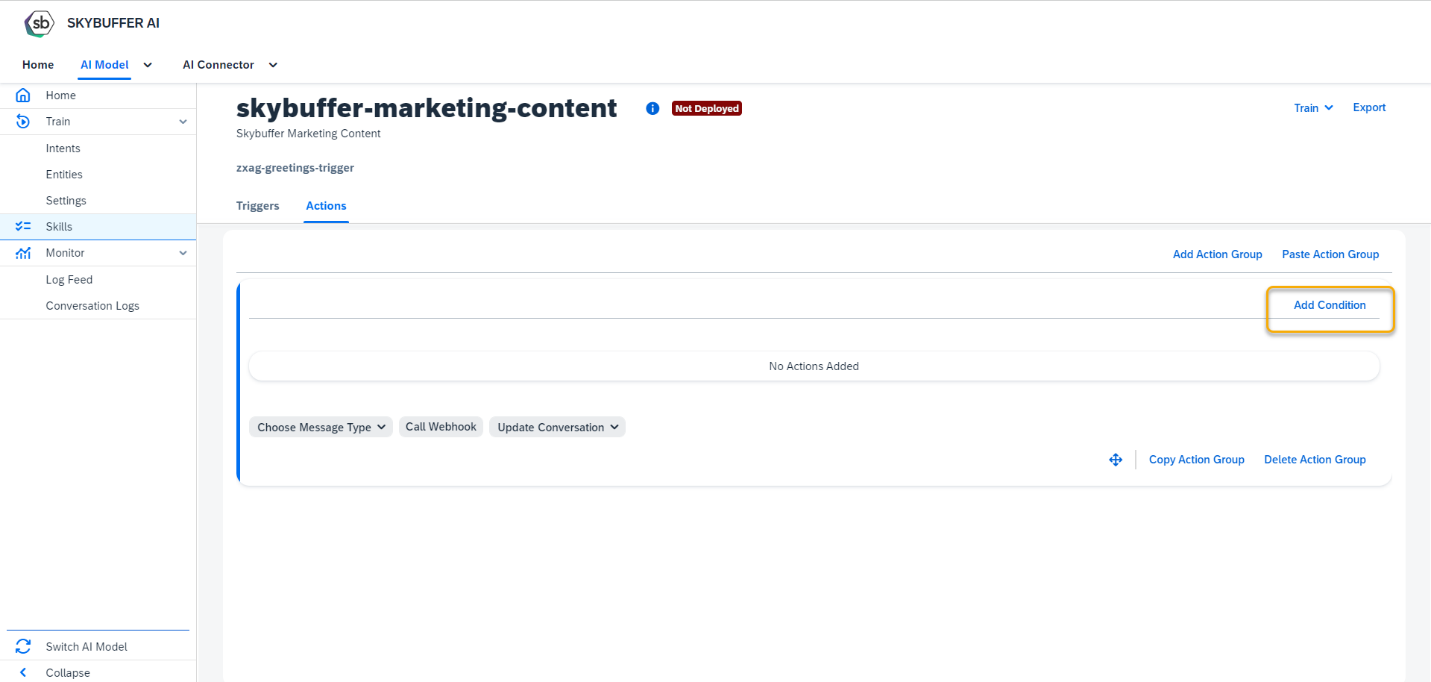
Save your entries.
Step 9. Select the Action type: Message (choose Message Type)
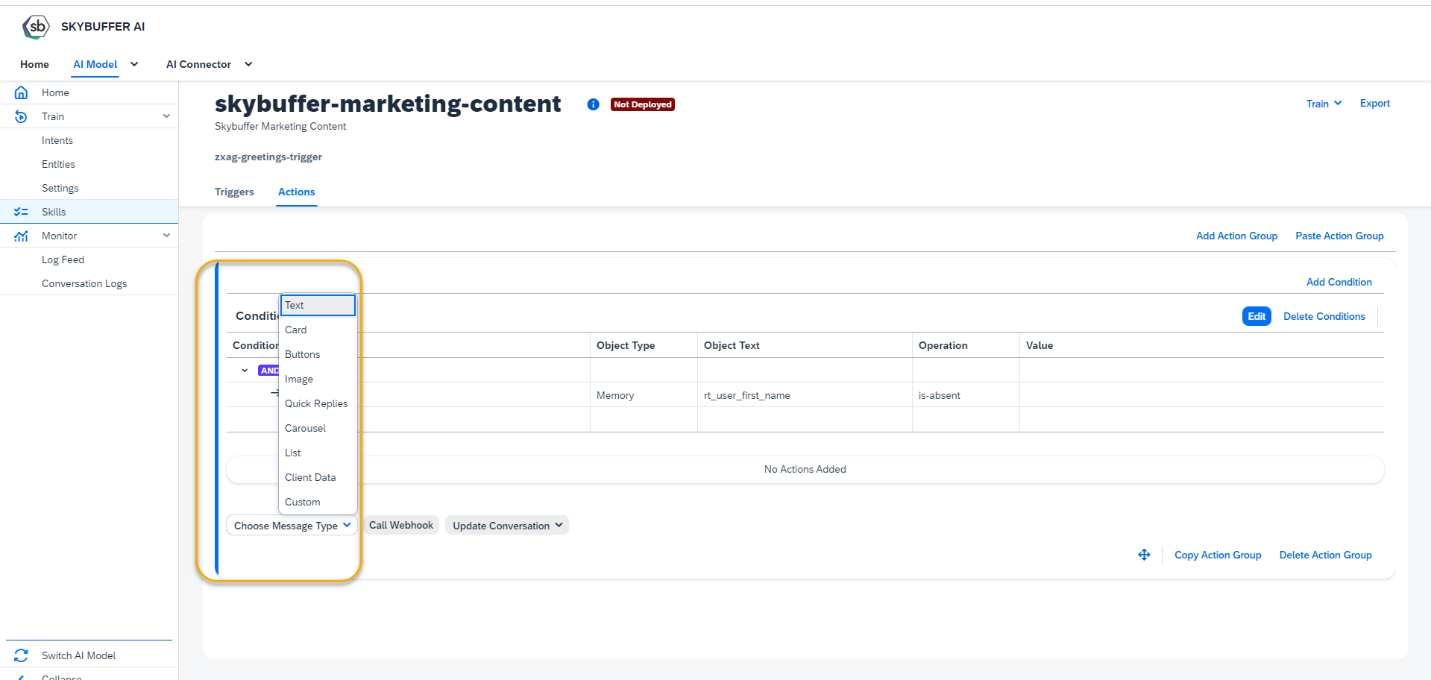
Skybuffer AI allows using several message types: Text, Card, Buttons, Image, Quick Replies, Carousel, List, Client Data, Custom.
Choose the message type from the list, add the required texts.
Optionally you can set a delay before sending the next message – input the number of seconds to wait.
Press Save.
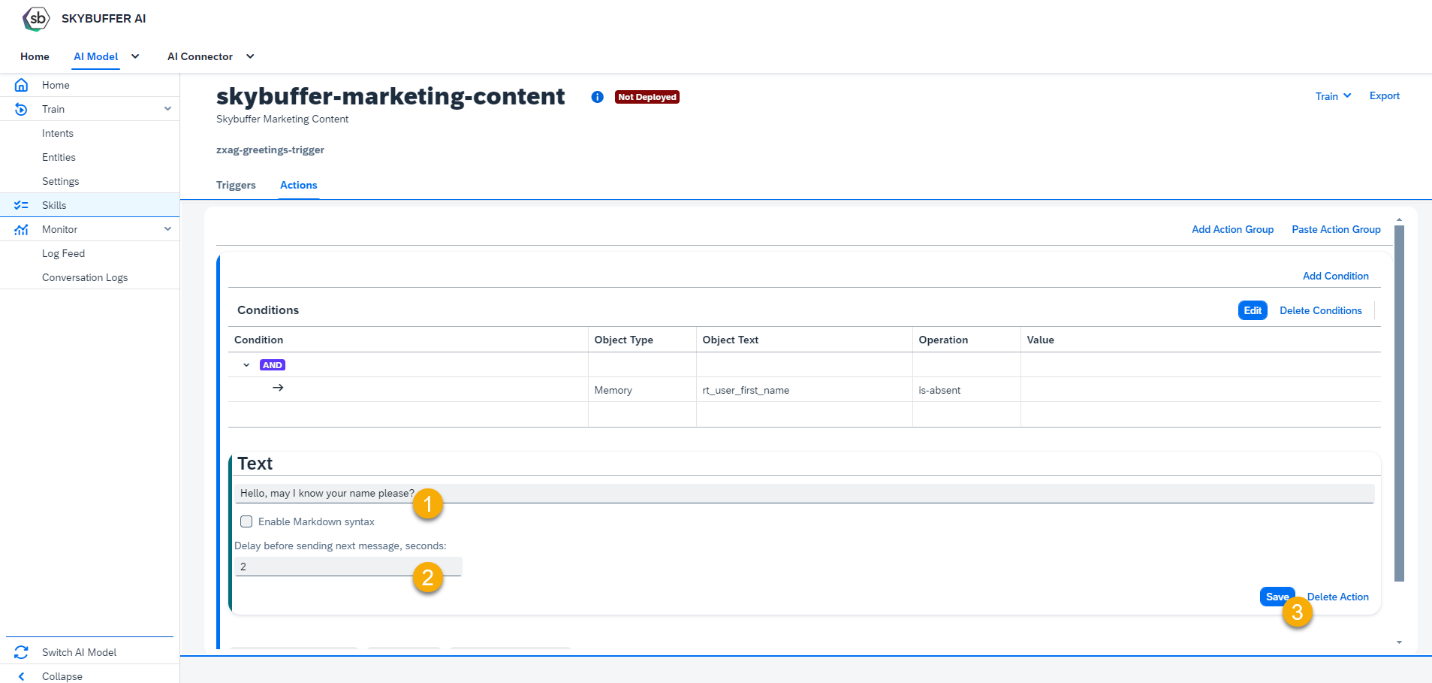 Additionally, it is allowed to use a markdown syntax in the text message. Tick the Enable Markdown Syntax to activate it.

To process the memory parameters in the message, use special syntax: { {{memory.rt_memory_parameter}} } or { {{memory.rt_memory_parameter}}.translate} (to display parameter translation in the message).

Step 10. Select the Action type: Call Webhook
Provide the webhook name and press the Save button.

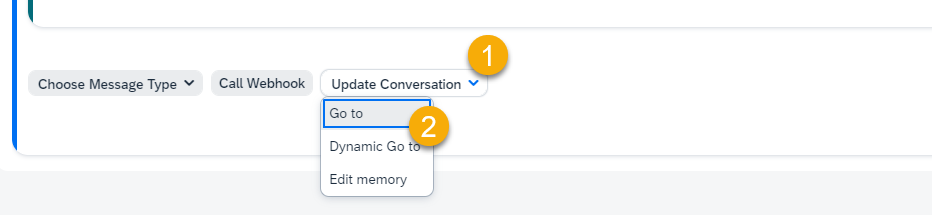
Step 11. Select the Action type: Update Conversation (choose the option how you’d like to update the conversation).
Step 11.1 Go to – select the next skill from the skills available in your AI Model
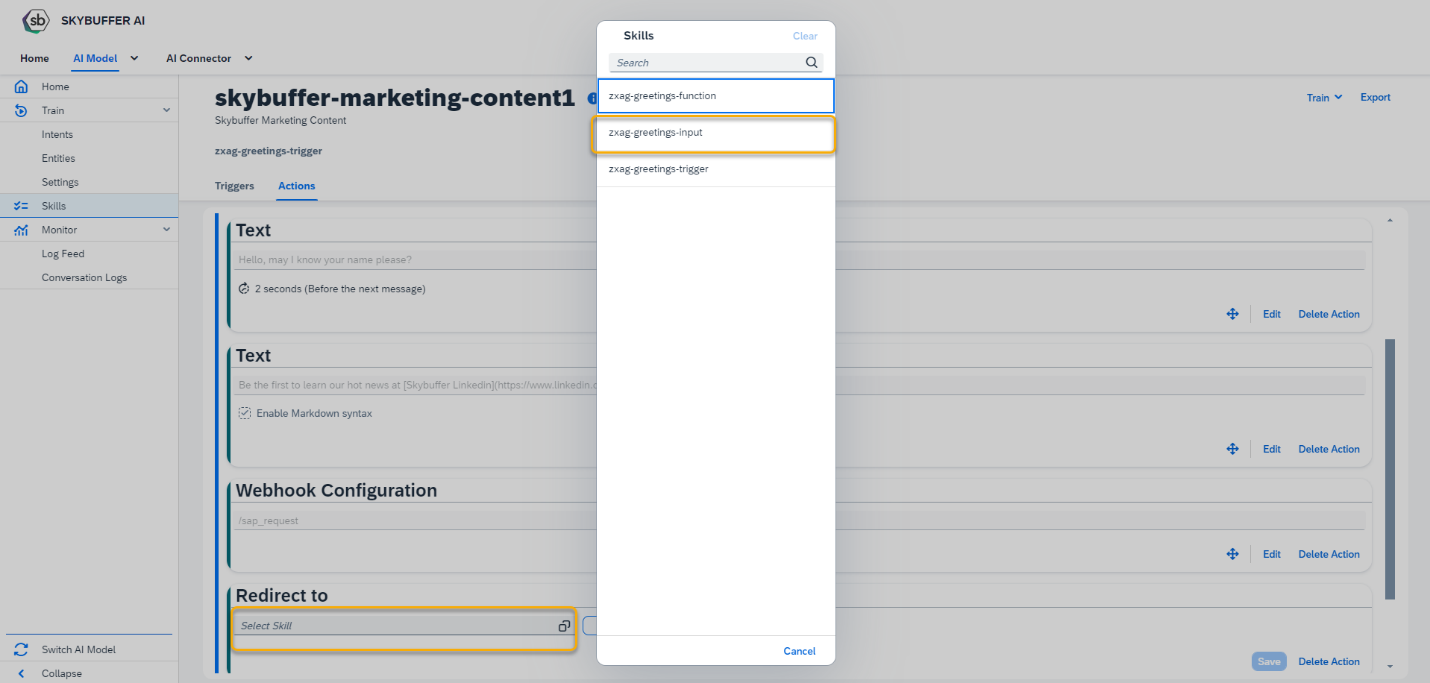
After the skill is selected, determine the moment of execution:

to perform the skill immediately, choose Start the Skill;
to perform the skill after the user answers – Wait for user input.
Press the Save button.
Step 11.2. Dynamic Go to – provide the condition (parameter name) for the next triggered skill.

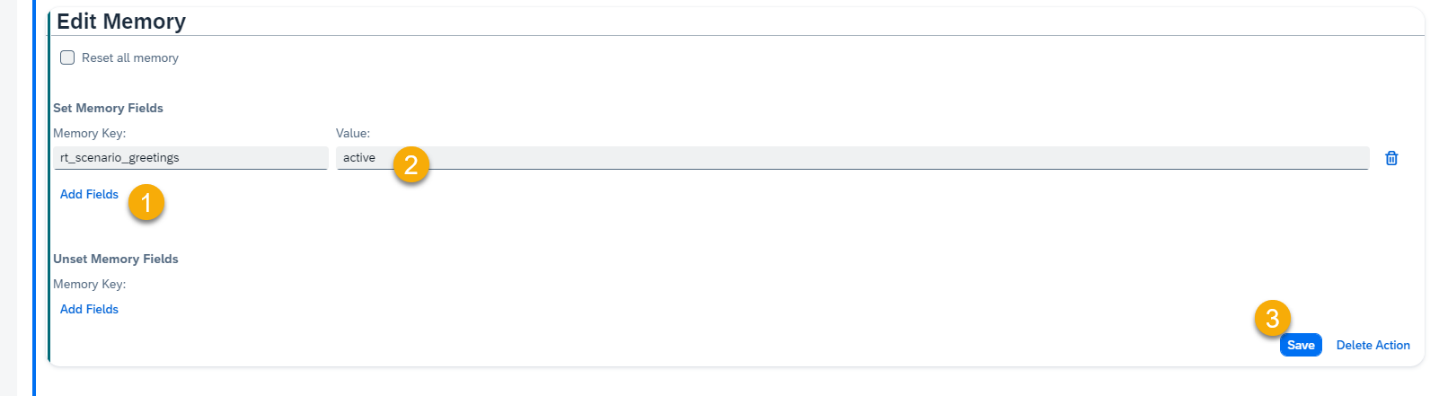
Step 11.3. Edit Memory – manage your AI Model memory

To add the memory parameters, press Add fields in Set Memory Fields section, enter Memory Key and its Value. Save.
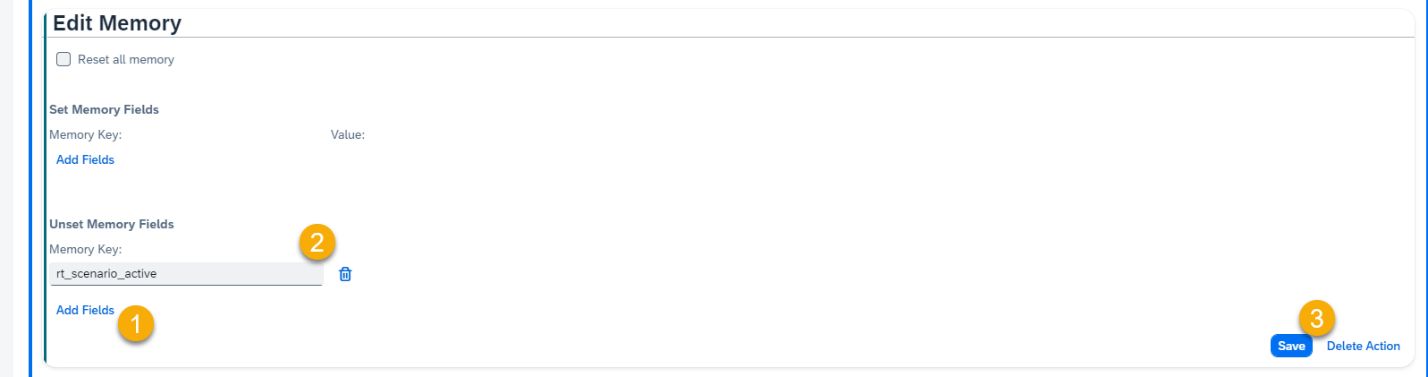
To unset the memory parameters, press Add fields in Unset Memory Fields section, enter Memory Key and Save.
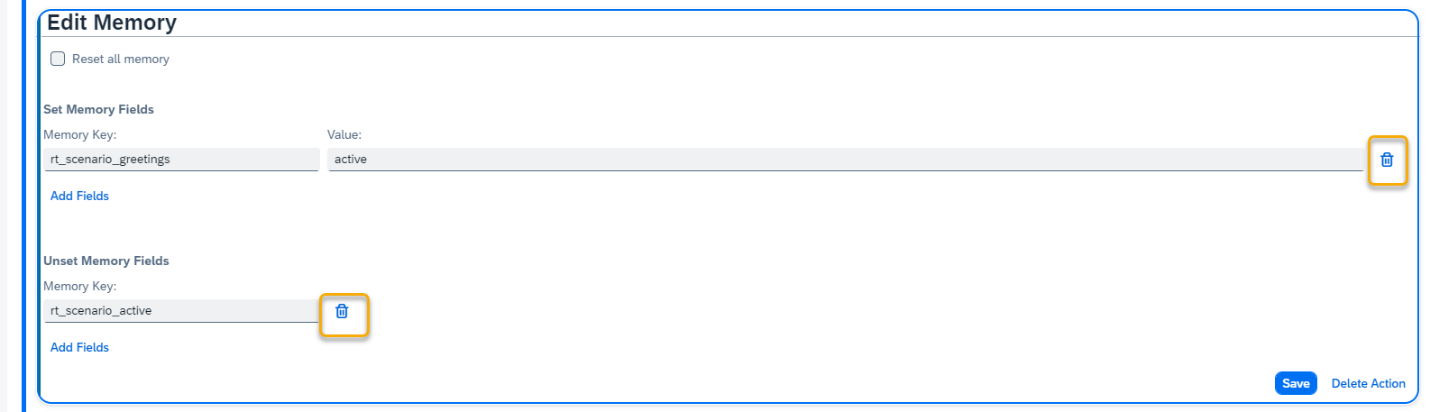
Use the Reset all memory option to clear all the variables in memory.
Use this option carefully.

To delete the memory fields, use the trash icon on the right of the corresponding field.
Step 11.4. Move, Edit, Delete Action
Use the Edit button to switch to the edit mode.
To move an Action within an Action Group, hold down the move button with the left mouse button and drag to a new position.
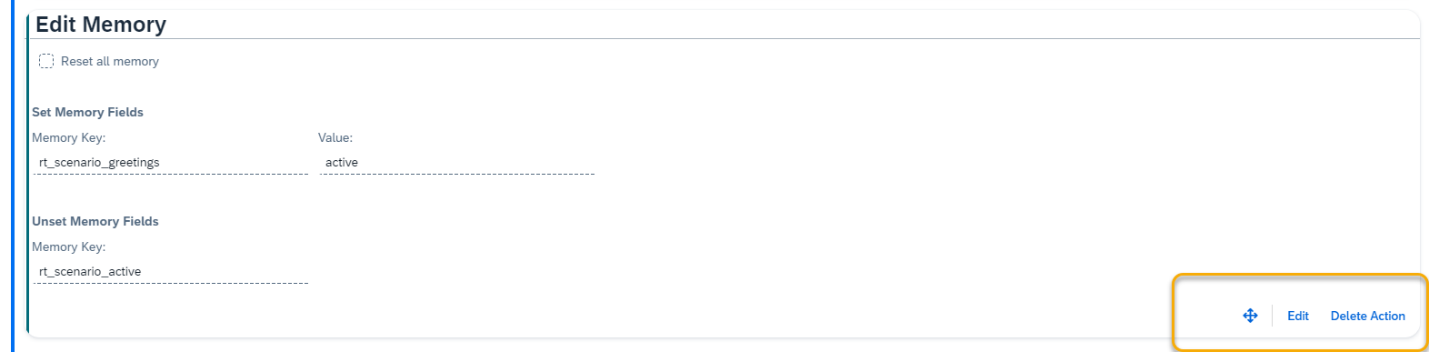
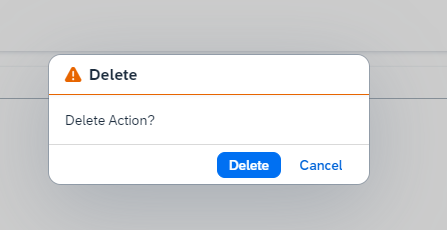
To delete the Action from the Action Group, press the Delete Action button and confirm.
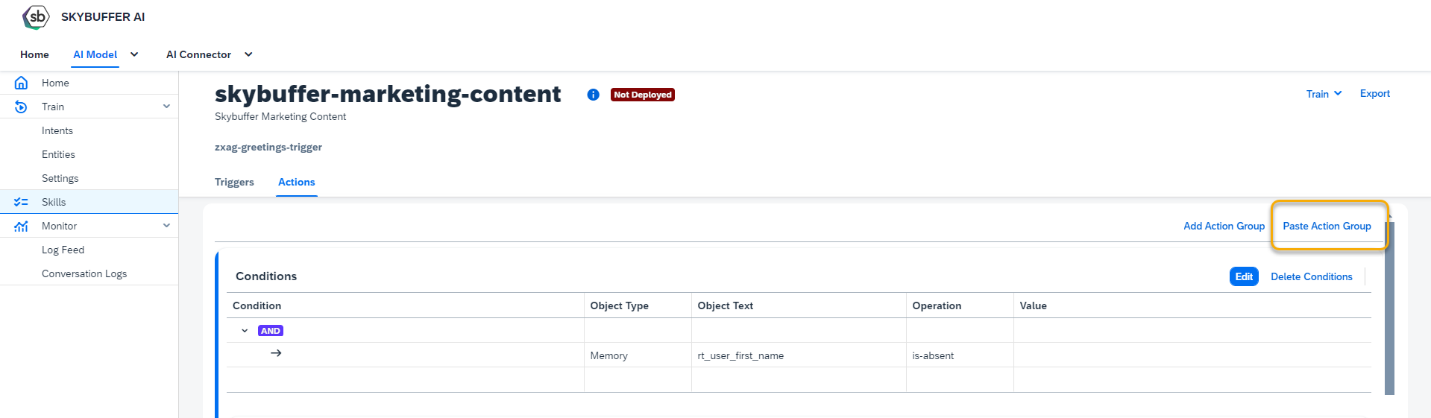
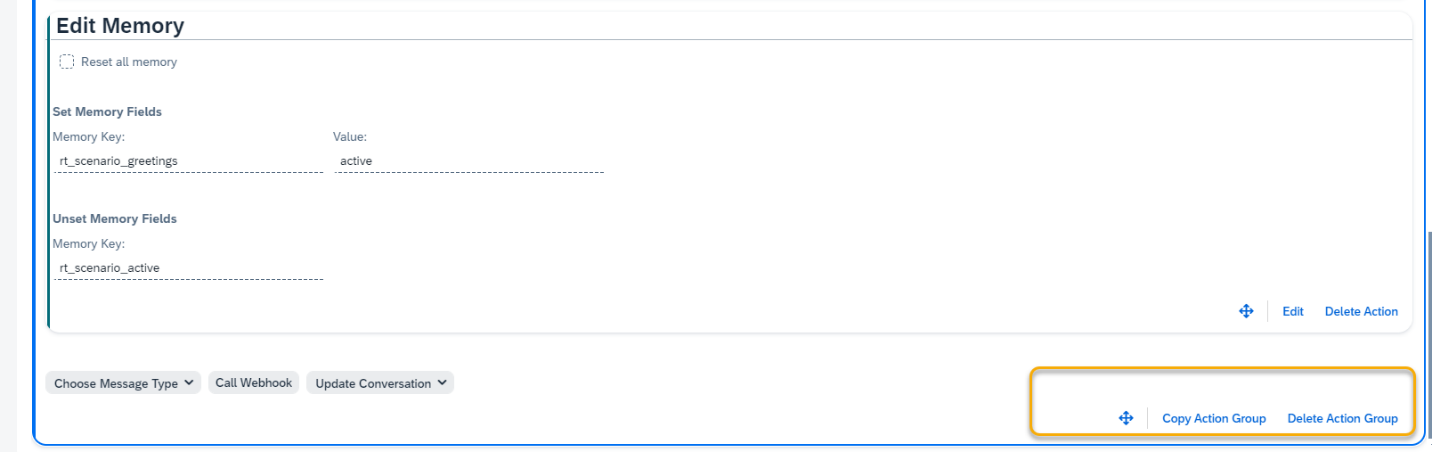
Step 12. Manage Action Group
To create a new Action Group, press the Add Action Group button on the top of the skill Actions tab.
At the bottom of each Action Group, there are buttons to Move, Delete Action Set, Copy Action Group and Paste.
Additionally, the Paste Action Group button is located at the top of the skill Actions tab.