Channel Creation
Step 1. Open the AI Agent Configurator application in the AI Agent group.

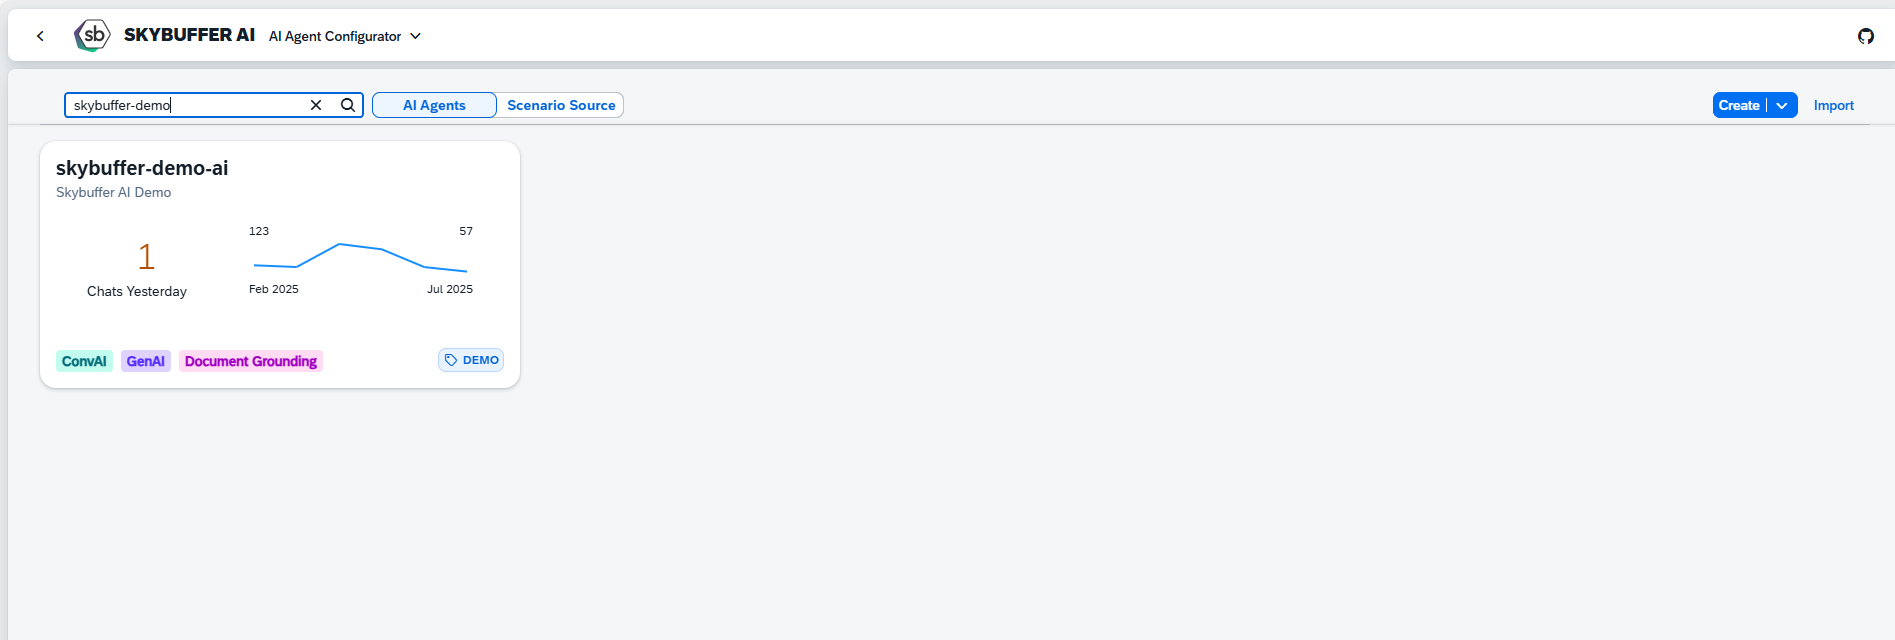
Step 2. After opening the application, you will see a screen displaying all available AI Agents. Each tile represents one Agent, including its name, description, and deployment status. Click on the Agent you want to work with to proceed.
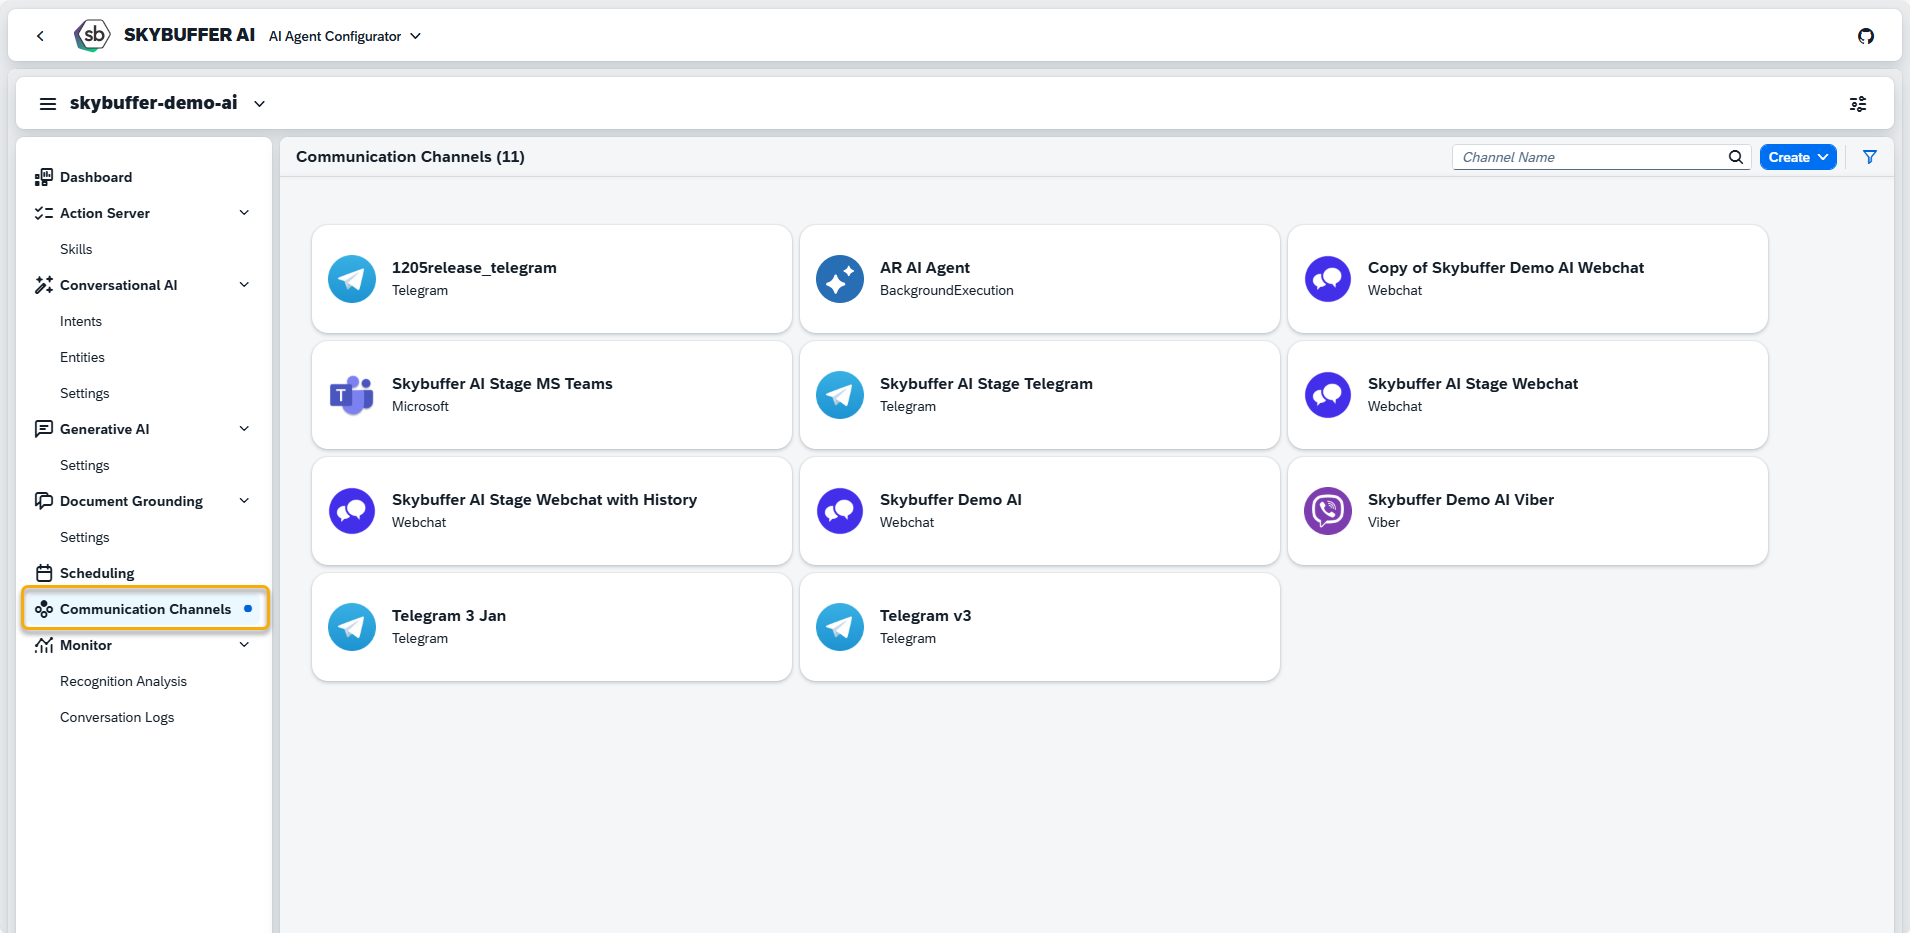
Step 3. Open the Channel management application- Communication Channels.
Step 4. Channel creation.
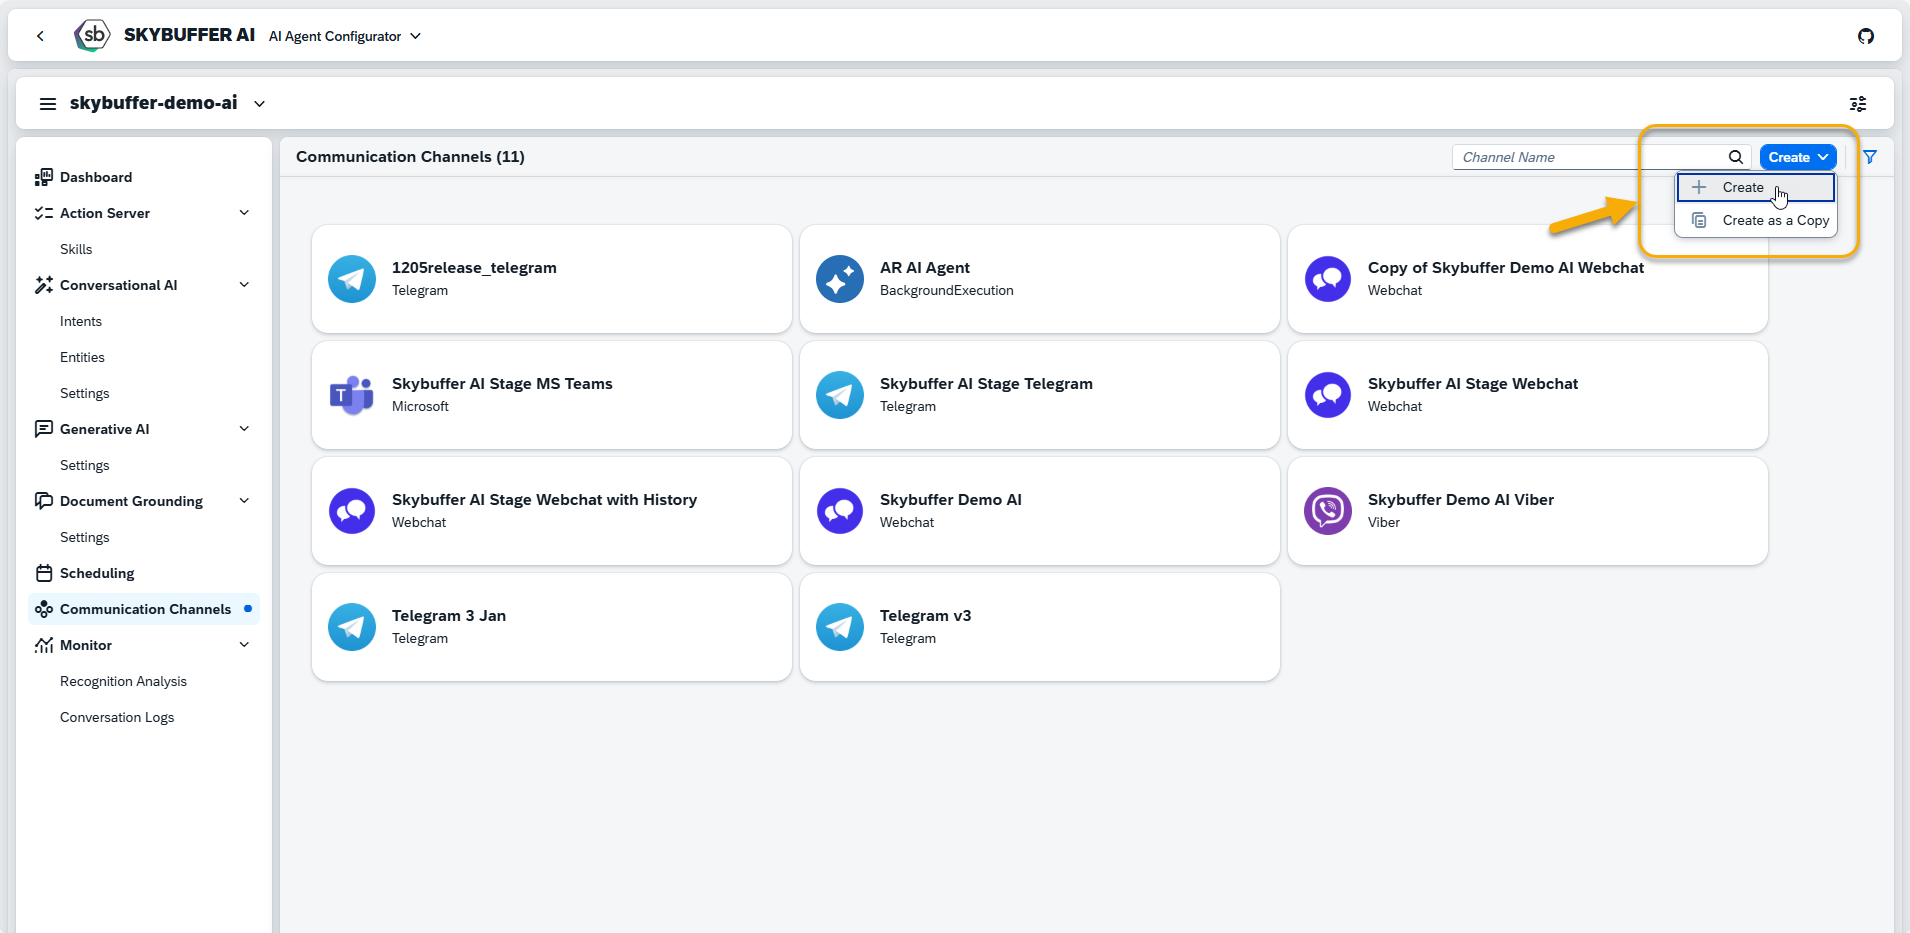
You can create a new Channel from scratch or Copy the Existing Channel.
To create a new Channel, click the Create button:
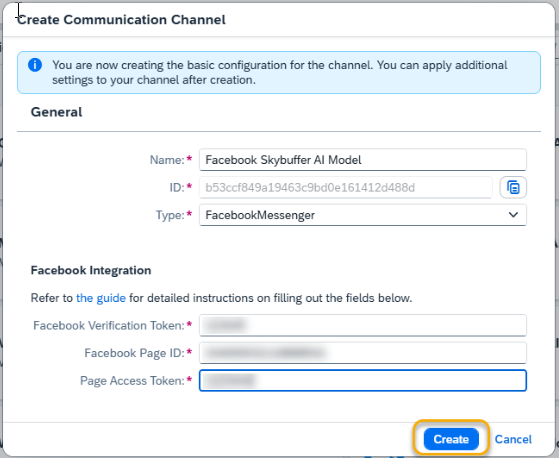
Step 5. Initial Parameters
Fill in the initial parameters for the new Channel. The form includes:
- Channel Name — follow your organization’s naming convention.
- Channel ID — this field is auto-generated.
- Channel Type — select from a list of available types (e.g., Webchat, Microsoft, Telegram).
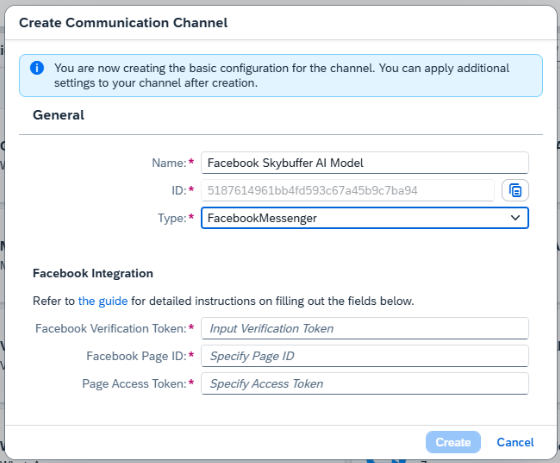
To fill in the fields for Facebook Integration, please refer to Steps 6 – 15.
Step 6. Create your own Facebook page at https://www.facebook.com/pages/create/
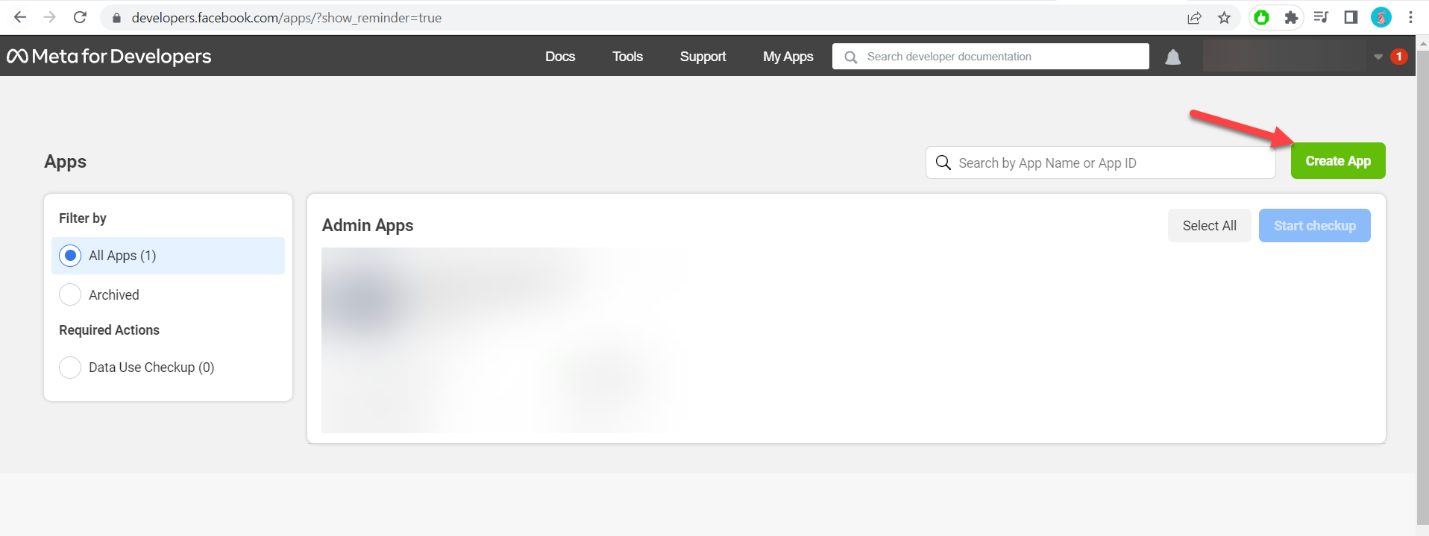
Step 7. Go to the developer’s page at https://developers.facebook.com/apps/
Click Create App:
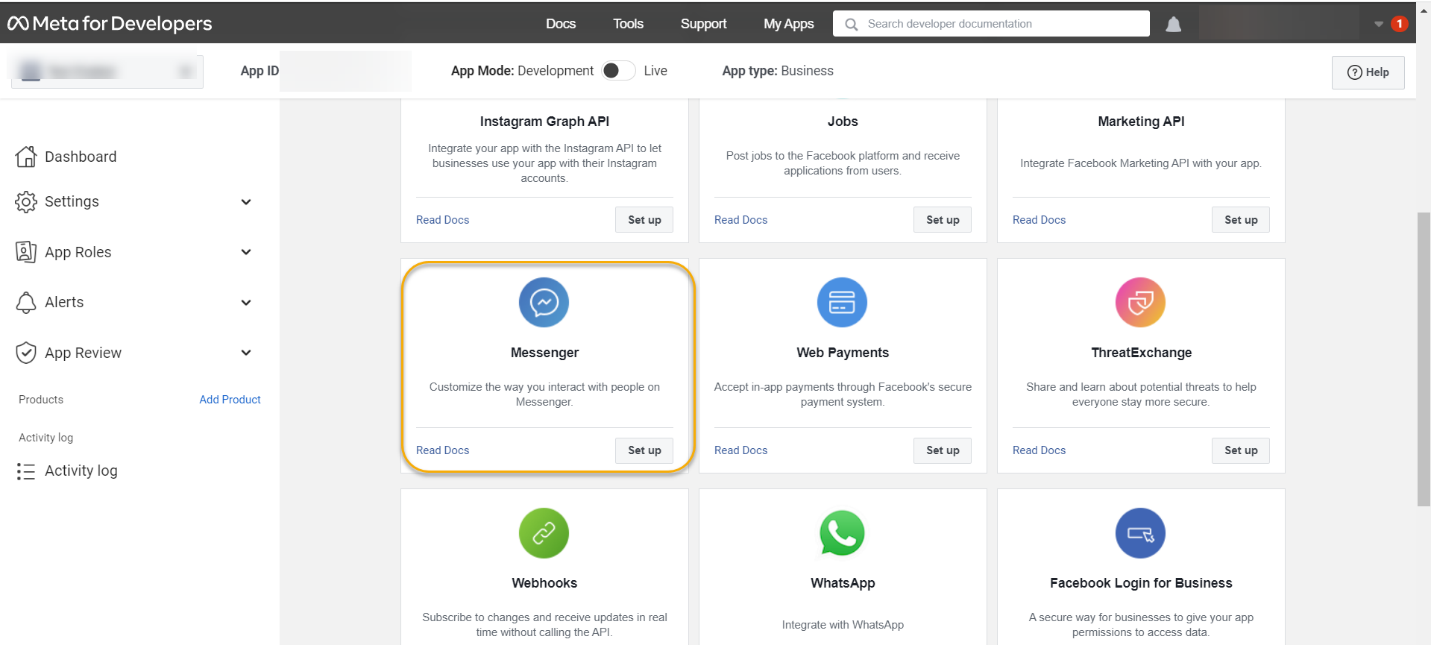
Step 8. The app should be now created, and you should see the App Dashboard page.
In the section of Add products to your app, select Messenger. Click on the Set up button.
Step 9. Select pages for the new app. Choose the previously created page.
Step 10. Review the permissions and click Save to finish the process.
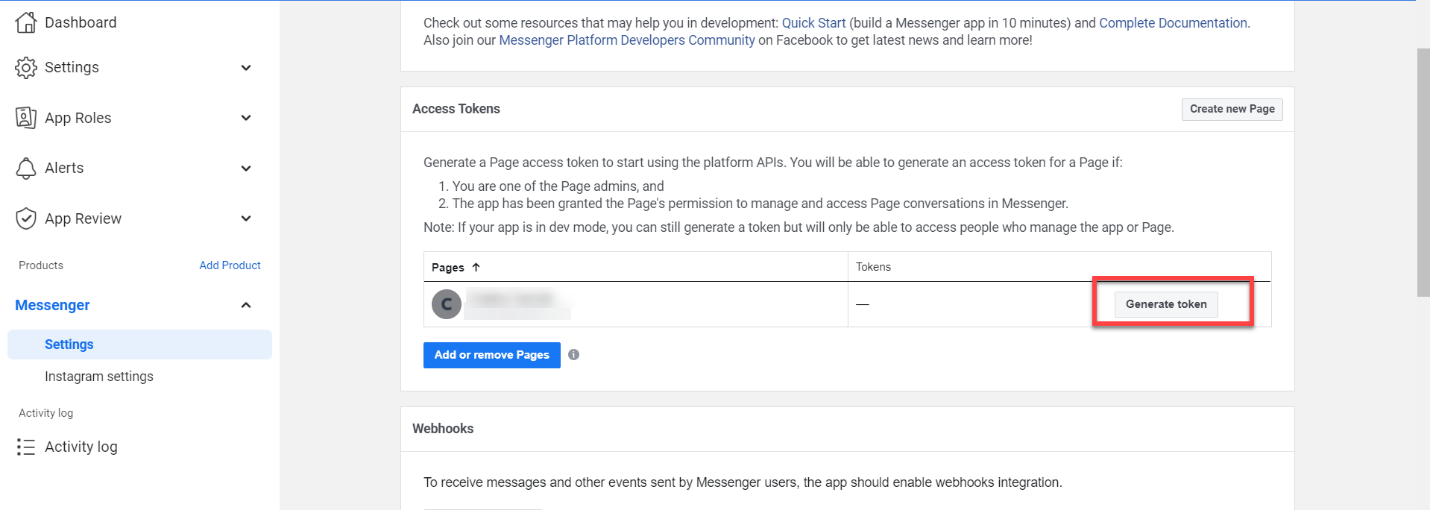
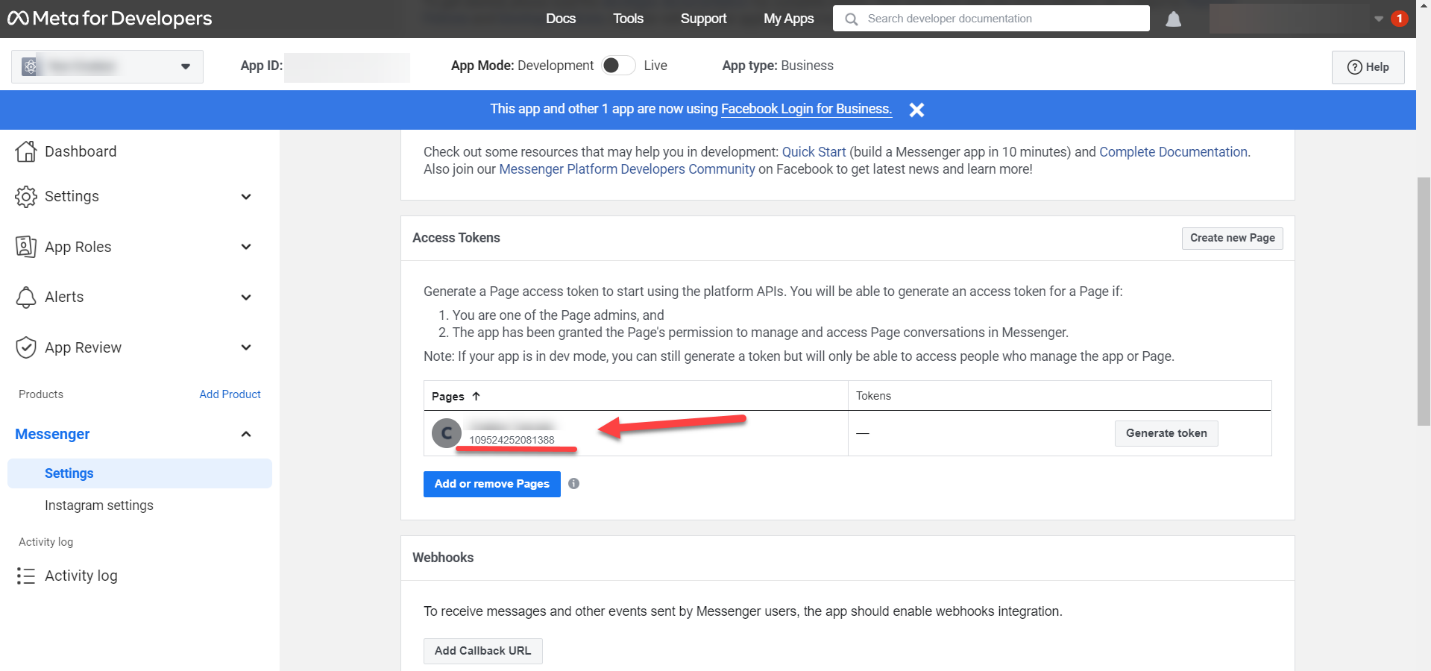
Step 11. Generate Page Token.
Your app has now one new product of type Messenger added. It can be accessed in the Products tab in the menu.
Navigate to the Access Tokens field and click Generate token next to the page name.
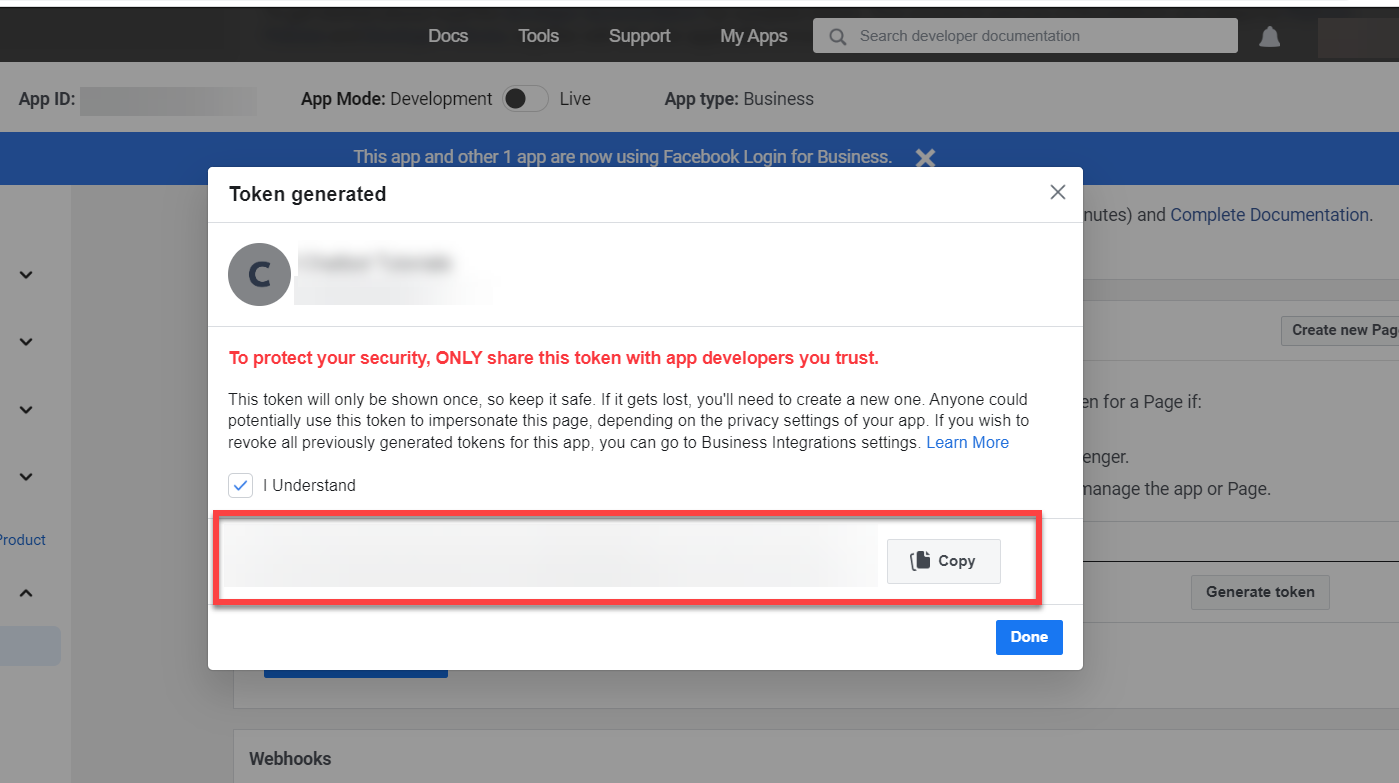
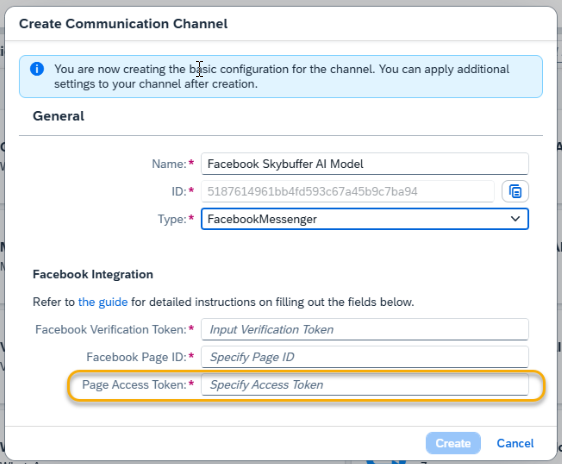
Step 12. Copy Page Token.
You will see the token string that will be necessary during the Channel creation in the SAP application.
Paste this value under Page access token in the Fiori Communication Channels app.
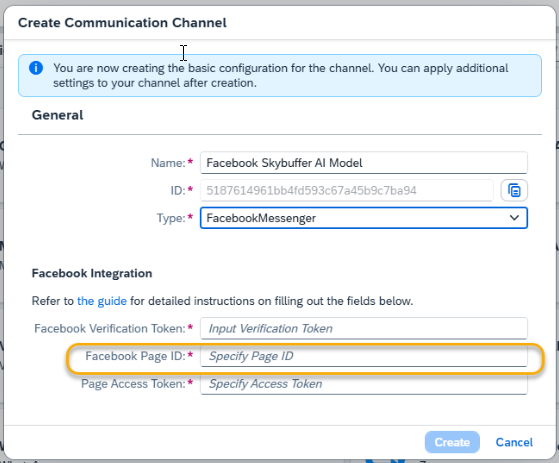
Step 13. Facebook Page ID.
Access this value in Products > Messenger > Settings > Access Tokens.
Copy the red value to the Facebook Page ID field.
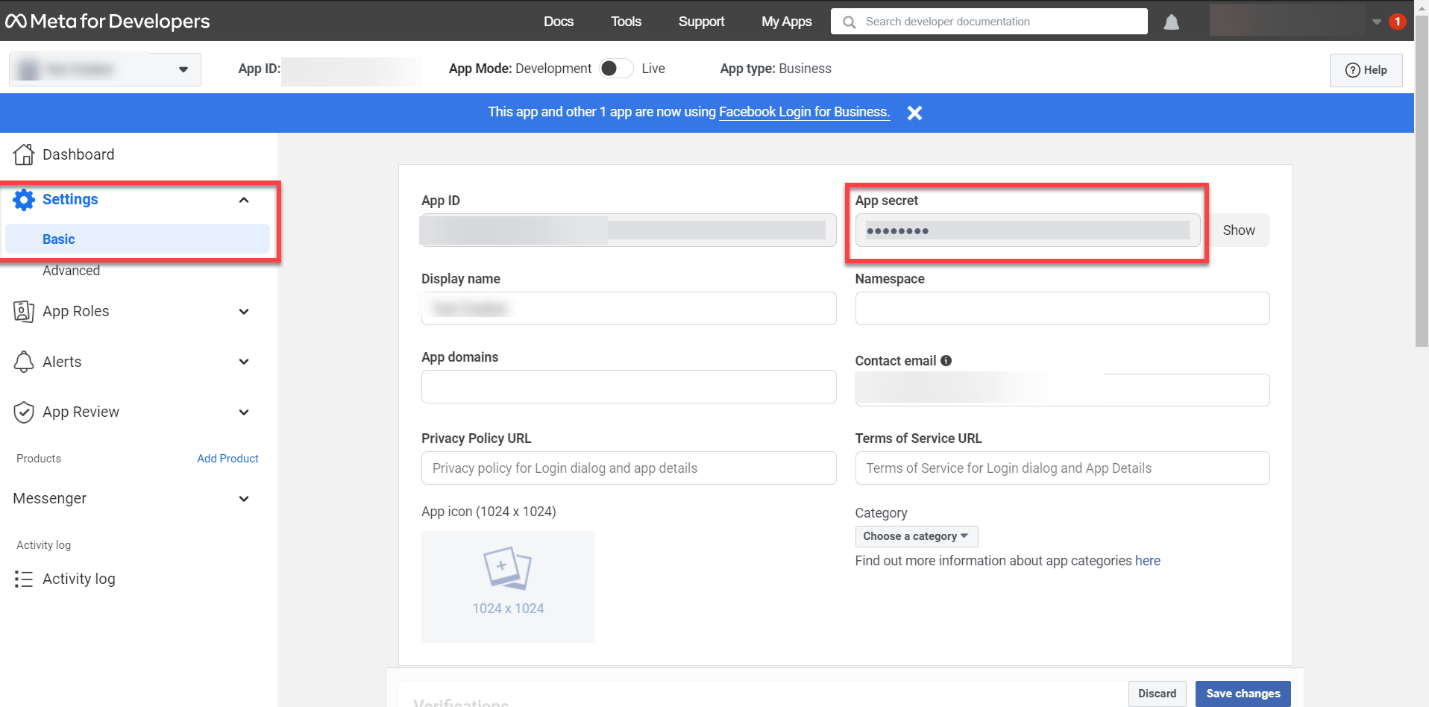
Step 14. Facebook verification token.
Navigate to Settings > Basic.
Copy the App Secret to the Facebook Verification Token field in Skybuffer AI app.

Step 15. Press Create to finish the initial setup in the Communication Channels application.
Step 16. Tools Activation
Once your Channel is created, you can activate or deactivate tools defined within your AI Agent.
For more information, visit: Tools Activation.
Step 17. Destination Assignment
This setting allows you to assign destinations to tools that have backend-connected actions.
For more information, visit: Destination Assignment.