Intents and Entities Creation
Step 1. Navigate to AI Agent Configurator Application
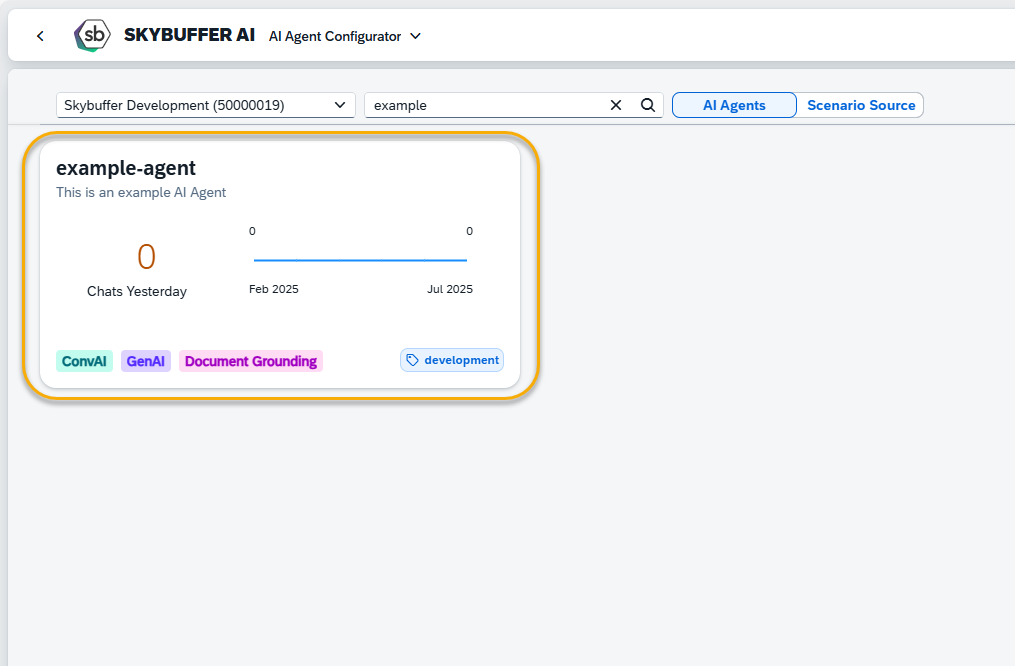
To manage your AI Agent capabilities, go to AI Agent Configurator application:

Select your AI Agent from the dashboard.
Step 2. Adding Intents
To begin creating model data, navigate to the Conversational AI tab and select Intents.
Click the Add Intent button to create a new intent.
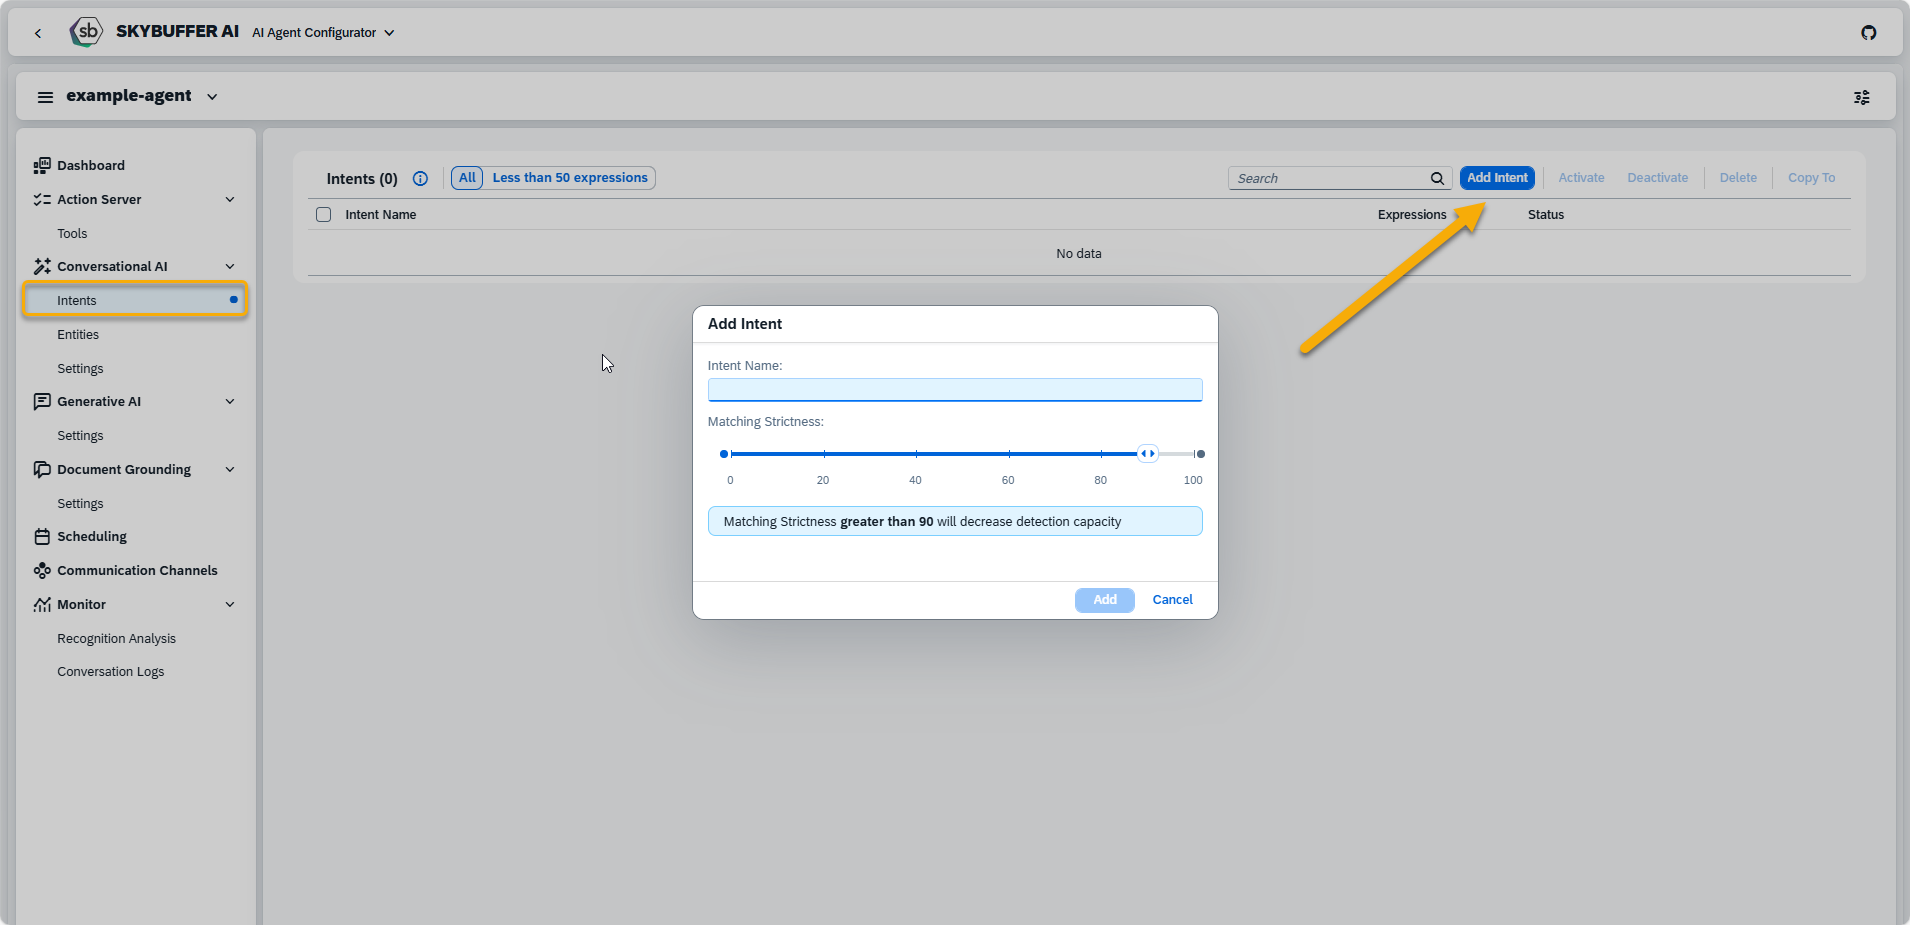
Enter the intent name, adjust the strictness level as needed, and click Add.
Once the intent is created, select it from the list and start adding expressions that reflect how users might phrase their requests.

Step 3. Activating Intents
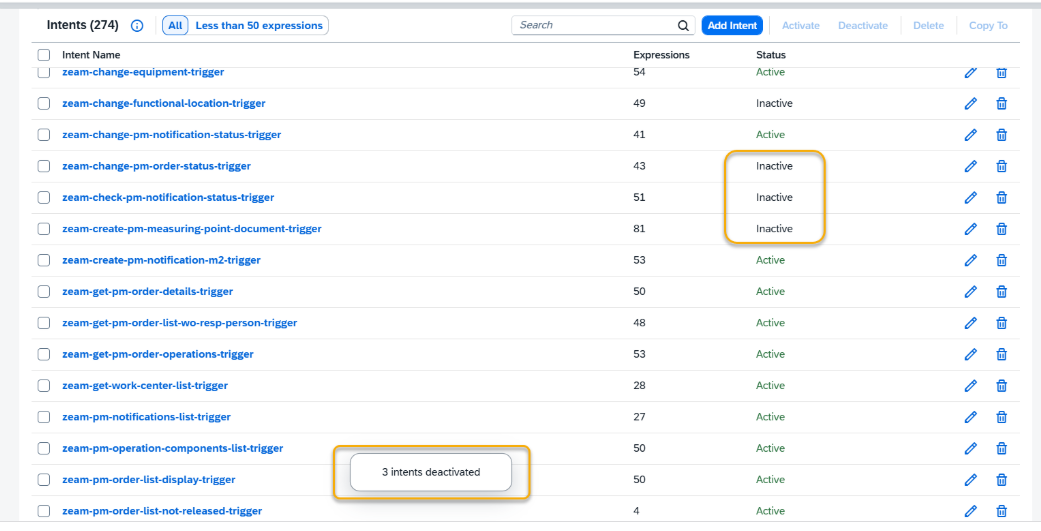
When your intents are created and expressions are added, you can decide whether their status should be active or inactive.
To do this, simply select the intents you want to deactivate for now and click the Deactivate button.
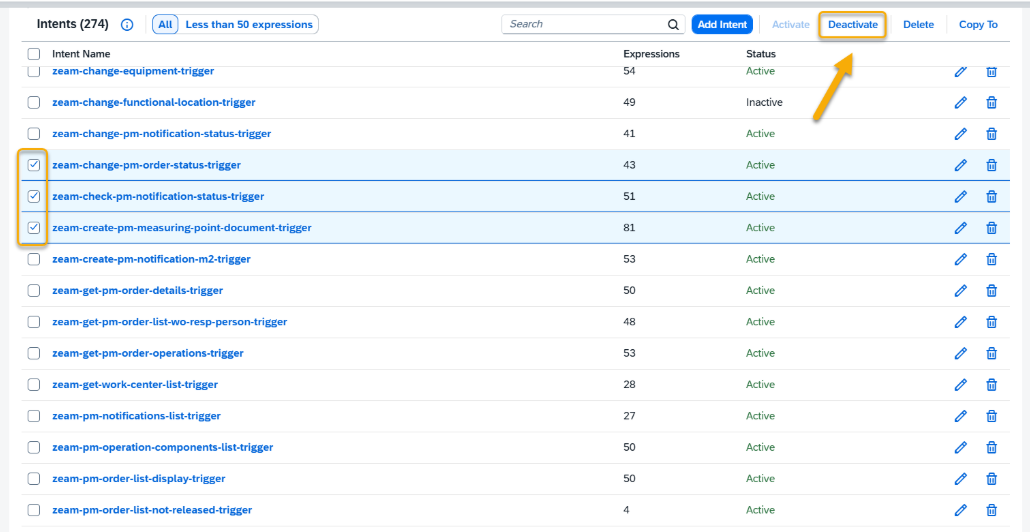
Selected intents will now appear as inactive.
Step 4. Copying Intents to Another AI Agent
You can also copy your intents to another AI Agent. To do this, select the intents you want to copy and click the Copy to button.
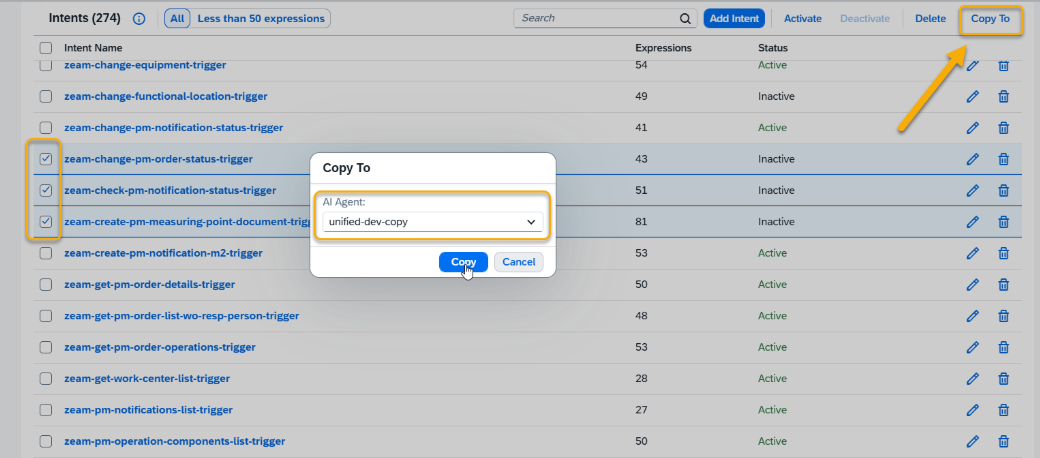
Next, choose the AI Agent to which you want to copy your intents and click the Copy button.
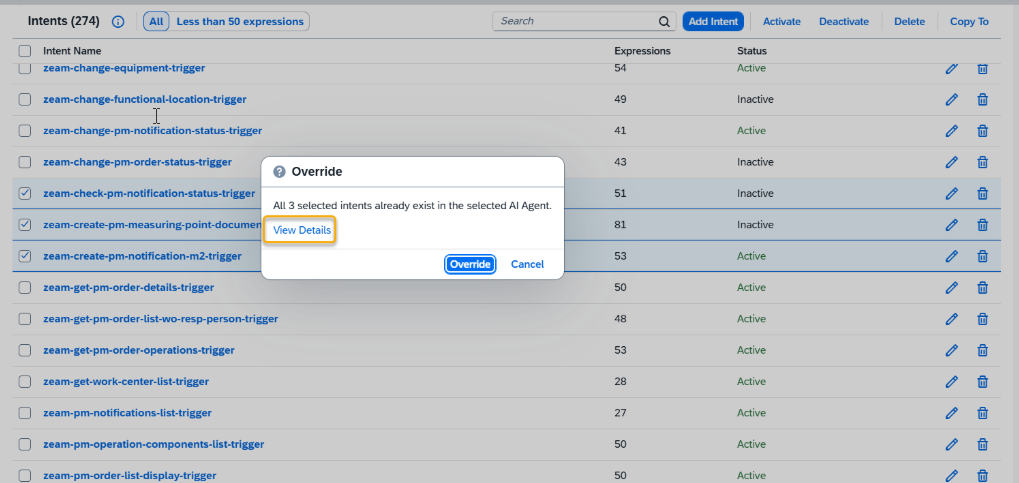
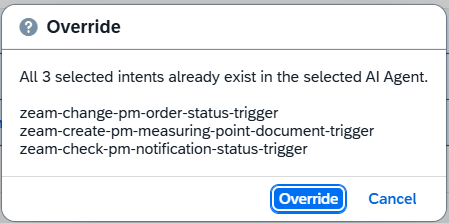
If some of the selected intents already exist in the chosen AI Agent, you can click View Details to see which ones are duplicates and decide whether to override them or not.
Step 5. Deleting Intents
If you no longer need certain intents, you can delete them. Simply select the intents you want to remove and click the Delete button.

Step 6. Creating Entities
To create a new entity in the Conversational AI tab, choose Entities and press the Add Entity button:

Enter the entity name and select its type (Free, Restricted or Regex), adjust the strictness level.

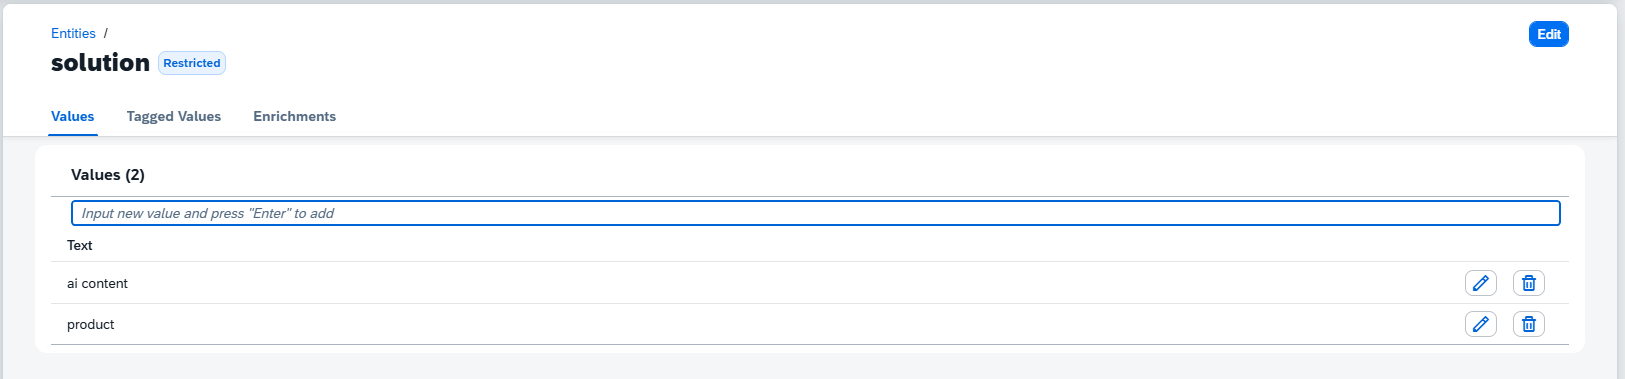
Add Values to your Entity.
Step 7. Copying Entities to Another AI Agent
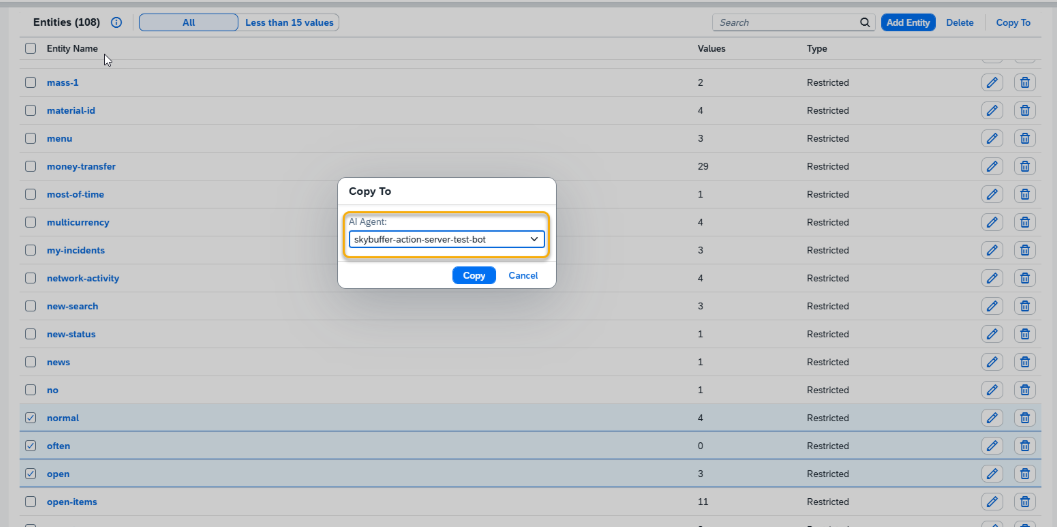
You can also copy your entities to another AI Agent. To do this, select entities you want to copy and click the Copy to button.

Next, choose the AI Agent to which you want to copy your entities and click the Copy button.
NOTE: Gold Entities cannot be copied or deleted.
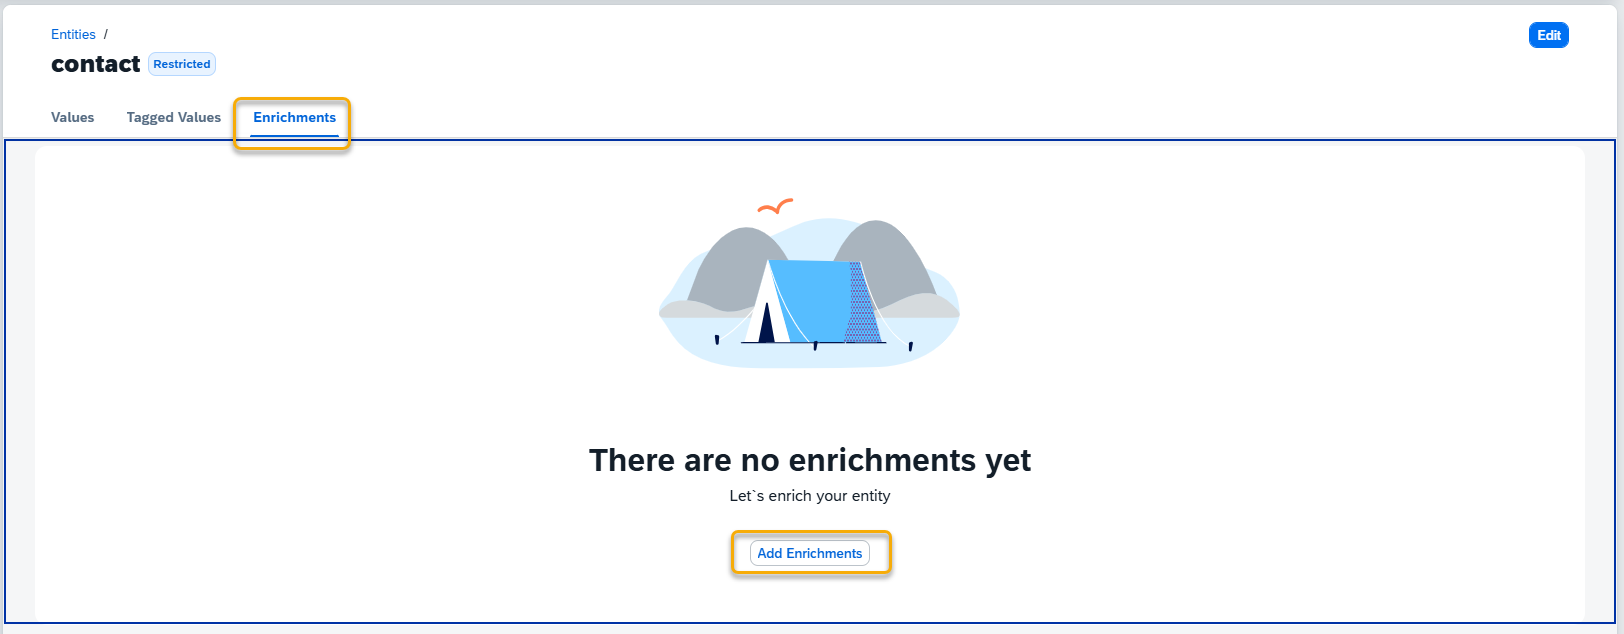
Step 8. Supplement the entities with enrichments (Optional).
To add Enrichments in the Enrichments tab, press the Add Enrichments button
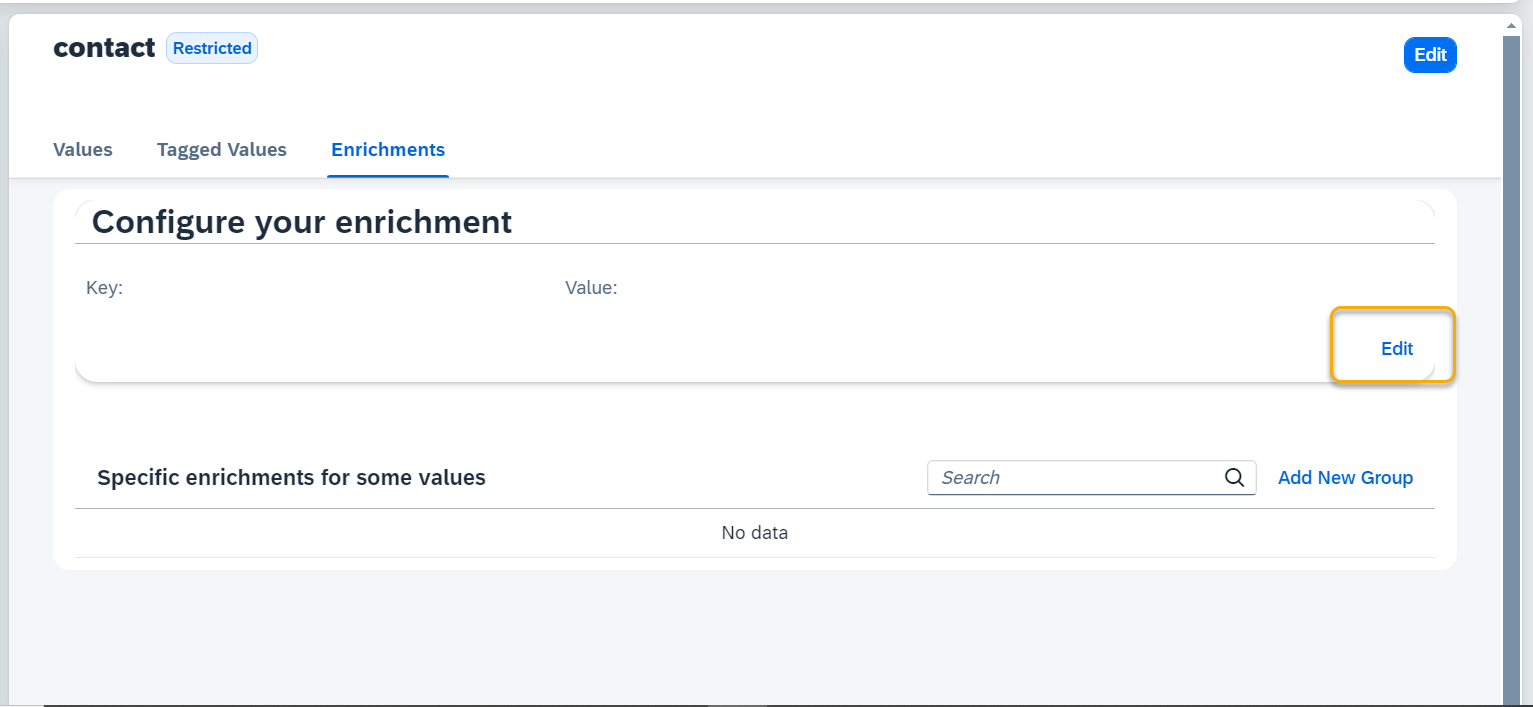
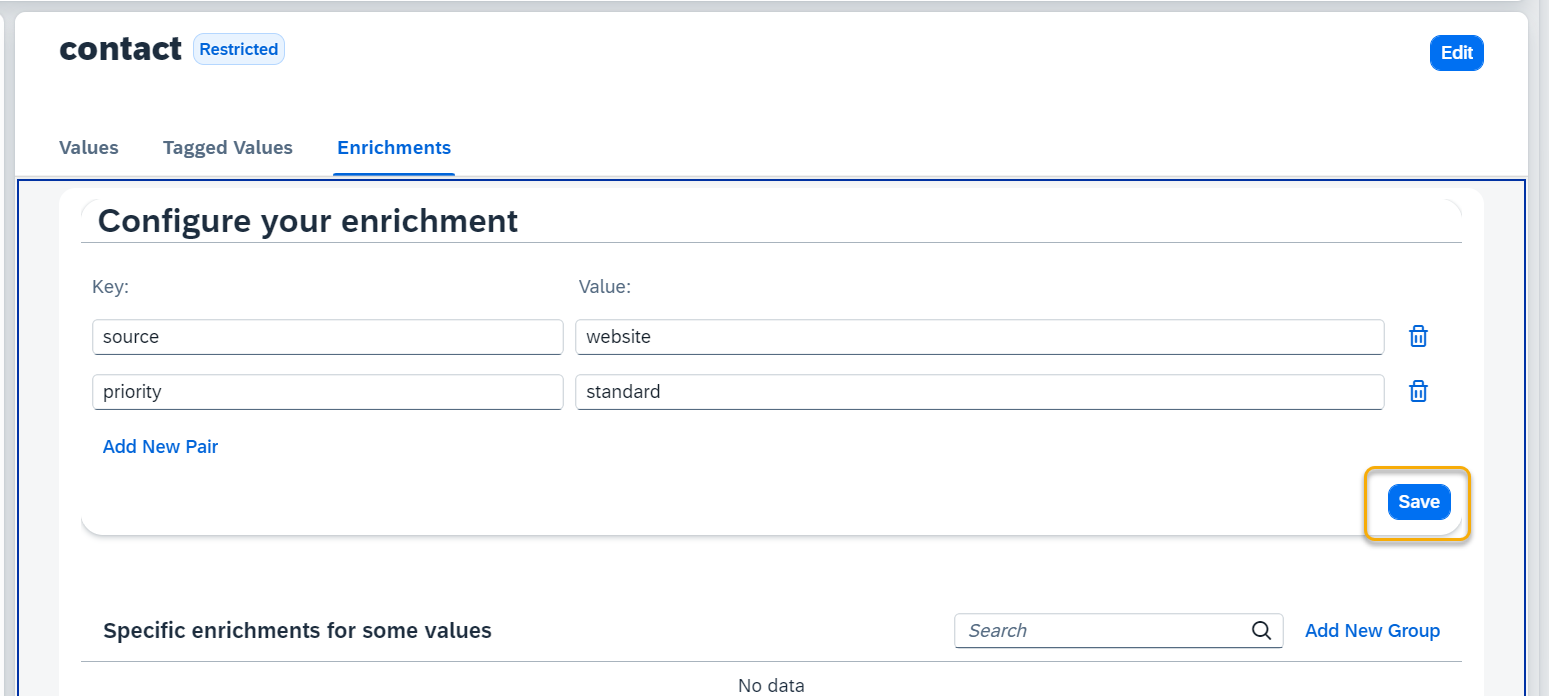
To configure your enrichment, go to Edit mode, press the Add New Pair button, add Key and Value, save the changes.
Here we created entity: contact.
Example: Every time our AI Agent will recognize entity contact in the user’s message, it will also add to the memory those key-value pairs: (source: website, and priority: standard) .
Following our example, we want source of the contact to be set as “website”, and we set “priority” as “standard”.
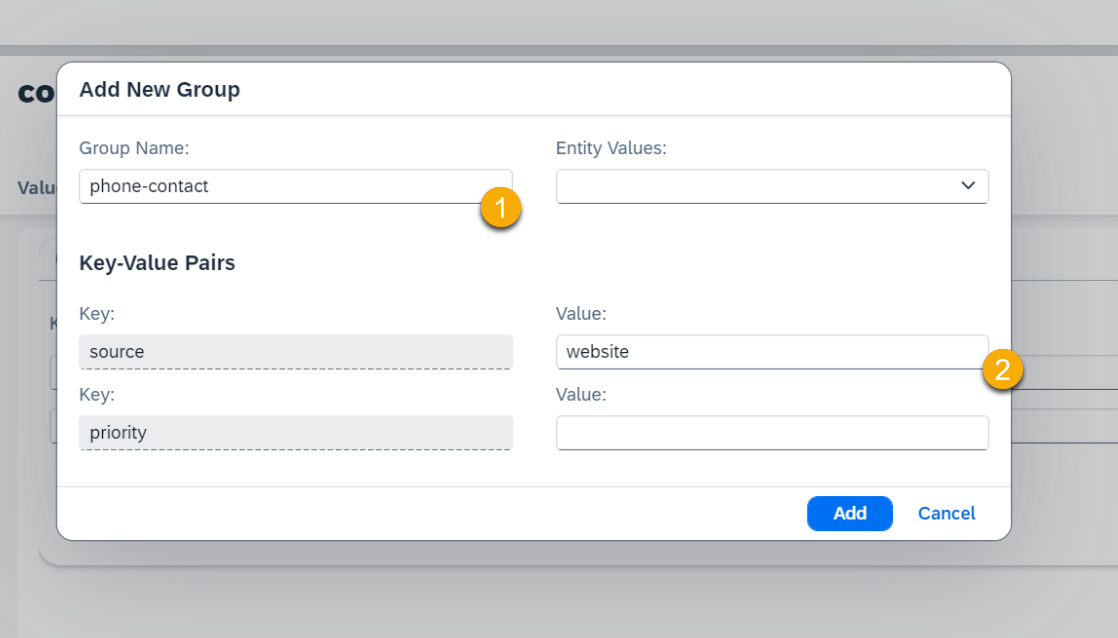
We can also set custom enrichments for only some entities.
Press the Add New Group button, enter the Group name (1). You will see the enrichment key-value pairs you have set in previous step (2).
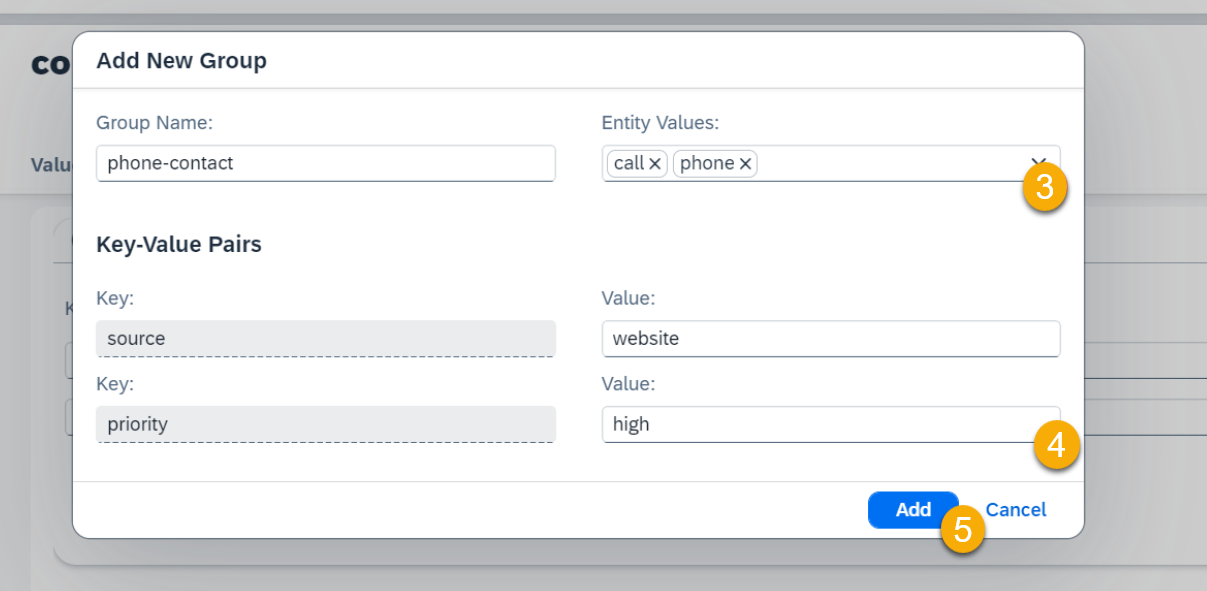
For the entity values: call and phone(3) let’s change the “priority” to “high”.
Now every time a user will mention contact by phone or call, the priority will be set to high in memory.
Step 9. Tag Entities in Intent expressions.
You have a possibility to Tag entities in Intents. To do so, go to the Conversational AI/Intents tab, select your intent.
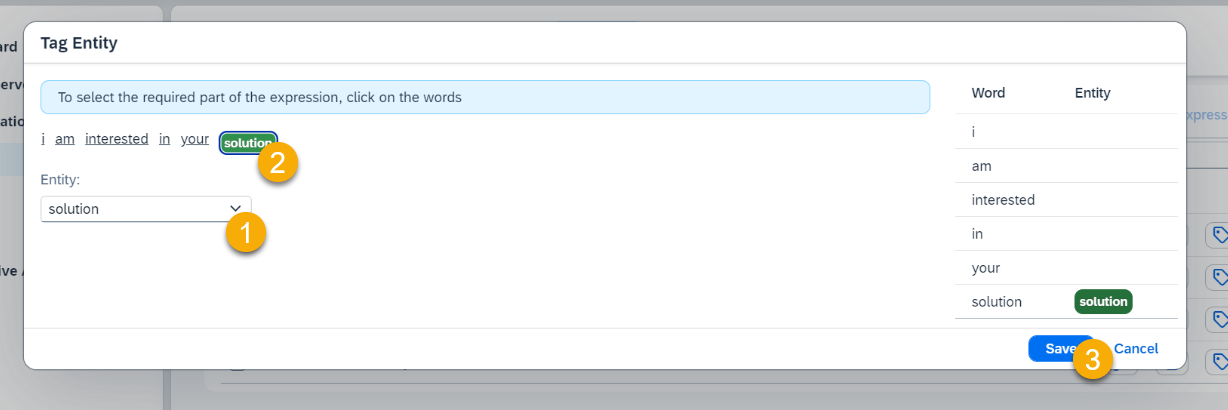
Press the Tag icon near the expression where you’d like to add Tags.
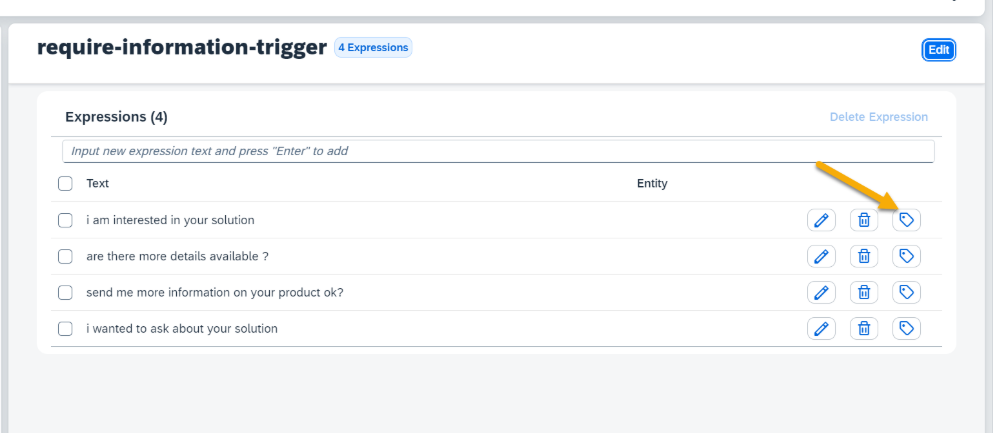
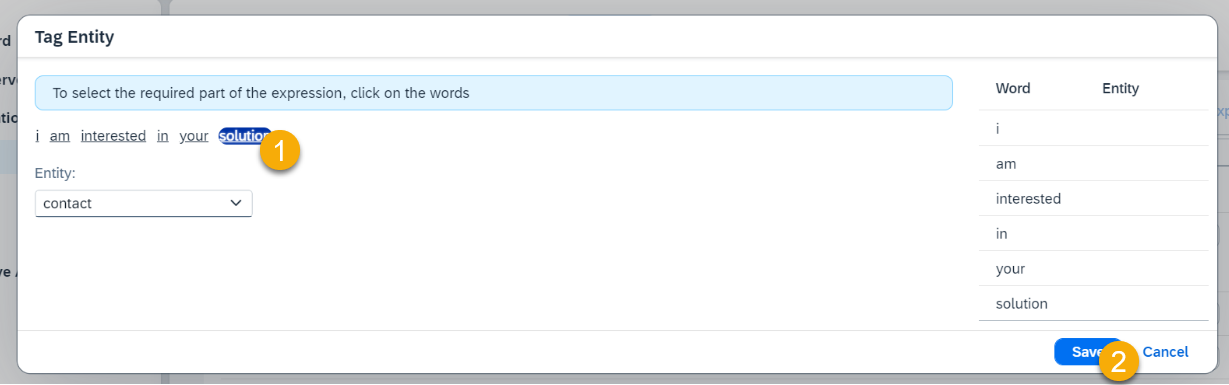
Select Entity from the dropdown list. Then choose the word in the expression to tag it as a selected entity.
Save your entries.
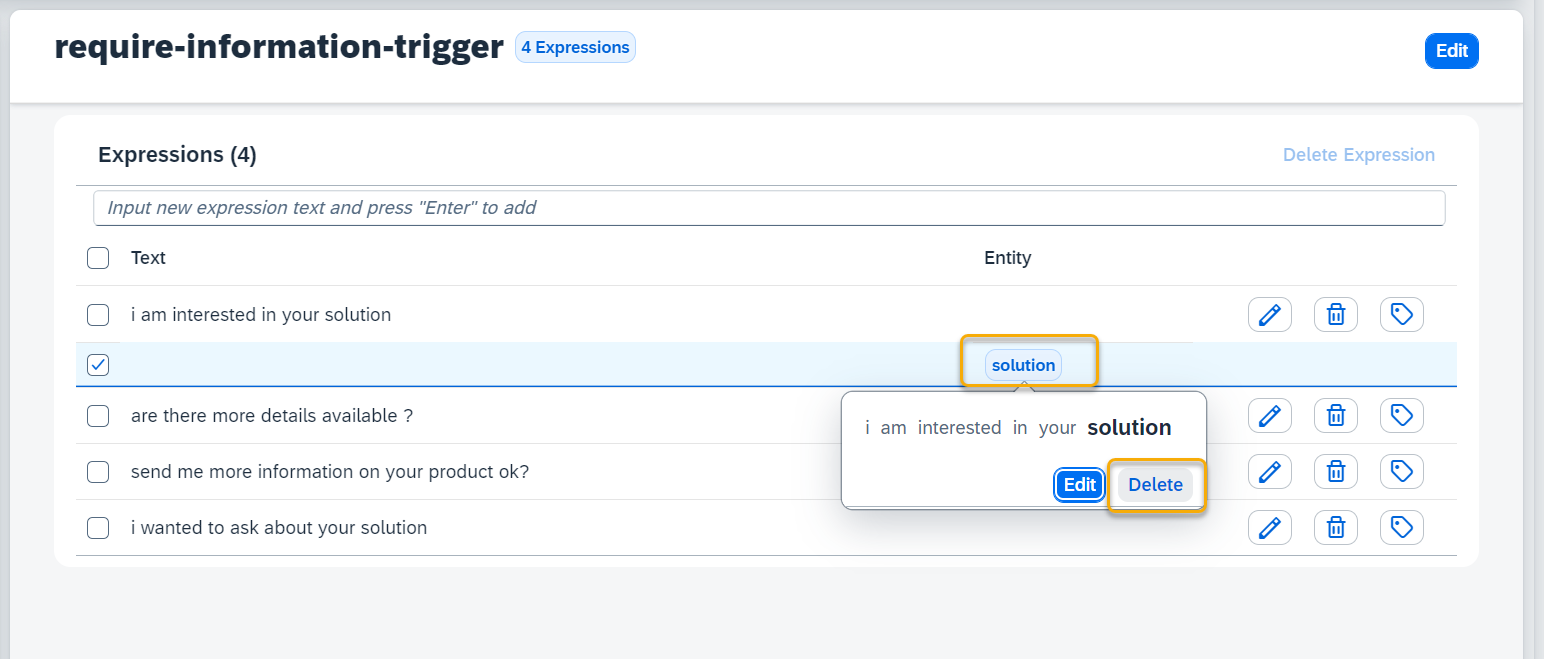
To delete a tag, just press on it one more time, so the colorful highlight disappears. Save your changes.
To add changes or delete the tag after it was saved, click on the appropriate entity tag in the list of Intents.
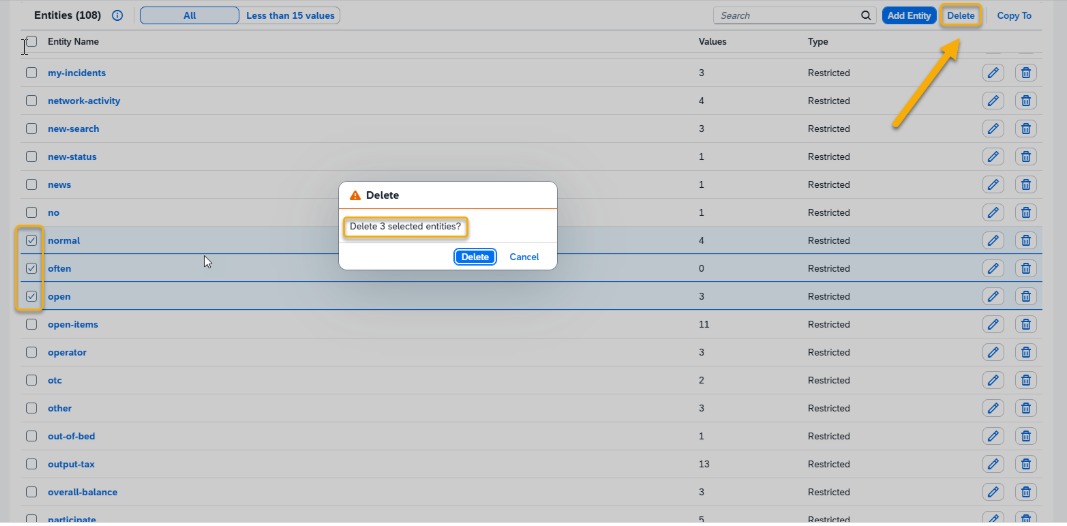
Step 10. Deleting Entities
If you no longer need certain entities, you can delete them. Simply select entities you want to remove and click the Delete button.
Conversational AI Settings
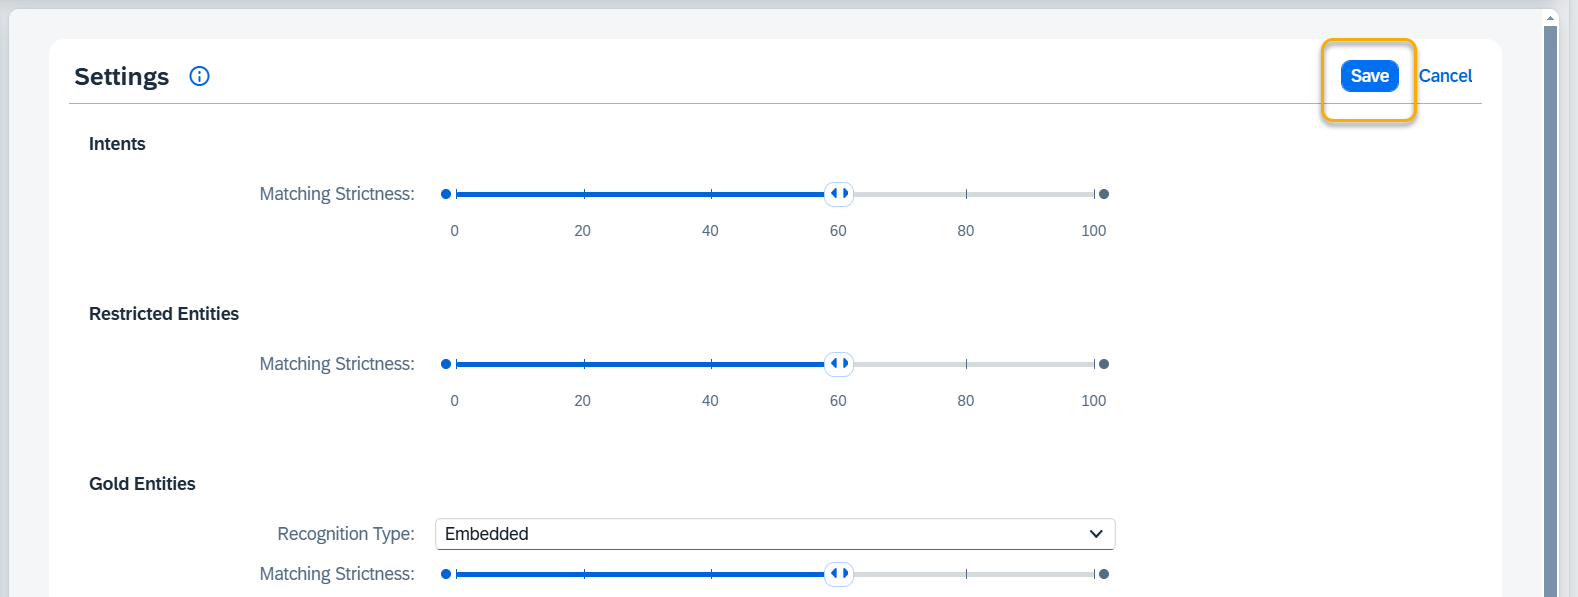
Step 1. Edit the Settings.
Open the Settings tab (1) in the Conversational AI section on the left. Click on the information icon (2) to understand the options. Click on the Edit (3) button to change them.
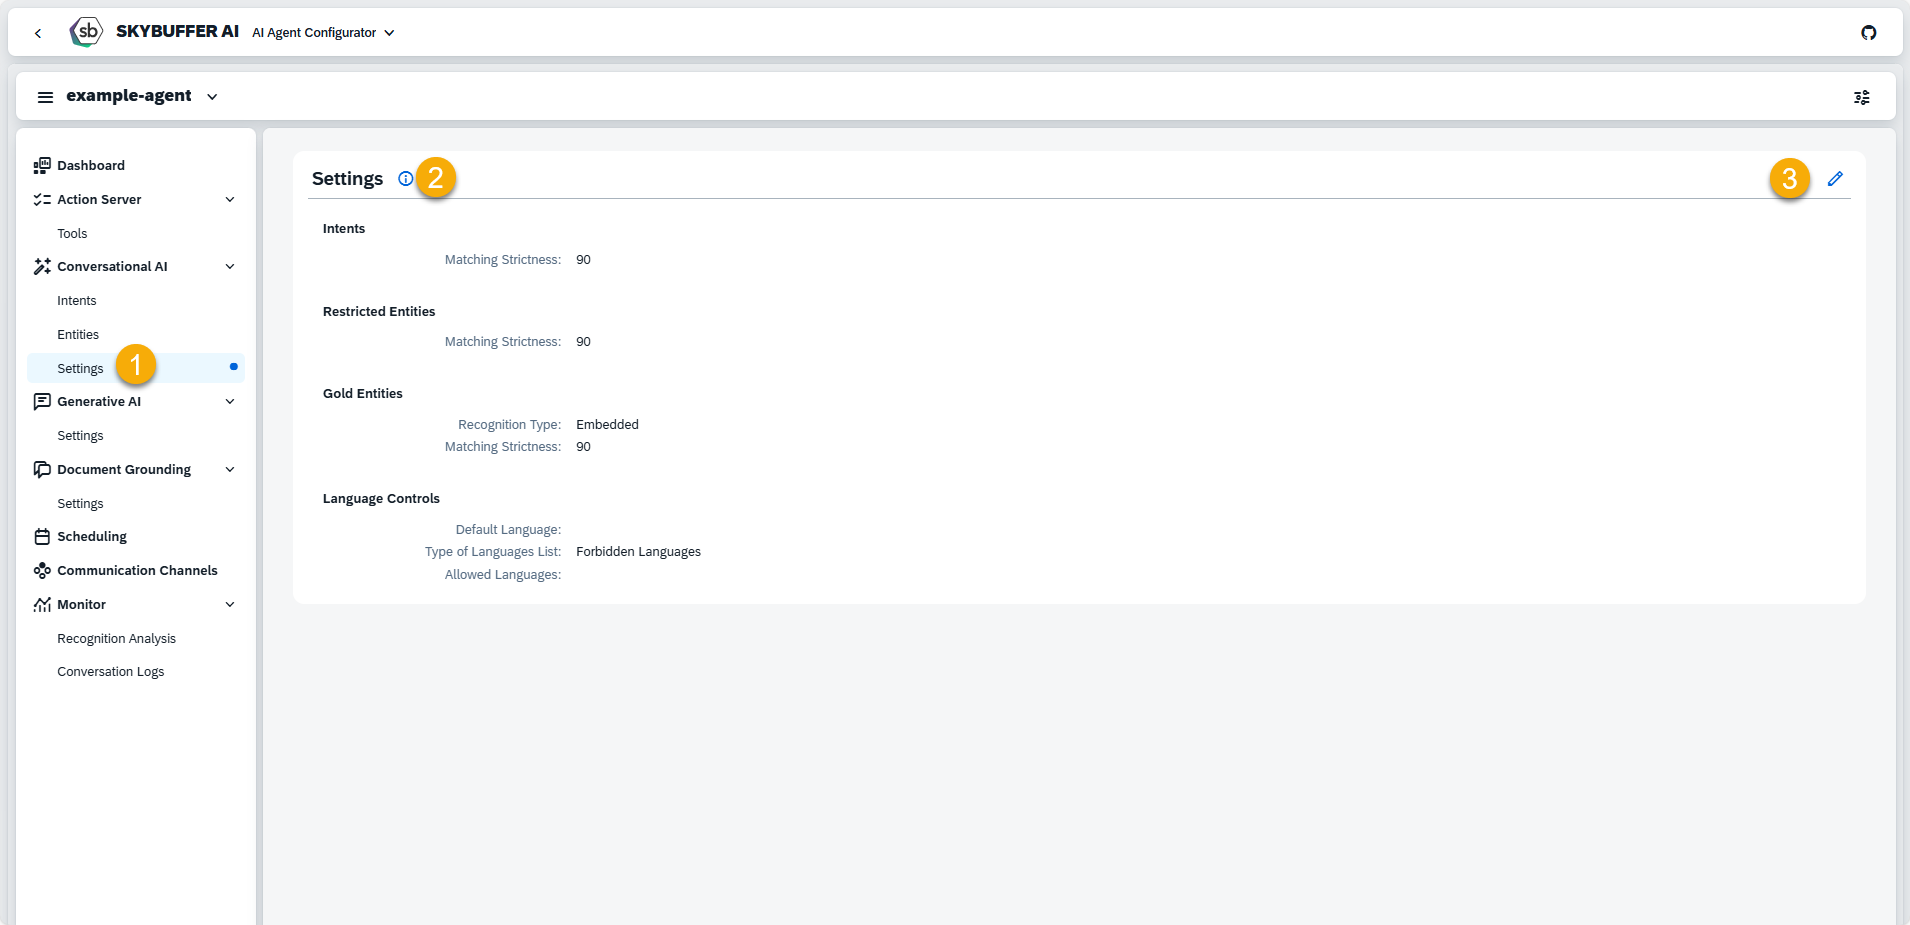
Intents:
- Matching Strictness – strictness ranges from 1 to 100, where 1 is not strict , and 100 is maximum strictness. Model set to 90-100 strictness will base on the training data for intents and entities exclusively, and will not recognize words that are a bit modified – like typos, plural forms, verbs in different tenses etc. Lower strictness will allow for more elasticity.
- Recommended value: No less than 90 for optimal accuracy.
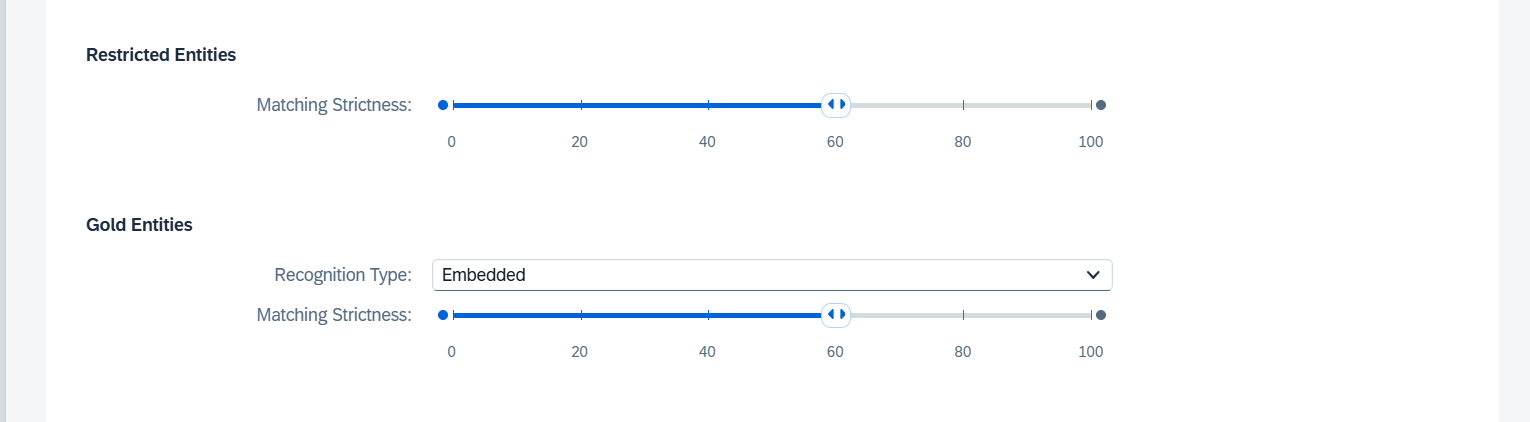
Restricted Entities:
- Matching Strictness: Define the precision level for recognizing restricted entities. Definition is the same as for Intents.
- Recommended value: No less than 90 for effective filtering.
Gold Entities:
Choose Recognition Type:
- Embedded: Uses LLM library-based recognition logic. Suitable for simpler, localized recognition needs.
- Generative AI-Based: Uses advanced Generative AI for greater flexibility and robust recognition. Recommended for complex or dynamic scenarios.
Configure Settings Based on Recognition Type
- For Generative AI-Based Recognition: Select a Recognition Destination from the available Generative AI Destinations.
- For Embedded Recognition: Set the Matching Strictness: Recommended value: 90 or higher for accurate recognition. Higher values ensure precise matches; lower values broaden interpretation.
Language Controls:
- Set the default language for your AI Agent
- Define a list of allowed or blocked languages.
NOTE Language settings apply only if the Translation Service is activated at the Tenant level in the AI Connector Configurator application.
Settings for Gold Entities, with Embedded Recognition Type:
Settings for Gold Entities, with Generative AI Recognition Type:

Language Controls Setup:
Press the selector icon to see the languages list :

Press the language to add it :
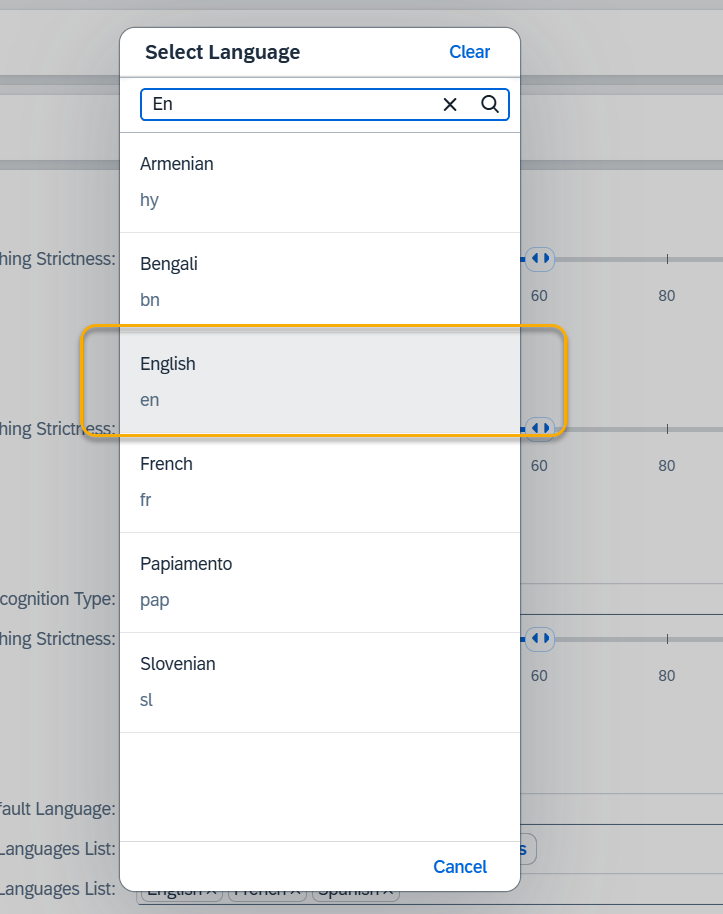
NOTE: Default Language must be also selected in “Allowed Languages” (or excluded in “Forbidden Languages” list).
Step 2. Save Changes.