Channel Creation
Step 1. Open the AI Model Configurator application in the AI Model group.
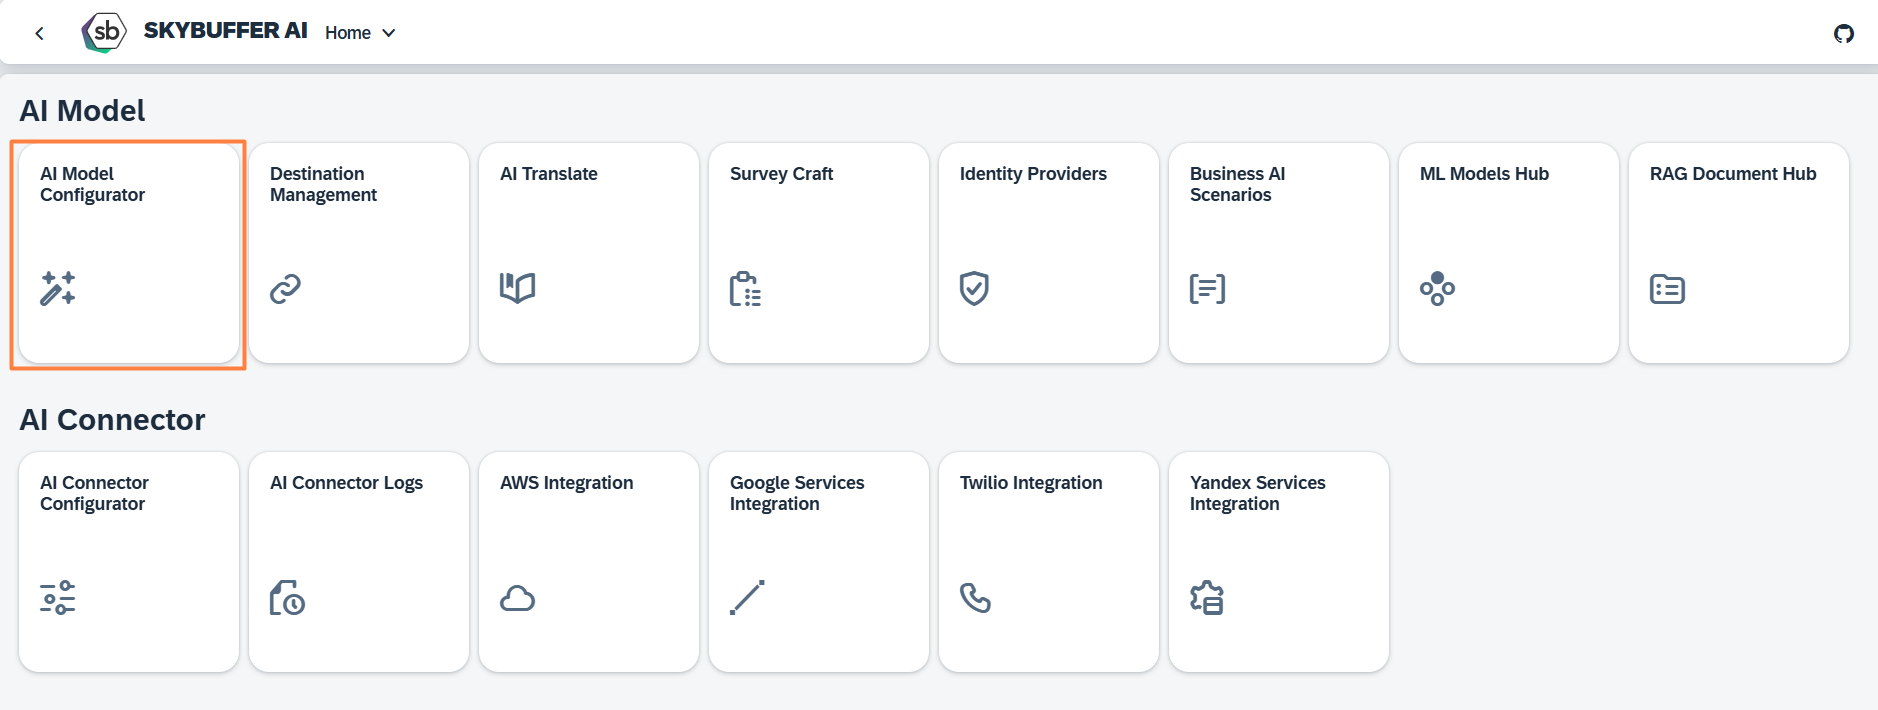
Step 2. After opening the application, you will see an initial screen with all the AI Models available. Each tile represents one model, with its name, description and deployment status. Click on a model you want to work with to proceed.

Step 3. Open Channel management application Communication Channels.
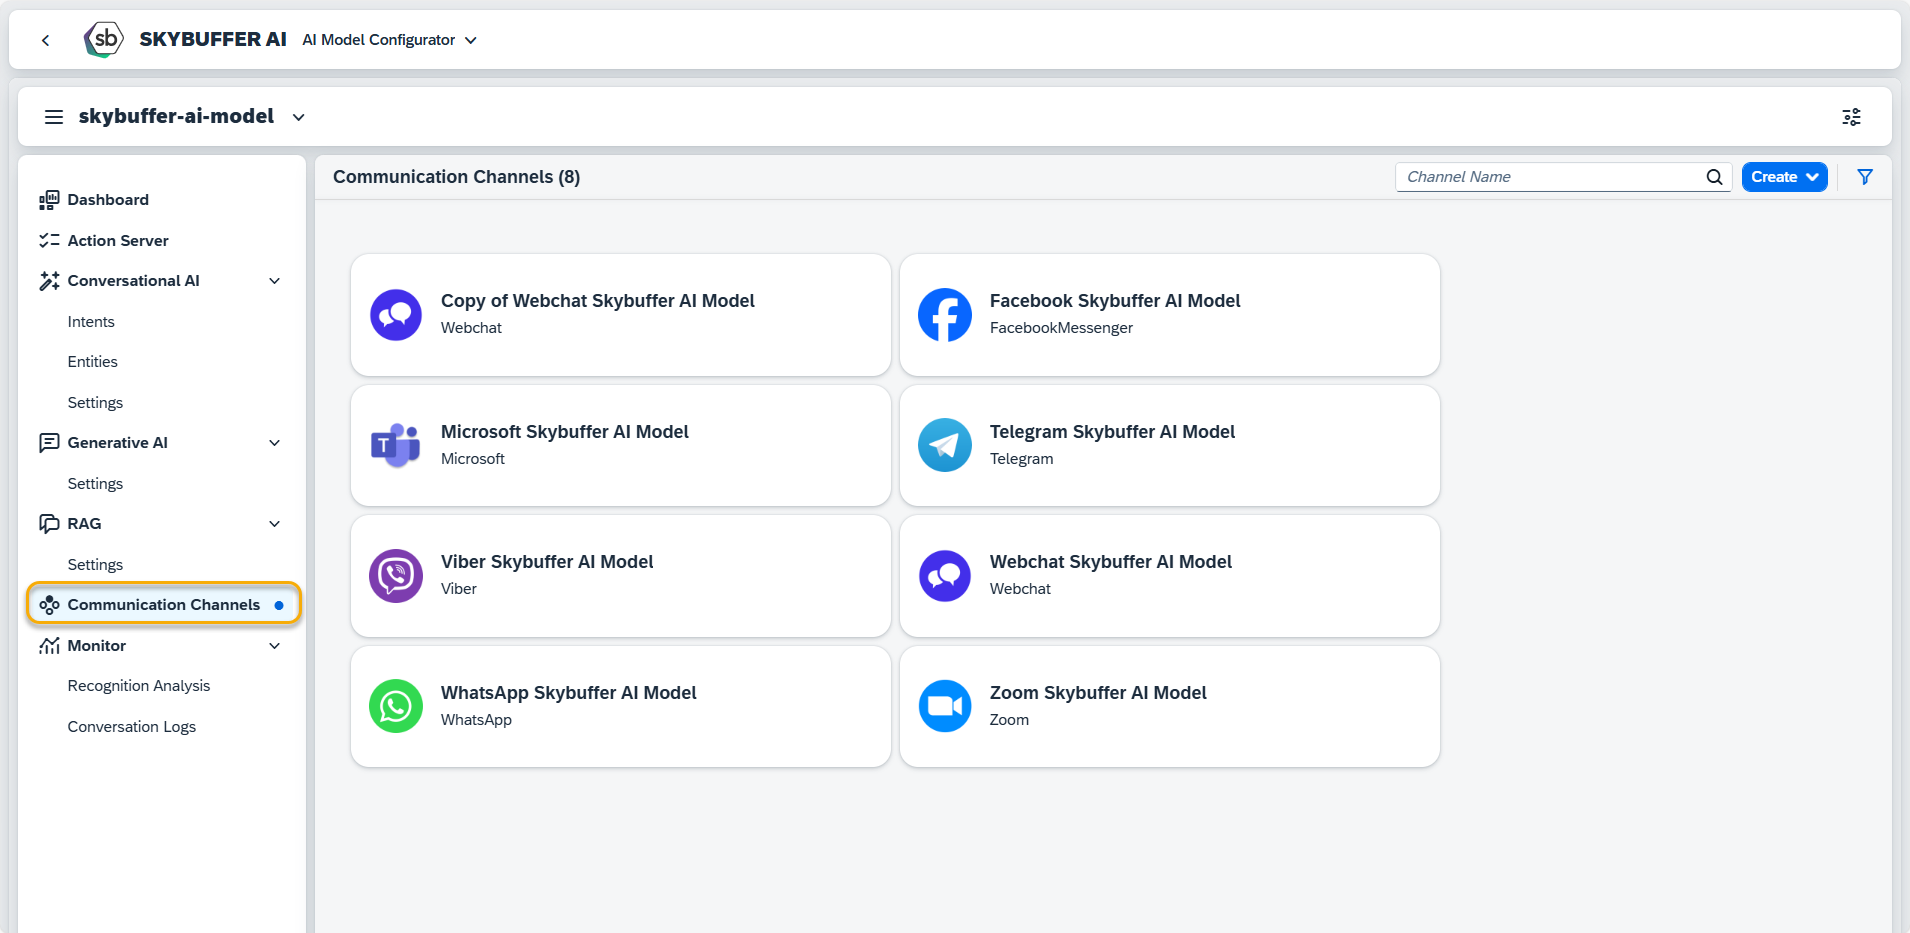
Step 4. Start channel creation.
You are allowed to create a new Channel from scratch or copy one of the existing Channels.
Click on the Create button to add a new Channel.
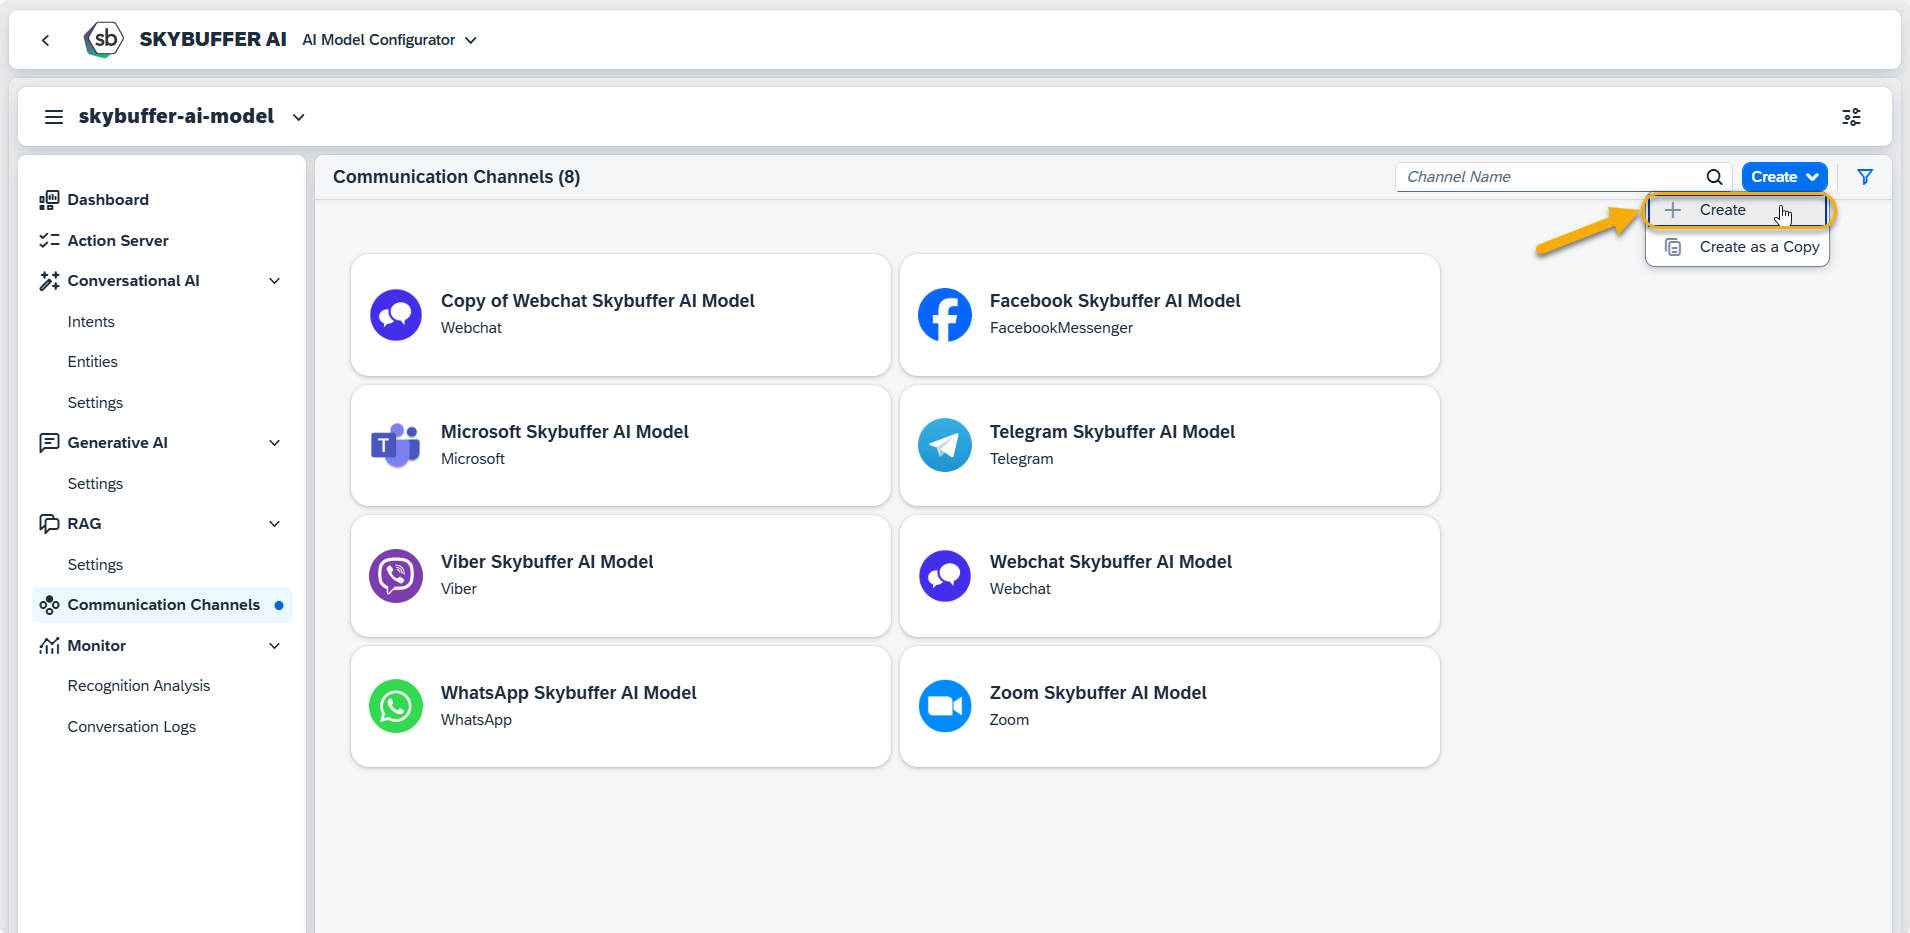
Step 5. Select channel type.
In this new window, fill in the Name and Type fields. ID is generated automatically and cannot be edited.
Step 6. Finish channel creation.
Fill in the remaining fields. Those values come from Application Data in Slack. Check up section Setting up Slack Application to learn more about the process on the Slack side.
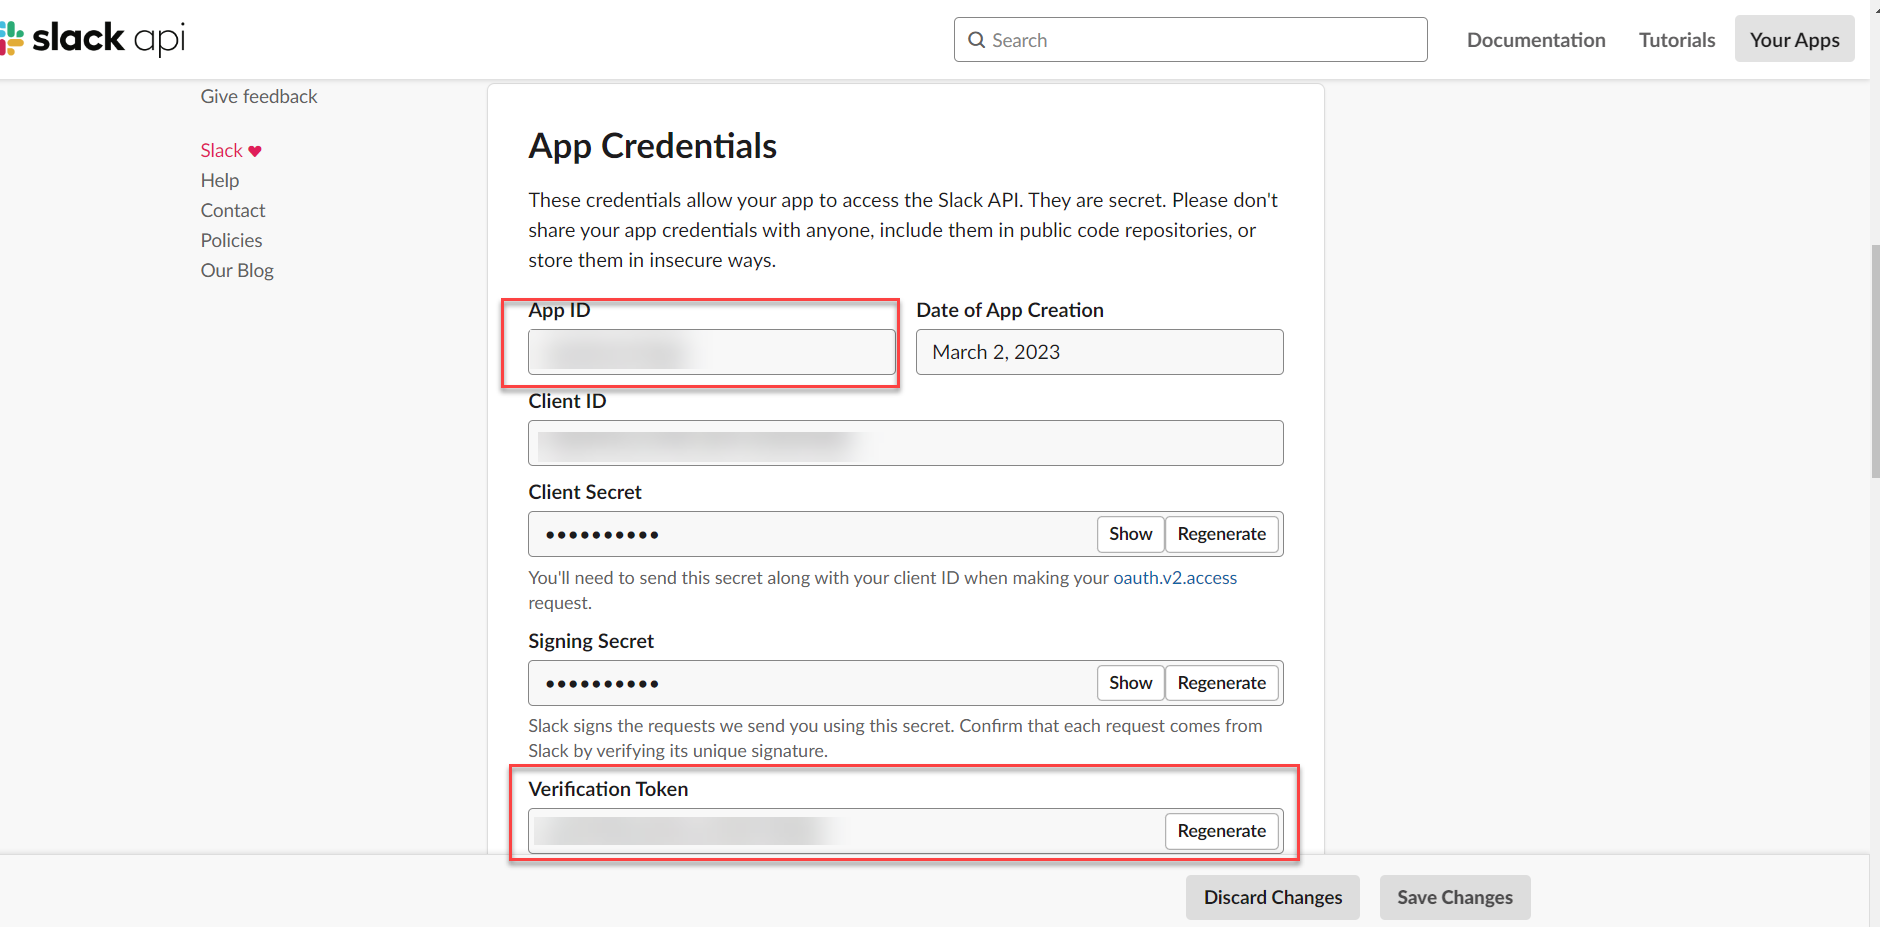
Slack Application ID – access Basic Information/ App Credentials/ App ID field in Slack for this value.
Verification Token – access Basic Information/ App Credentials/Verification Token field in Slack for this value.
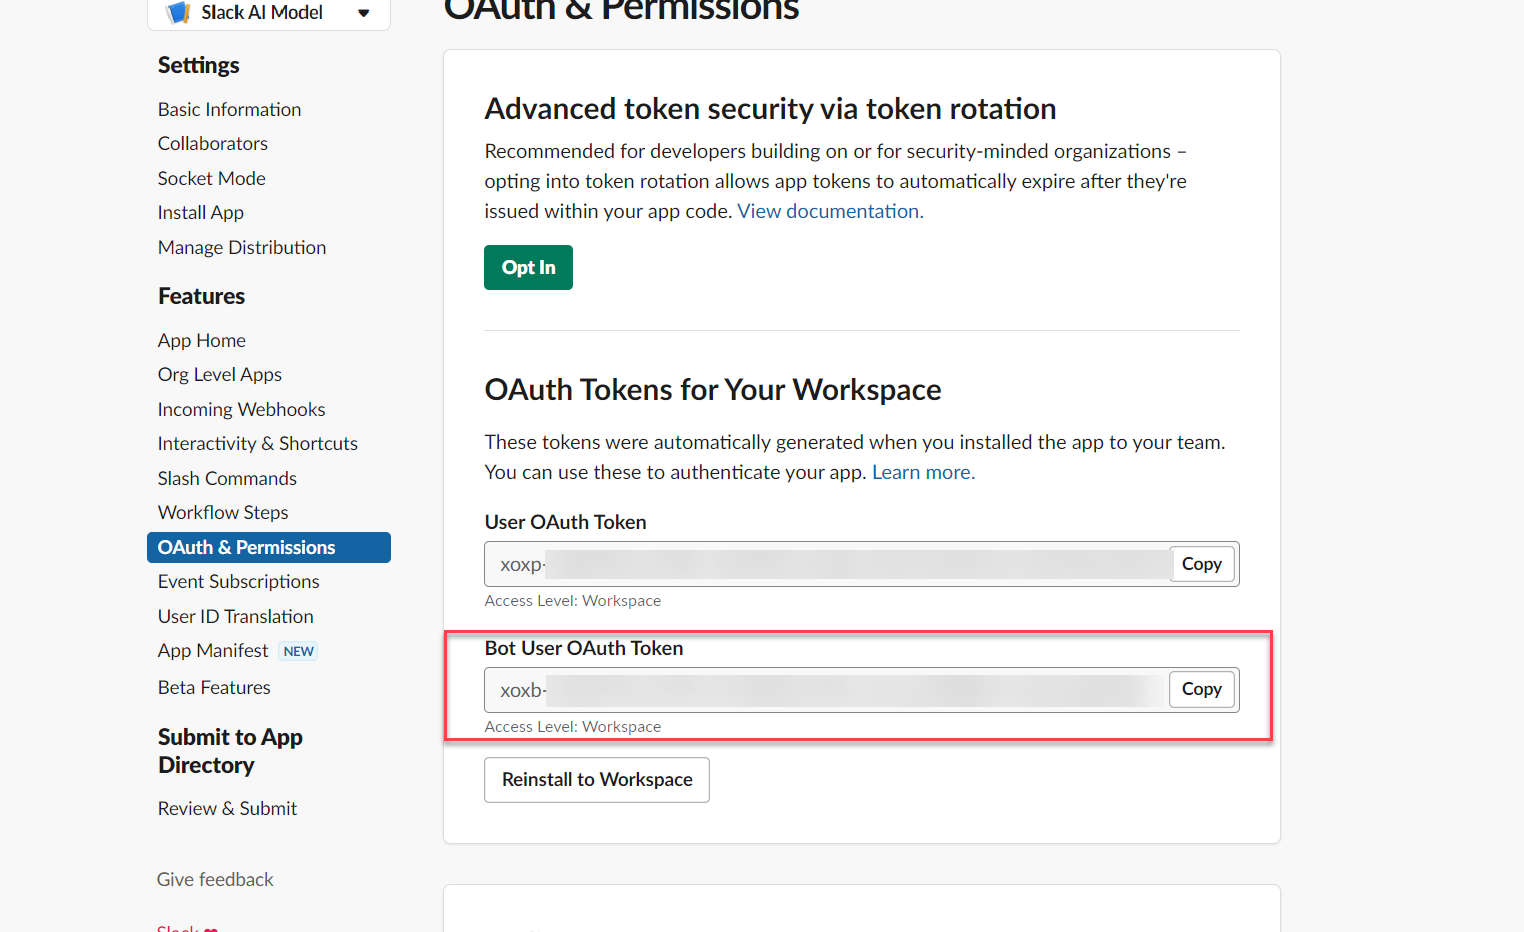
AI Model User OAuth Token – access OAuth & Permissions/Bot User OAuth Token field for Slack for this value.
Press the Create button to finish the process.
Step 7. Create channel as a Copy.
You might want to use the existing Channel as a base and copy it. To do so, press the Create as a Copy button (1).
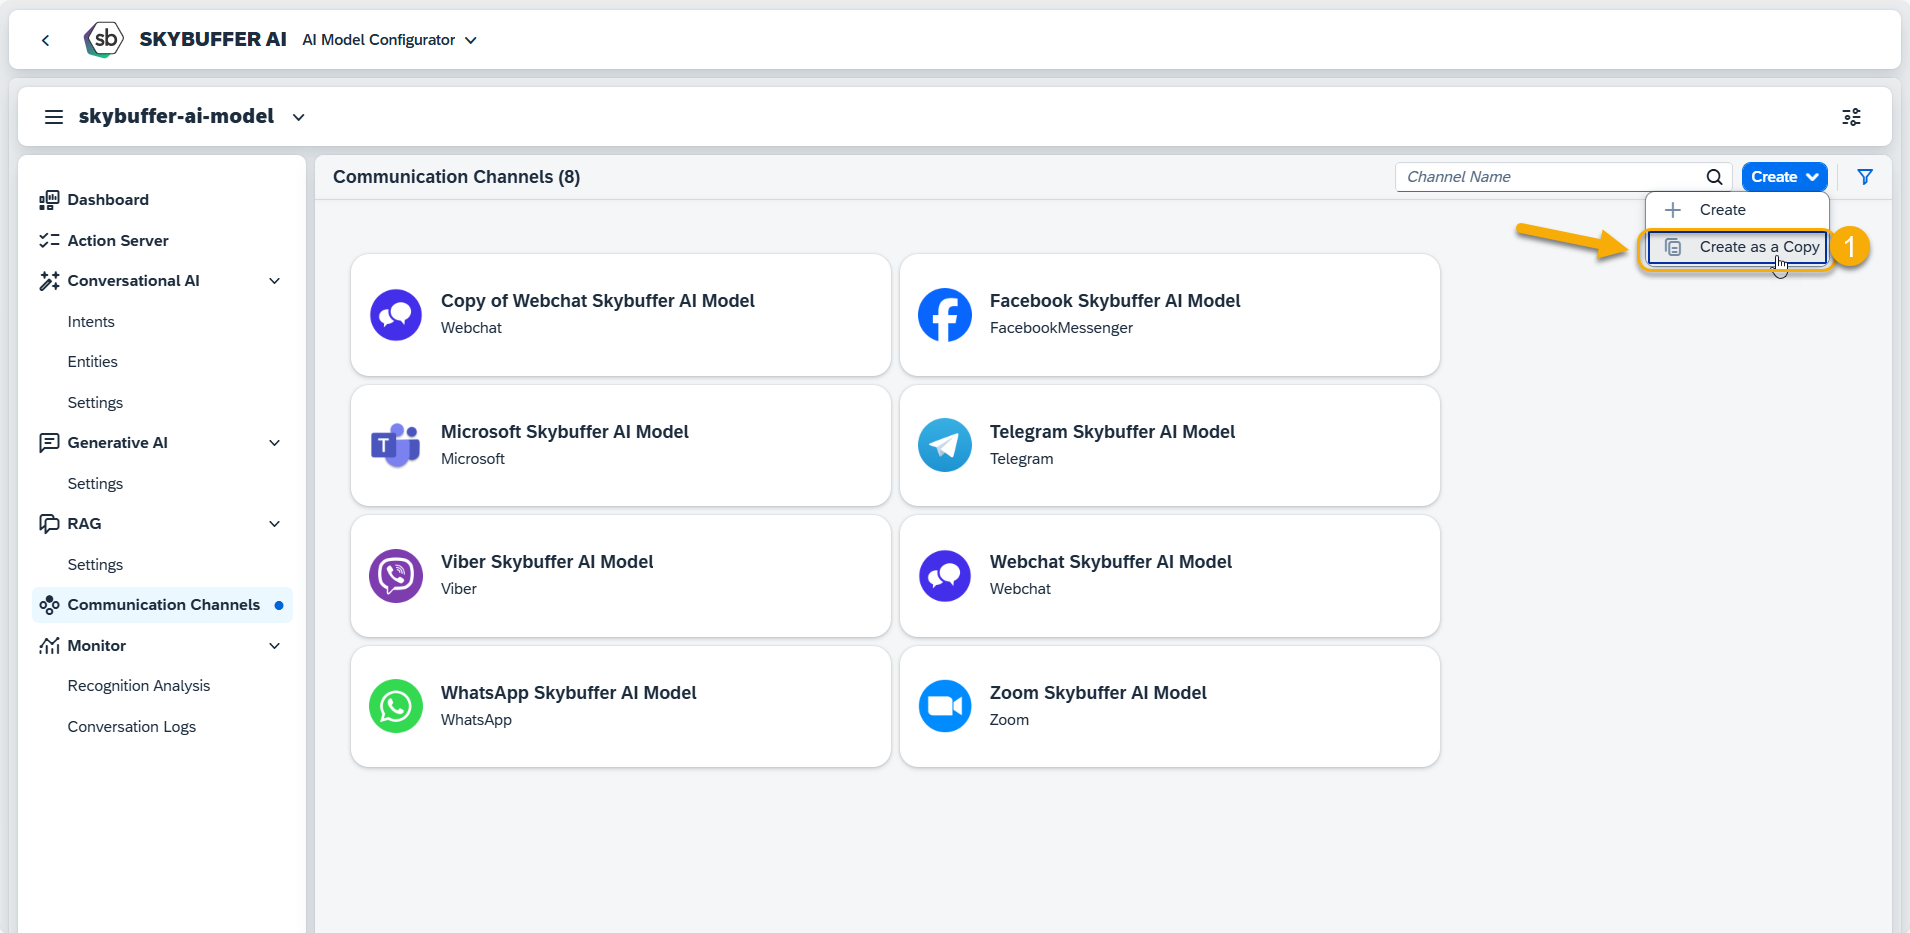
Creation of a Copy has almost the same format as standard creation procedure. The only difference is selection of the reference channel to copy data from.
The reference channel must be of the same type as a new channel.
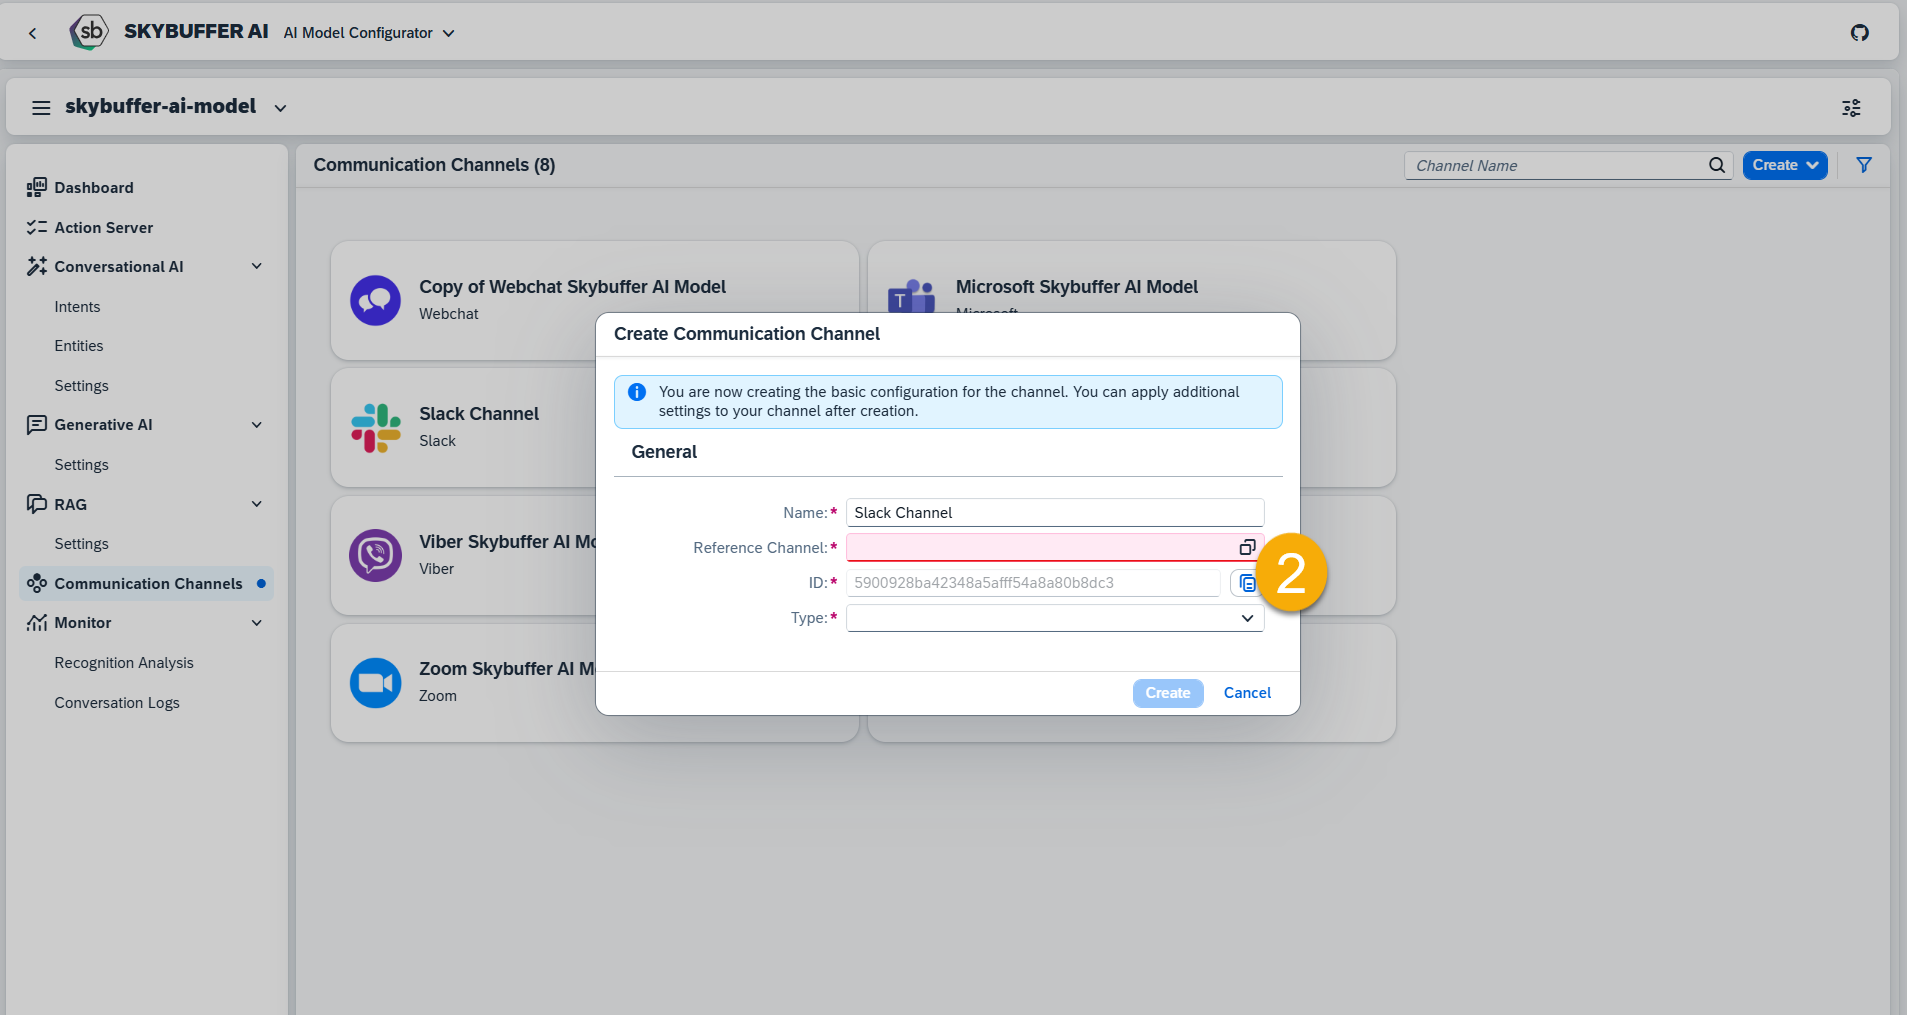
Step 8. Channel Settings
You can access and edit settings for the channel in tab Channel Settings:
Step 9. Important part of the channel setup is scenario activation:
Select a system first, and press the Edit button:
Make sure a system is selected, than a list of Scenarios will appear. Select scenarios to activate by making a tick in the Active column. You can also activate Adaptive Card variant for scenario (6) if possible.
Save your changes.
Setting up Slack Application
Step 1. Go to https://api.slack.com/apps and click Create New App:
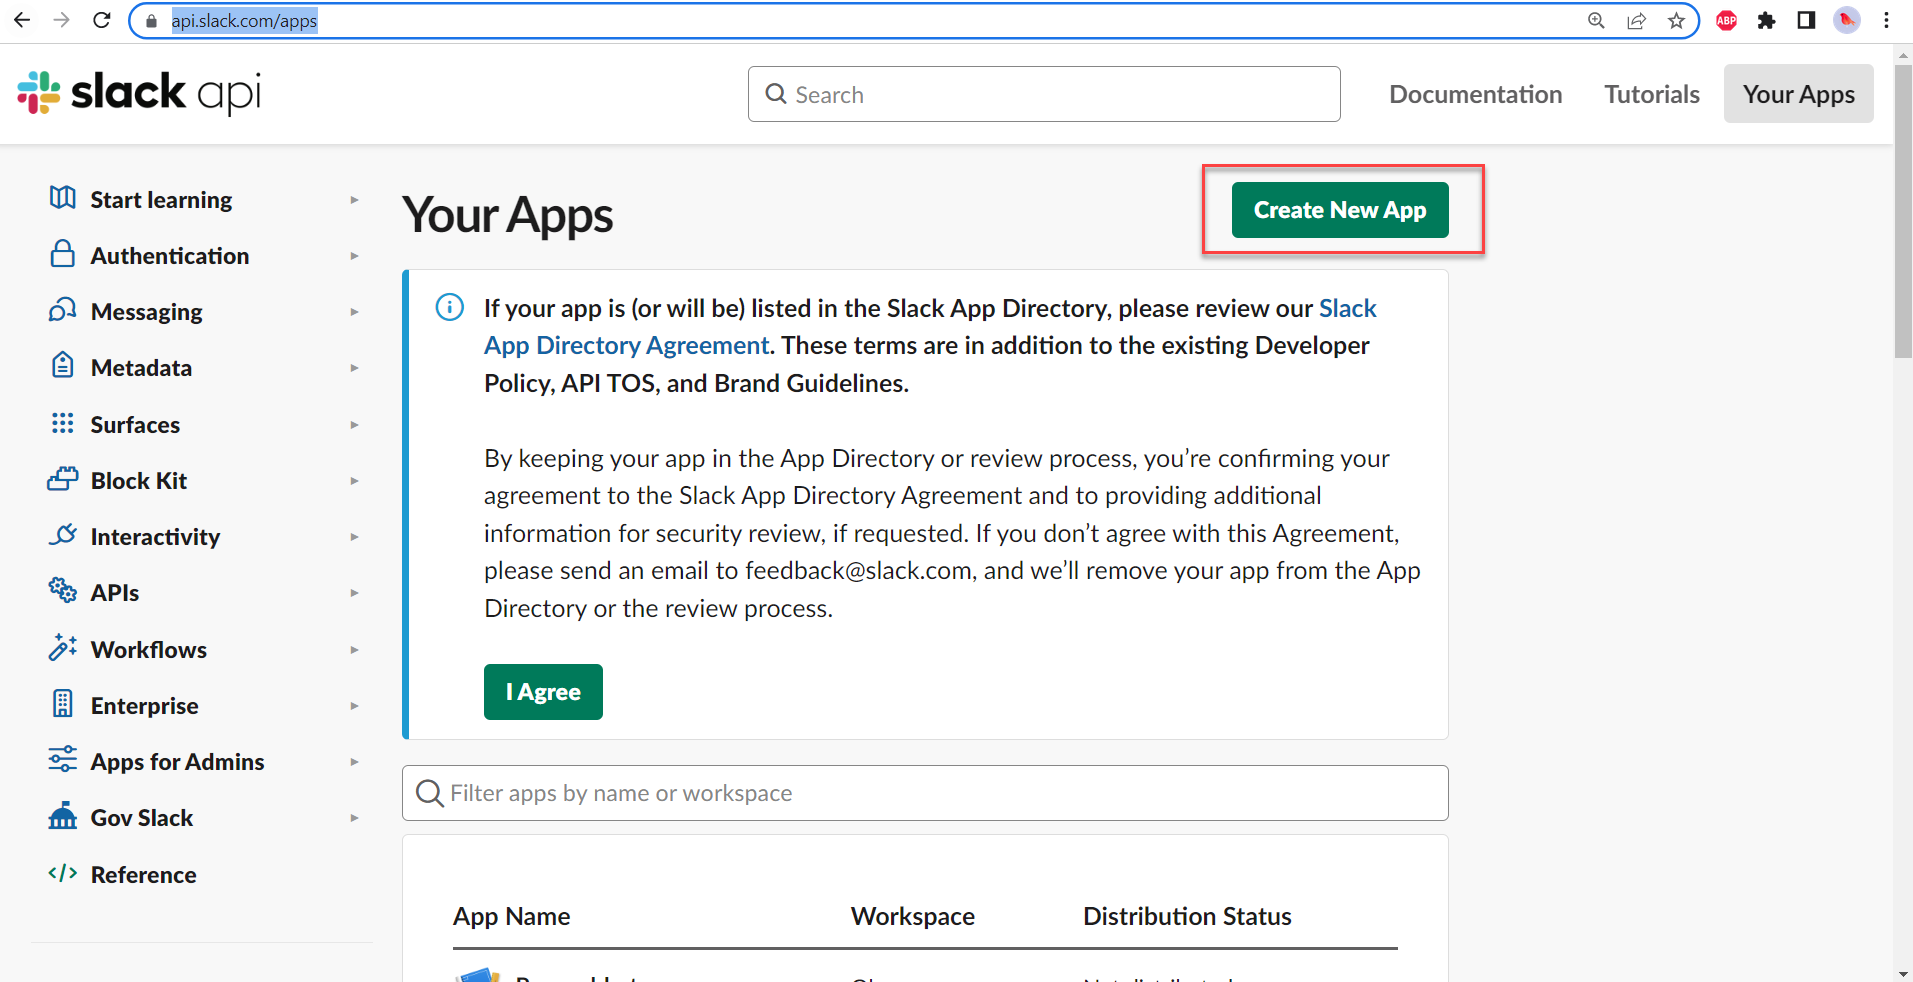
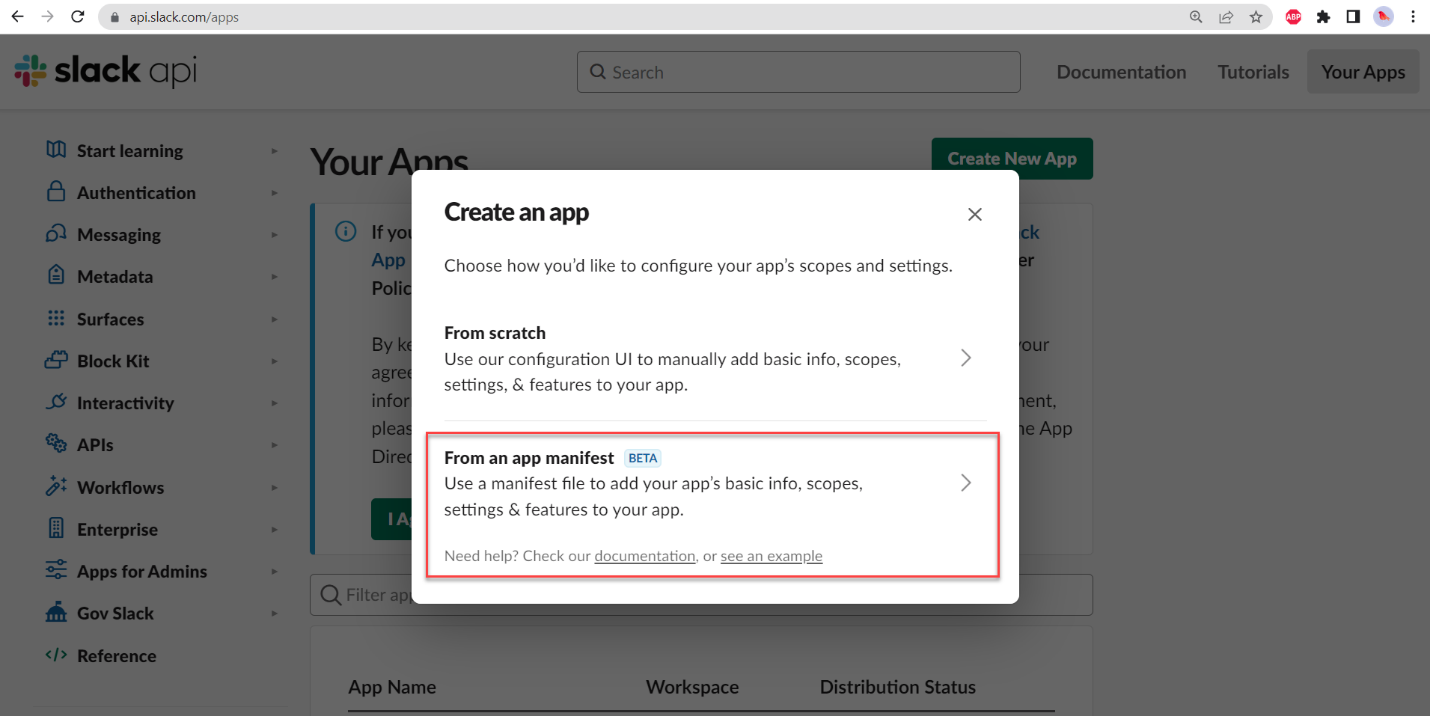
Step 2. Select the manifest option:
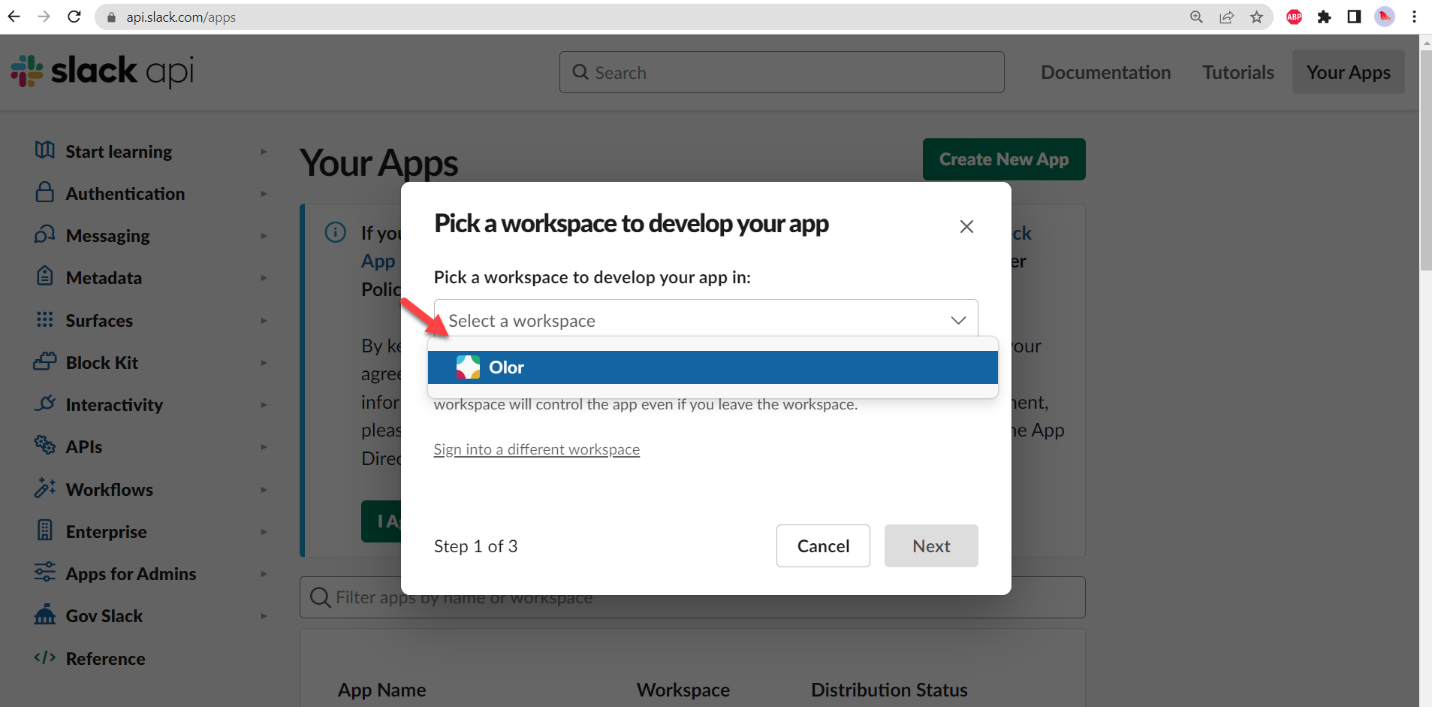
Step 3. Select the workspace:
Step 4. Navigate to JSON tab:
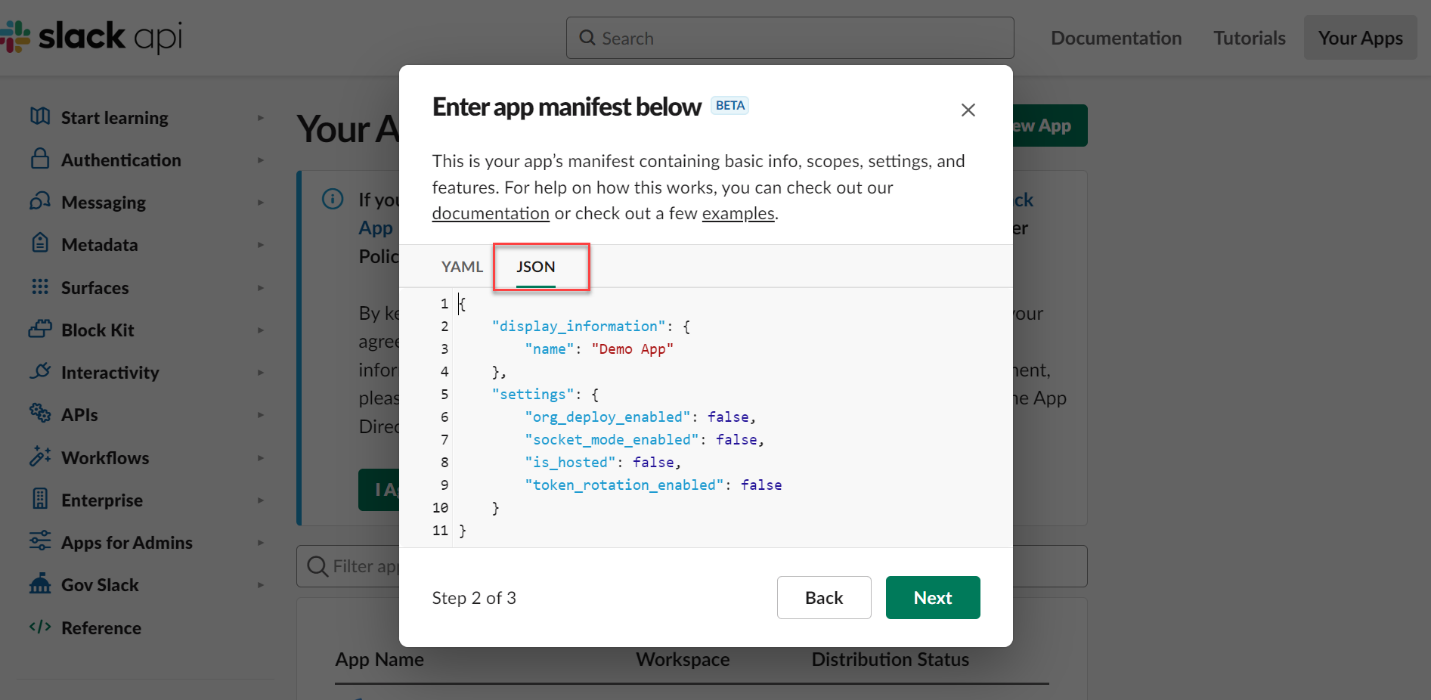
Step 5. Prepare the manifest file.
Here is a sample manifest you can copy and update accordingly:
{
“display_information”: {
“name”: “Slack AI Model”,
“description”: “An example app”,
“background_color”: “#523bd9”,
“long_description”: “An example app that can display actionable notifications in Slack. App contains all the necessary scopes to find a channel for publishing, and to publish a message. Enables Interactivity features to handle use of the interactive elements of the notification. Used with tutorials on api.slack.com/tutorials.”
},
“features”: {
“app_home”: {
“home_tab_enabled”: true,
“messages_tab_enabled”: false,
“messages_tab_read_only_enabled”: false
},
“bot_user”: {
“display_name”: “Skybuffer-Preprod”,
“always_online”: true
}
},
“oauth_config”: {
“redirect_urls”: [
“https://example.com/slack/auth”
],
“scopes”: {
“user”: [
“users:read”
],
“bot”: [
“channels:read”,
“chat:write”,
“chat:write.public”,
“incoming-webhook”,
“links:read”,
“channels:history”,
“im:history”,
“app_mentions:read”,
“files:read”,
“users:read”
]
}
},
“settings”: {
“event_subscriptions”: {
“request_url”: “https://example.skybuffer.com/123123-abcd-1234-1234-aa11aaa1f502/slack”,
“user_events”: [
“user_profile_changed”
],
“bot_events”: [
“app_mention”,
“channel_created”,
“channel_deleted”,
“channel_rename”,
“file_created”,
“file_public”,
“file_shared”,
“link_shared”,
“message.channels”,
“message.im”,
“user_profile_changed”
]
},
“interactivity”: {
“is_enabled”: true,
“request_url”: “https://example.skybuffer.com/123123-abcd-1234-1234-aa11aaa1a111/slack”
},
“org_deploy_enabled”: false,
“socket_mode_enabled”: false,
“token_rotation_enabled”: false
}
}
NOTE: The fields in bold are the ones that most probably will need updating (but you can change all the fields according to your preferences):
name, display_name , request_url.
How to change request_url:
“https://example.skybuffer.com/123123-abcd-1234-1234-aa11aaa1a111/slack” – sample link for reference
“https://example.skybuffer.com/” – this part can be found in Skybuffer AI Platform, look for base URL or AI Connector url.
123123-abcd-1234-1234-aa11aaa1a111 – this part after slash is the Channel ID. It can be taken from the Skybuffer AI, during channel creation.
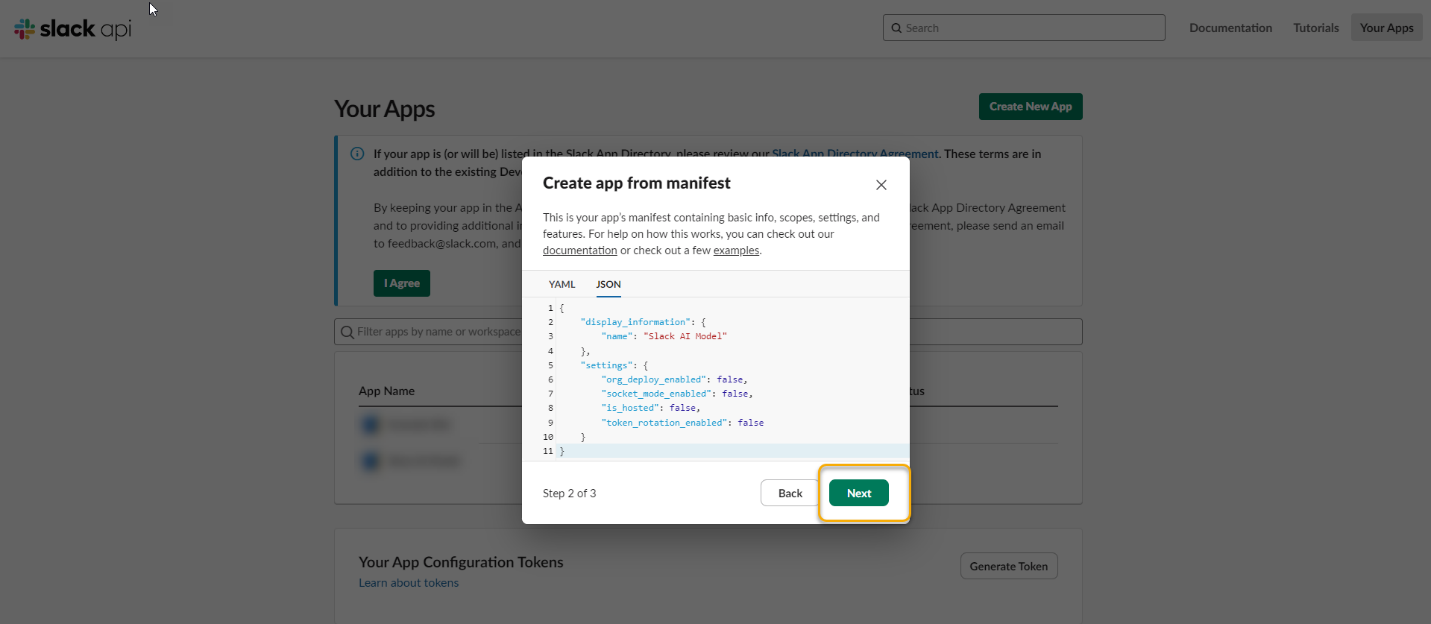
Step 6. Finish your creation.
Click Next on JSON Manifest screen.
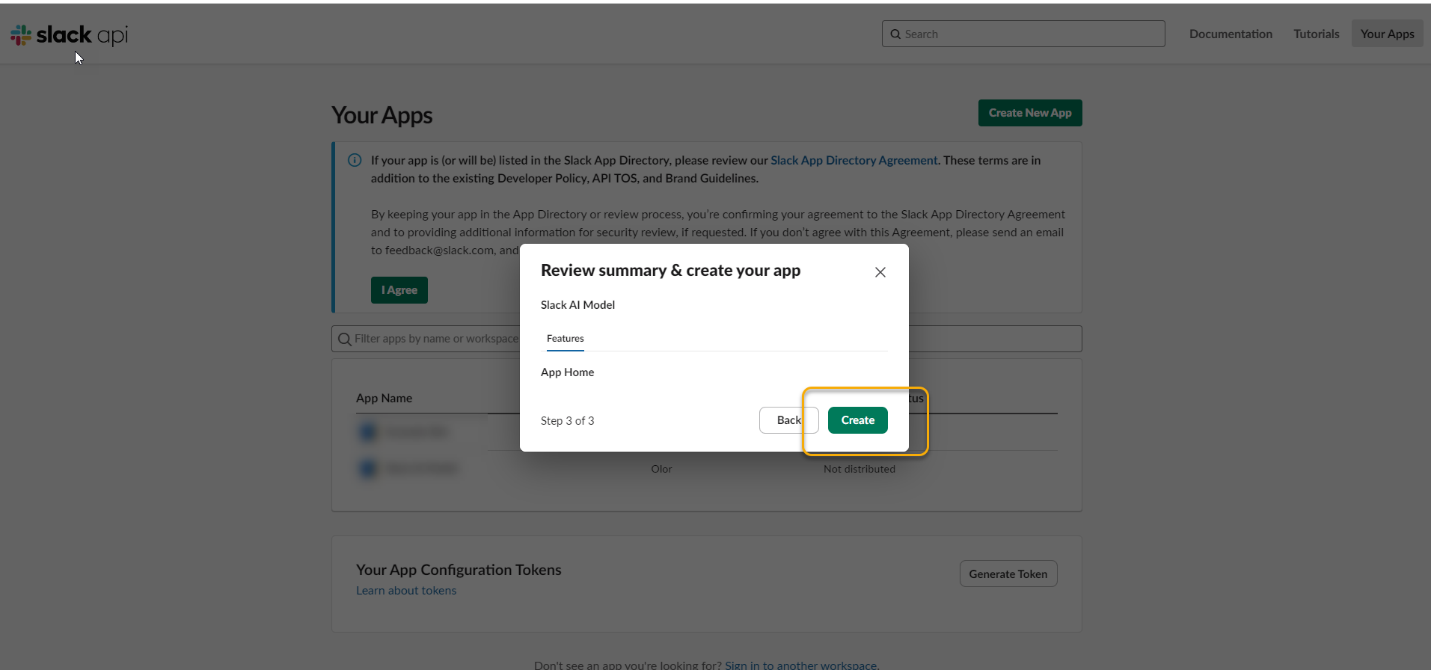
Click Create on the summary screen.
Step 7. Get the Application ID and the Verification Token.
Now after the application has been created, you can retrieve all the necessary tokens needed for the channel setup in Skybuffer AI.
You should see the new application page with the Basic Information tab open:
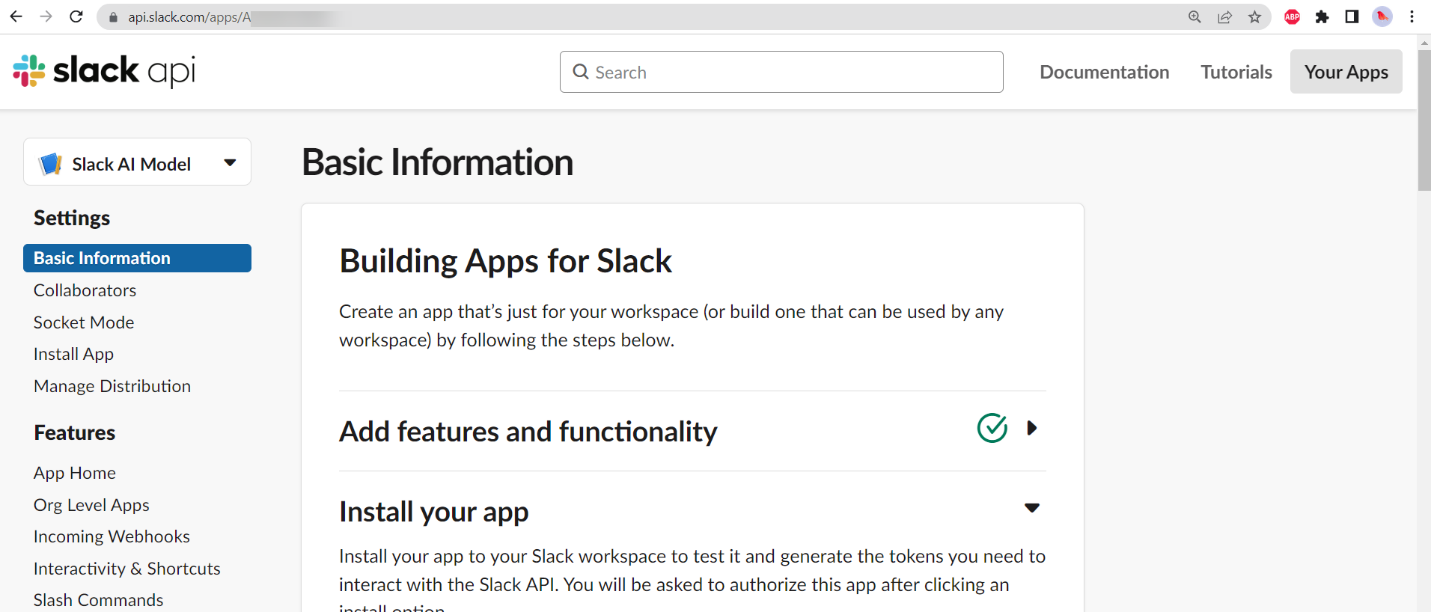
Scroll down to the App Credentials section:
App ID – this is needed for the Slack Application ID field in Skybuffer AI, when new Slack channel is created there.
Verification Token – this field is also needed for channel creation in Skybuffer AI.
Step 8. Install to workspace.
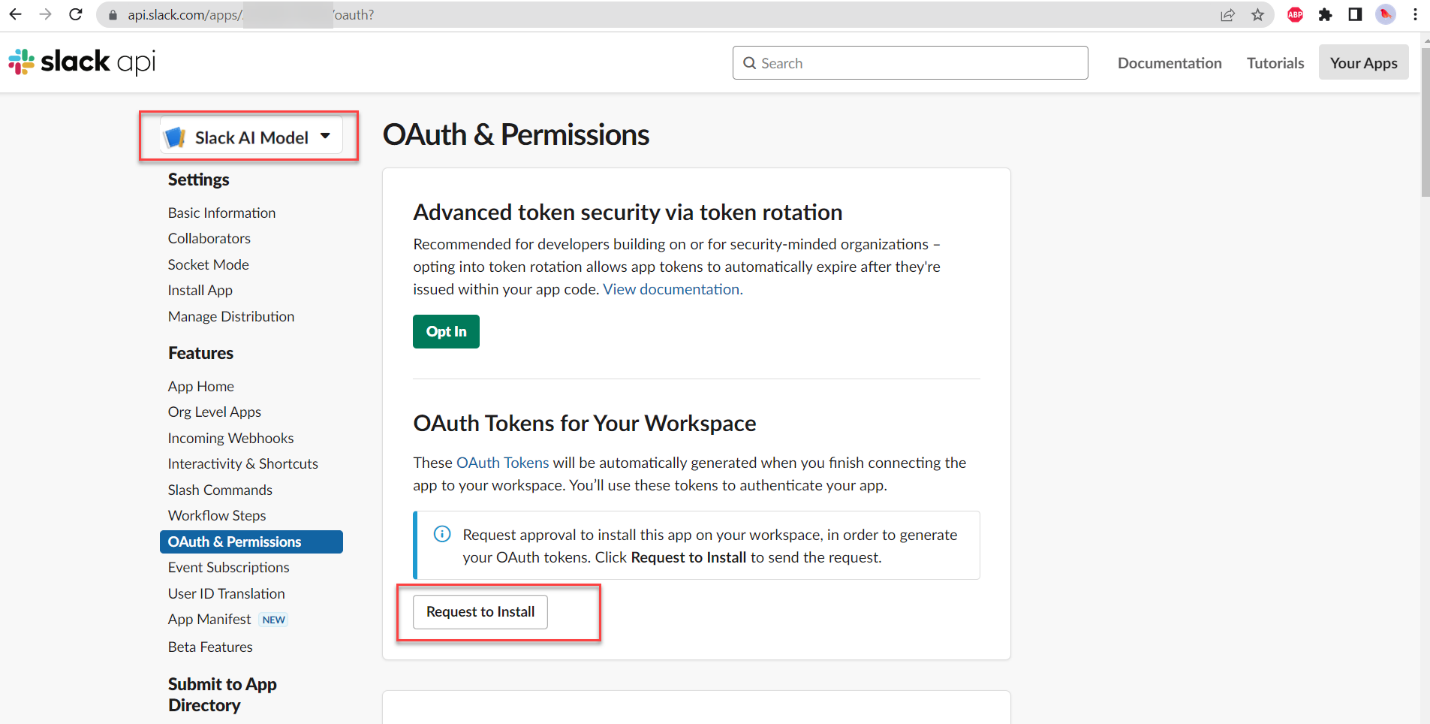
Navigate to the OAuth & Permissions tab, and make sure you have the correct application selected at the top left-hand corner.
Click on the Request to Install button/ Install button.
If you don’t have permissions, your install request will have to be accepted by the workspace owner first. Once your request is accepted, the text on the button will change to Install to workspace.
You will get a page with “[App name] is requesting permission to access the [Space Name] workspace “.
Allow access or ask your workspace admin to do so.
Step 9. Copy OAuth Token.
After the app is successfully installed into your workspace, you can now see the OAuth Tokens generated in the OAuth & Permissions tab.
Bot User OAuth Token – this value needs to be pasted into Skybuffer AI during the channel creation.
Step 10. Now it is time to activate scenarios for the new channel. Follow steps 6-7 in the “Communication Channels” documentation page.
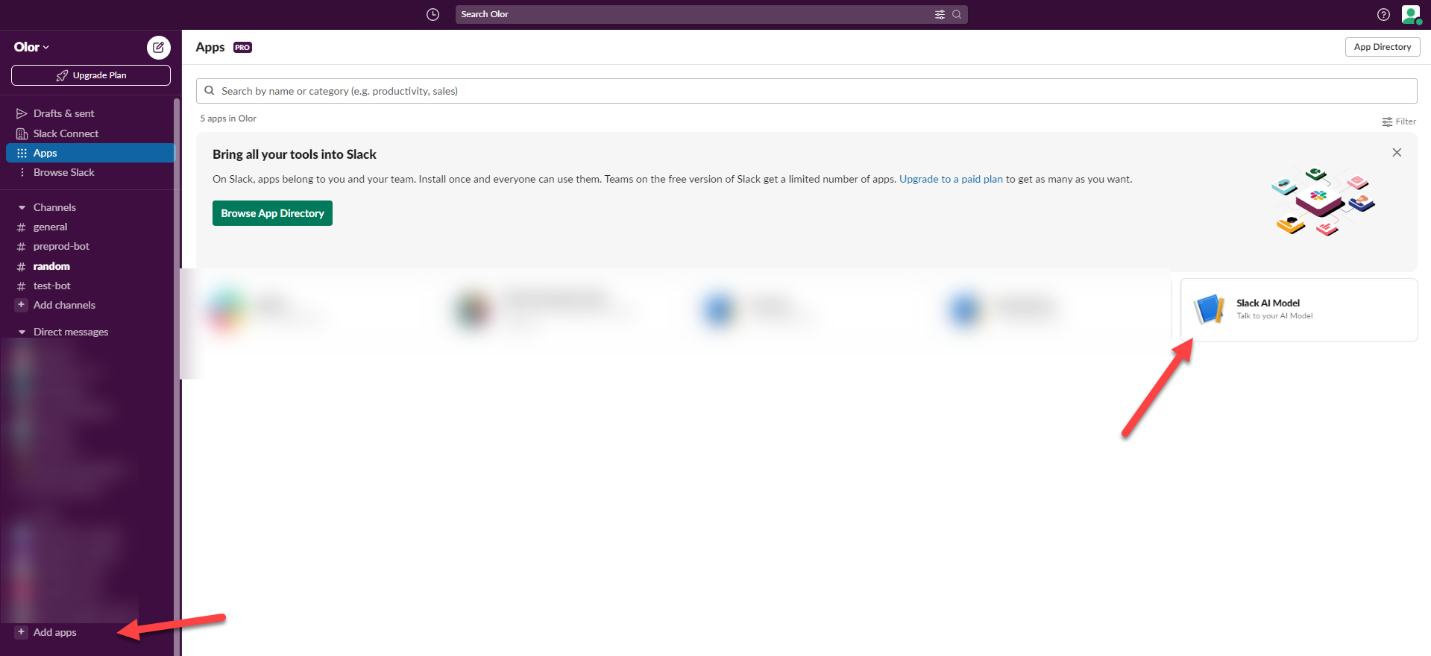
Step 11. Add the application to the workspace
Open your Slack workspace, in the left-side menu click Add app at the bottom of the page. You will see the Apps page. You are supposed to see your new app there, click on it.
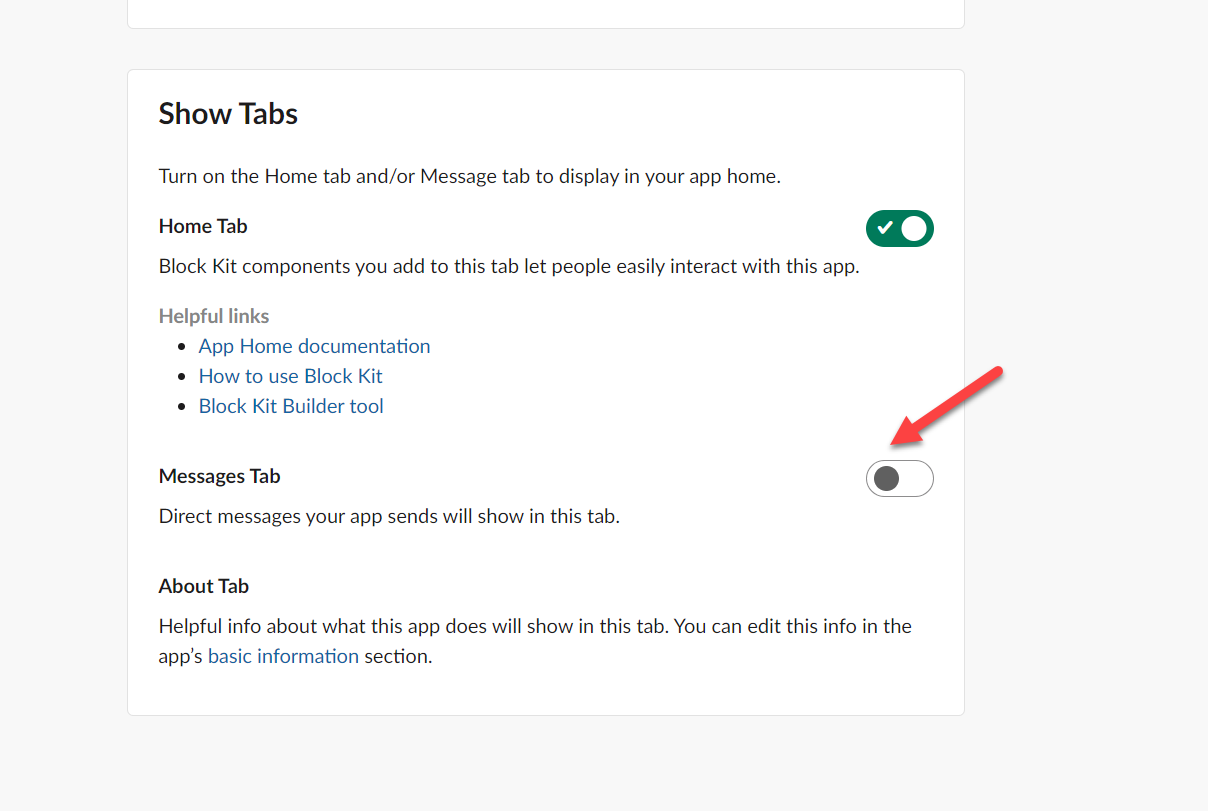
Step 12. Messages Tab Activation
Go to https://api.slack.com/apps , navigate to your app page, and then to Features > App Home.
Find the Show Tabs section, and toggle on Messages Tab.
Step 13. Now you can use your AI model.
You can use the Messages tab in the app itself, or talk in the channel once the app is added.