Introduction
SAP HANA Extended Application Services, Advanced Model (XS Advanced), offers a powerful platform for developing and running data-intensive applications. To fully utilize this framework, the installation of the XS Advanced Runtime is required. XS Advanced supports a data-integrated application environment with a wide range of embedded services, including a lightweight web server, configurable OData support, JavaScript execution, and seamless access to SQL and SQL Script. These services are provided by the SAP HANA XS server, which is tightly integrated with the SAP HANA system, allowing clients to interact with the system over HTTP. This setup enables native controller applications to run directly on SAP HANA without the need for an external application server. XS Advanced can also be used to expose database models, such as tables, views, and procedures, to clients through declarative OData services or custom application-specific code. Additionally, it supports the development of dynamic HTML5 UI applications within the SAP HANA environment.
Prerequisites
- Ensure that a supported Linux operating system, either RHEL or SLES, is installed.
- Install any additional OS software packages required for SAP HANA prerequisites.
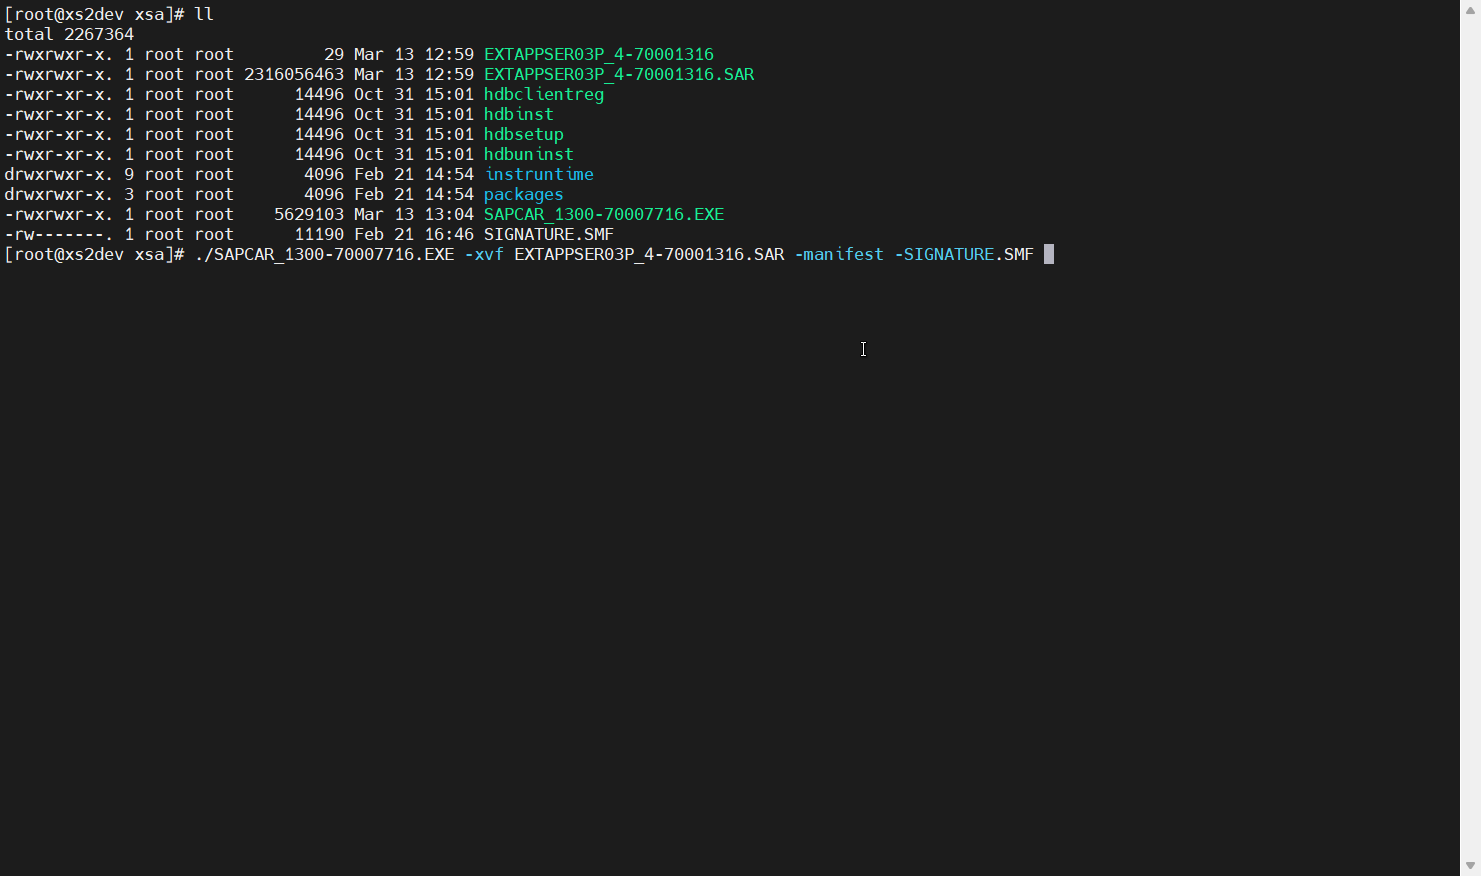
- Download the EXTAPP…*.SAR file using SAPCAR with the following command: SAPCAR -xvf EXTAPP…*.SAR to obtain the installation master disk.
- Obtain the latest version of the XS Advanced Runtime from the SAP Software Download Center (SMP).
- Extract the EXTAPP…*.SAR file using SAPCAR with the command: SAPCAR -xvf EXTAPP…*.SAR.
- The SAP HANA system must already be installed with the SAP HANA Database Lifecycle Manager (HDBLCGUI).
- Ensure you are logged in as the root user for the installation process.
Download SAP HANA and XS Advanced from SAP for Me
SAP HANA Extended Application Services, Advanced Model (XS Advanced), is available not only on the SAP HANA media, but also as a separate component on the SAP Support Portal at https://me.sap.com/softwarecenter . Users with the appropriate S-User ID can download the latest version of XS advanced component in the package of SAP Extended App Services, from SAP for Me. Download Software
First, we need to download the basic SAP HANA Database side master disks.
The route from Download Software will be the following:
Installations & Upgrades – By Alphabetical Index (A-Z) – H – SAP HANA Platform Edition – SAP HANA Platform Edition 2.0 – Installation – the files you need
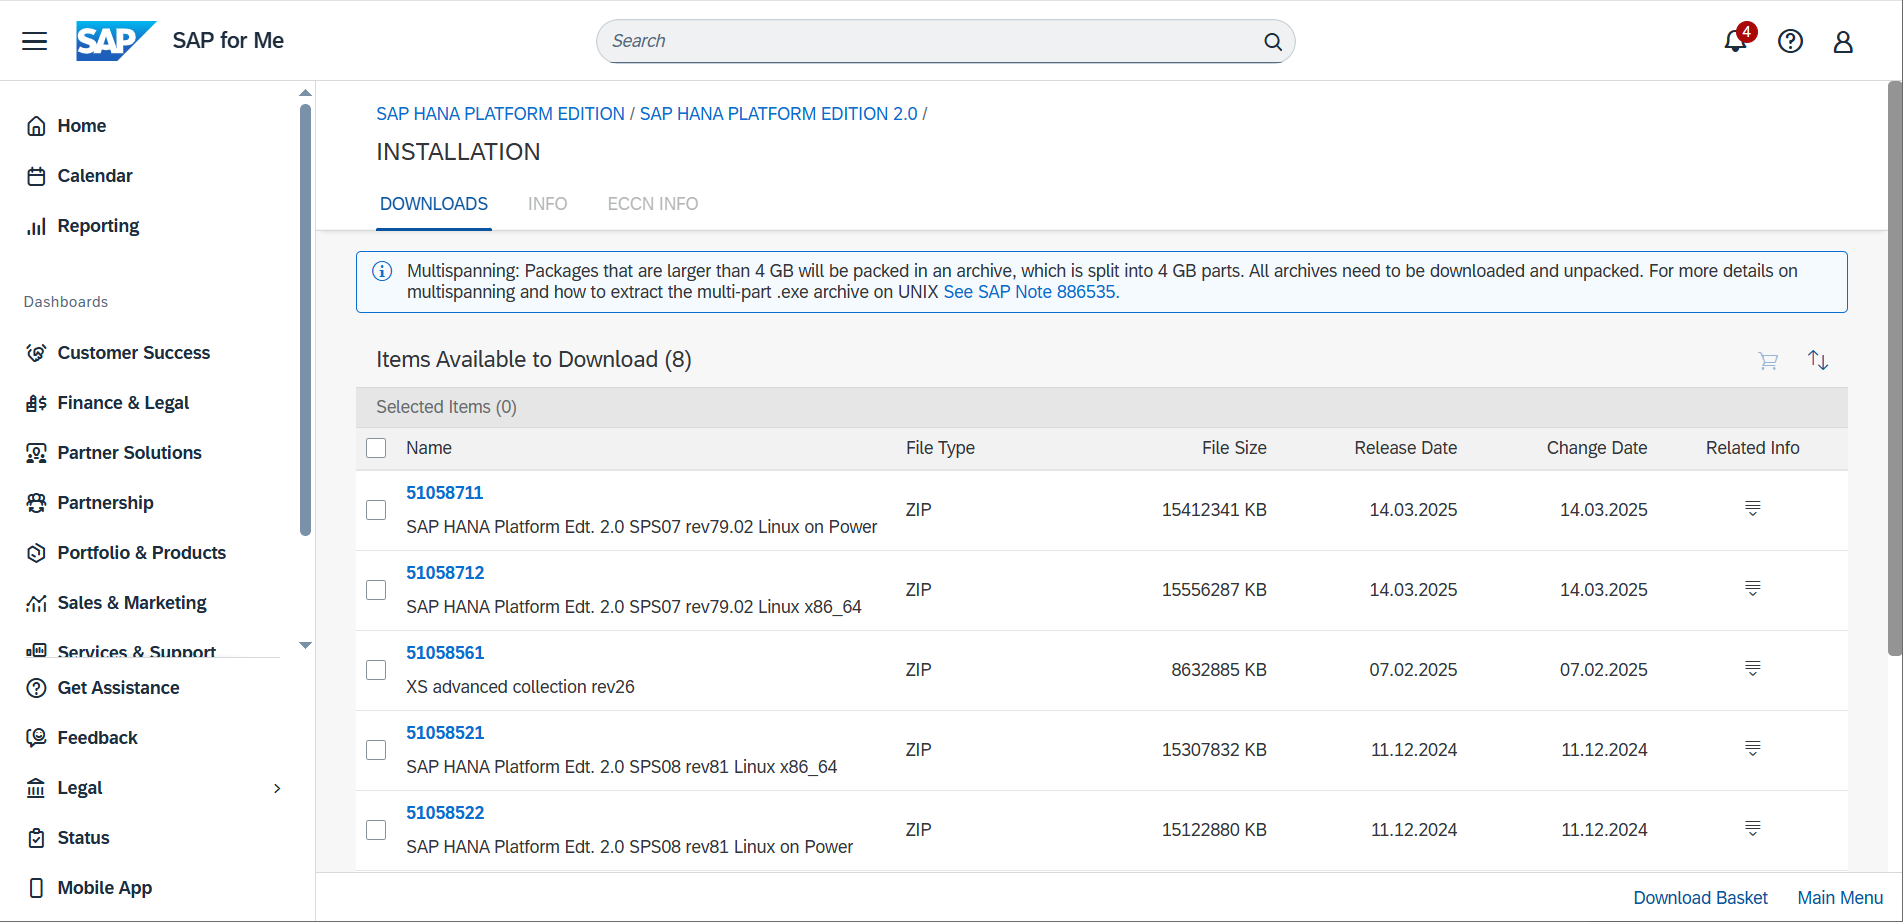
NOTE: The items you download must be available on the host where the SAP HANA system is or will be installed.
Then we download the support packages of an integral part of SAP HANA Platform Edition XSA, for further upgrade to the latest version.
The route from Download Software will be the following:
Support Packages and Patches – By Alphabetical Index (A-Z) – H – SAP HANA Platform Edition – SAP HANA Platform Edition 2.0 – SAP Extended App Services 1 – the items you need

NOTE: The items you download must be available on the host where the SAP HANA system is or will be installed.
Supported OS version:
- RHEL 9.0
- RHEL 9.3
- RHEL 9.6
Details regarding RHEL
Supported HANA version:
- SAP HANA 2.0 SP07
- SP HANA 2.0 SP08
Details regarding HANA Release strategy – 2378962
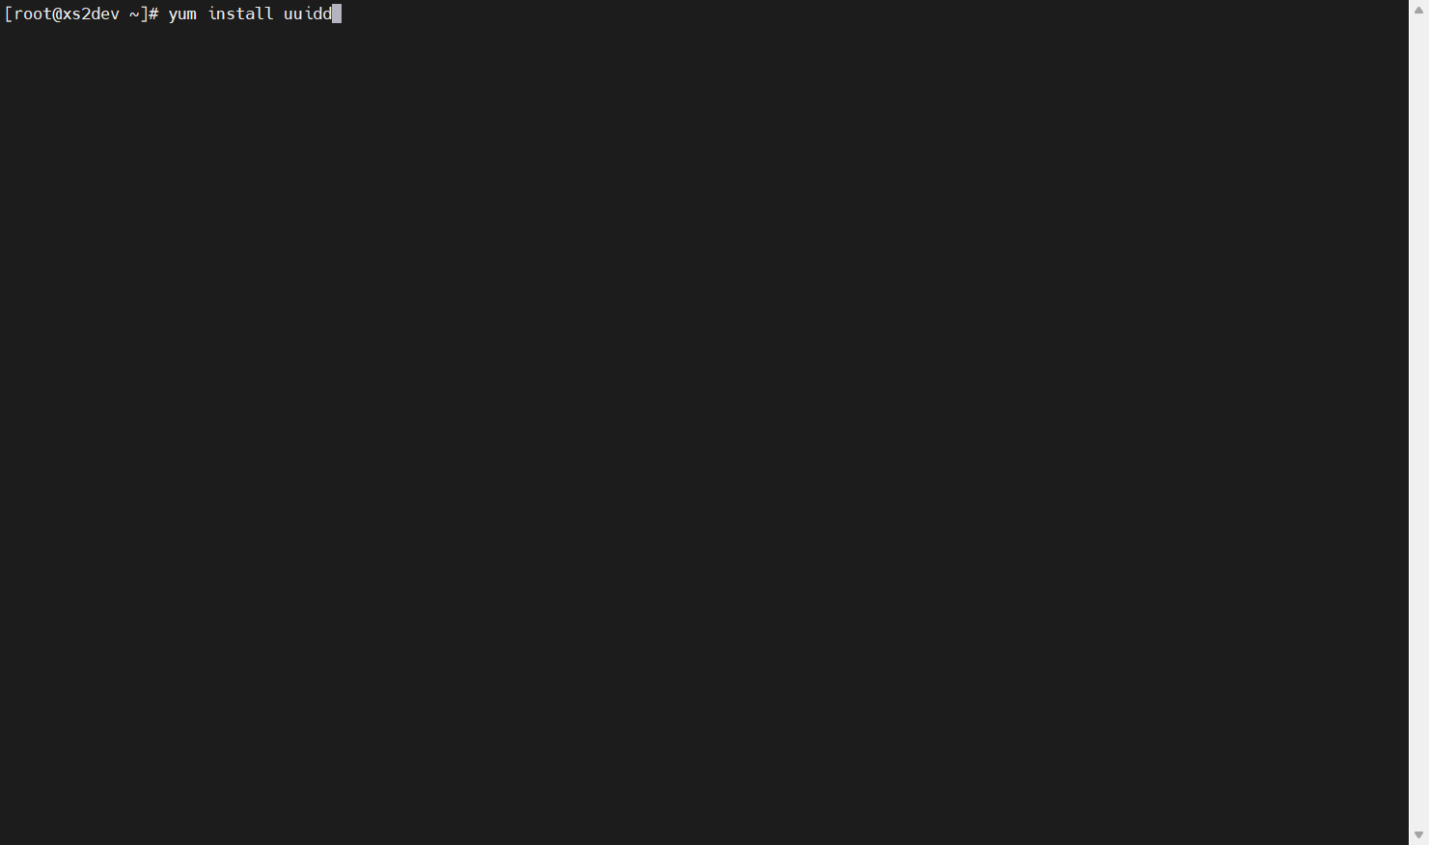
Install Additional Software Packages in RHEL OS
The following additional packages need to be installed for all SAP products:
- uuidd (for more details, see SAP Note 1391070)
- libnsl
- tcsh
- nfs-utils
- libxcrypt-compat (*)
NOTE: libxcrypt-compat needs to be installed only on ppc64le platforms. It is installed by default on x86 64 as part of the server environment group.
Example: run the following command:
Extract All Installation SAR Files
Extract all archives using: ./SAPCAR and proceed with installation:
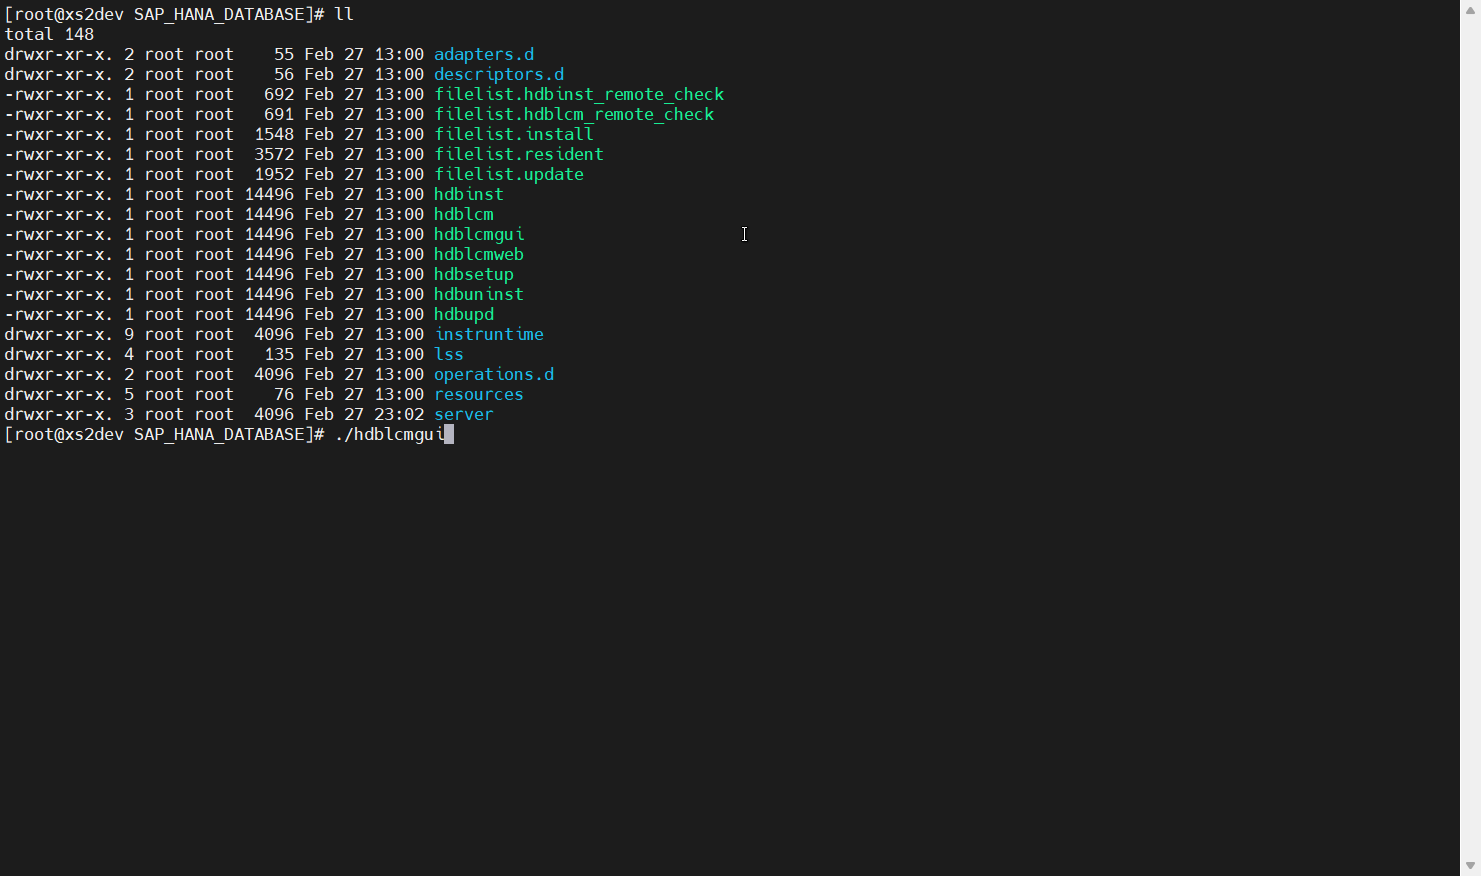
Install SAP HANA DB and Integral Part XSA
The following is a sample installation. For more details on the installation methods, refer to the official guides in Section: Useful Links.
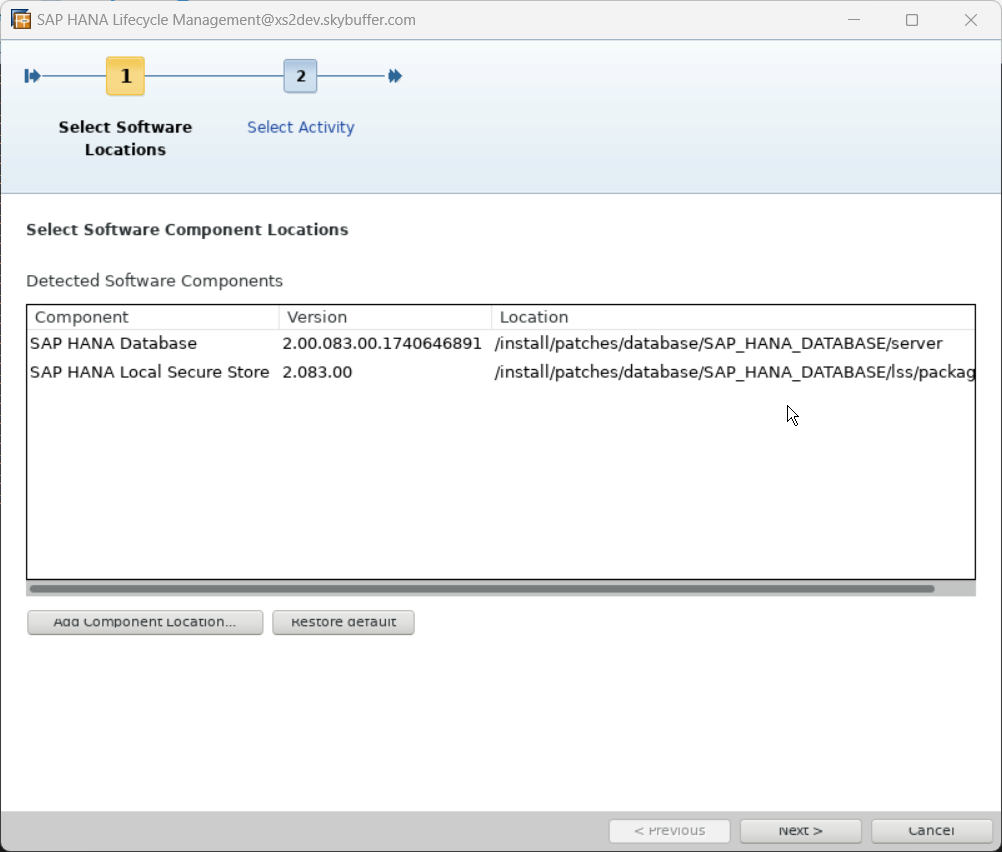
Step 1. Go to the extracted installation directory and run the command: hdblcmgui
Step 2. The main screen menu is opened with the default installation of HANA Database and its LSS (Local Secure Store):
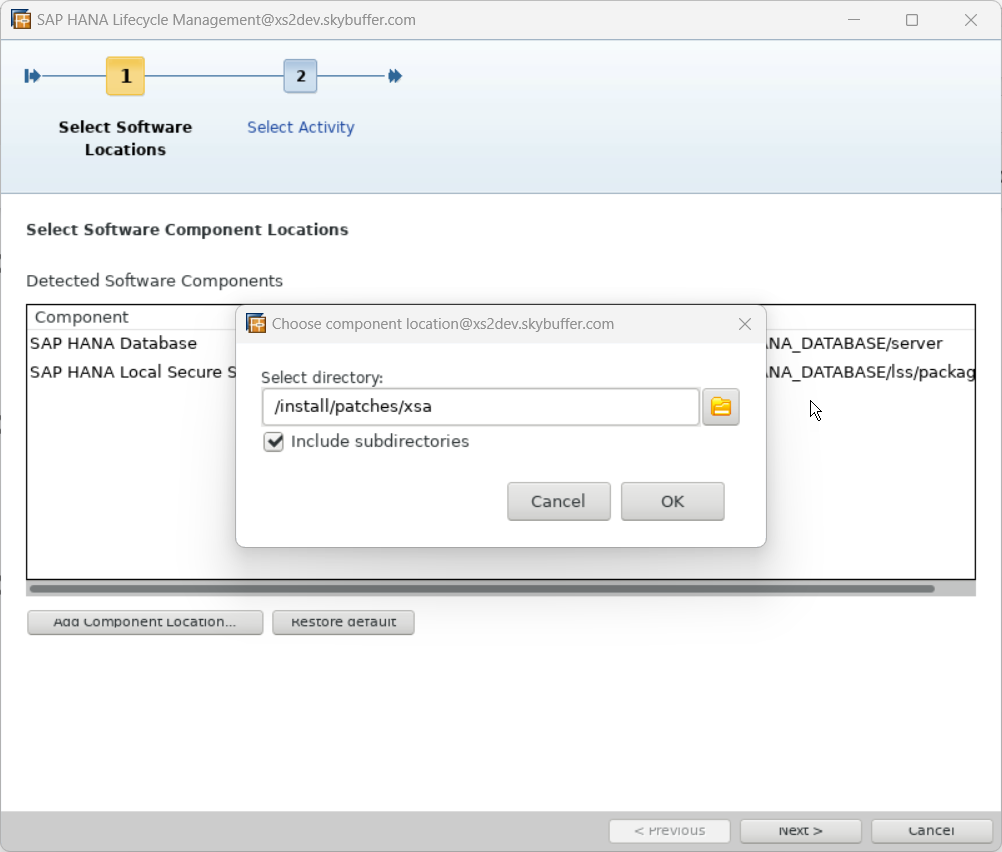
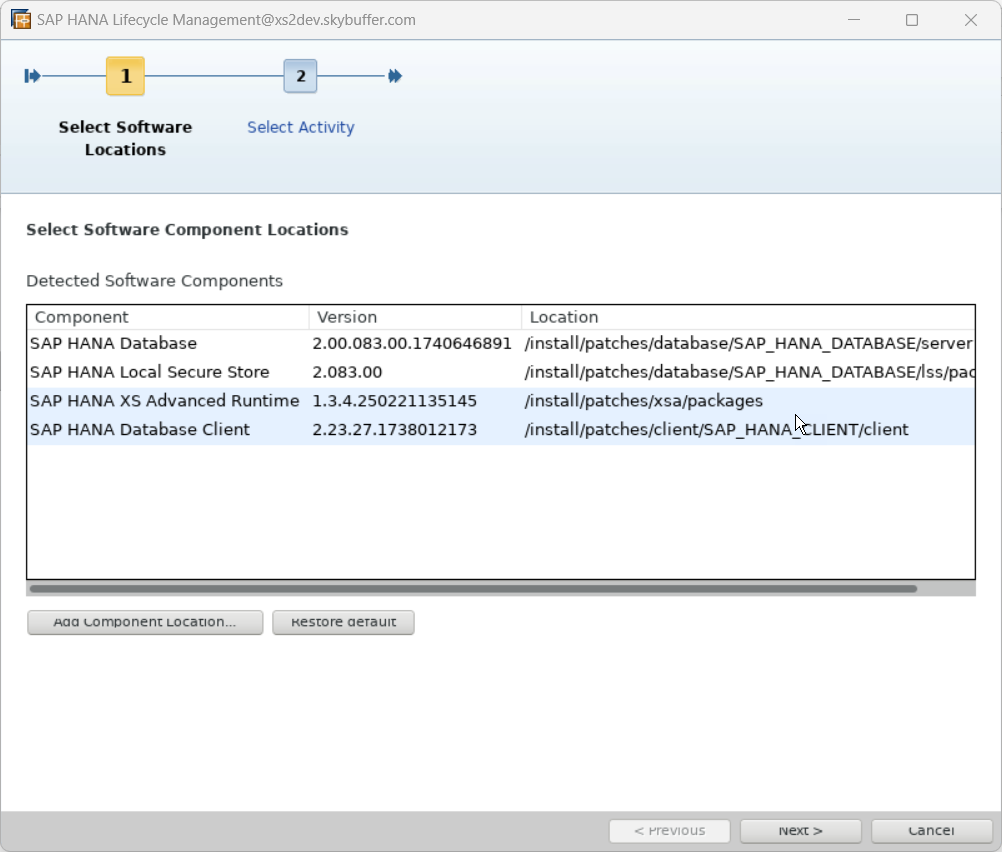
Step 3. Two more main components, XSA and the client, are added to the main default components list (database and LSS) for installation. Just select Add Component Location and add the extracted files for XSA and client:
Step 4. Continue with the selected components by pressing Next:
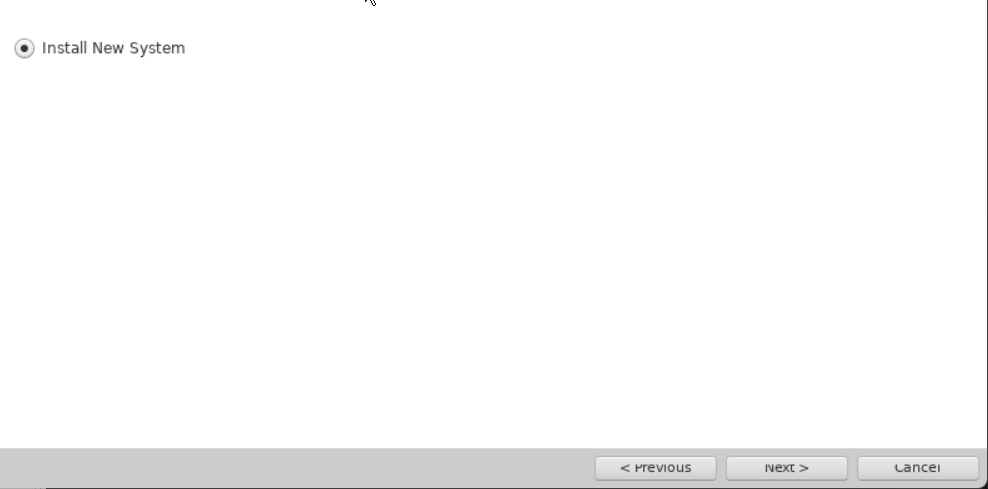
Step 5. Select Installation Type:
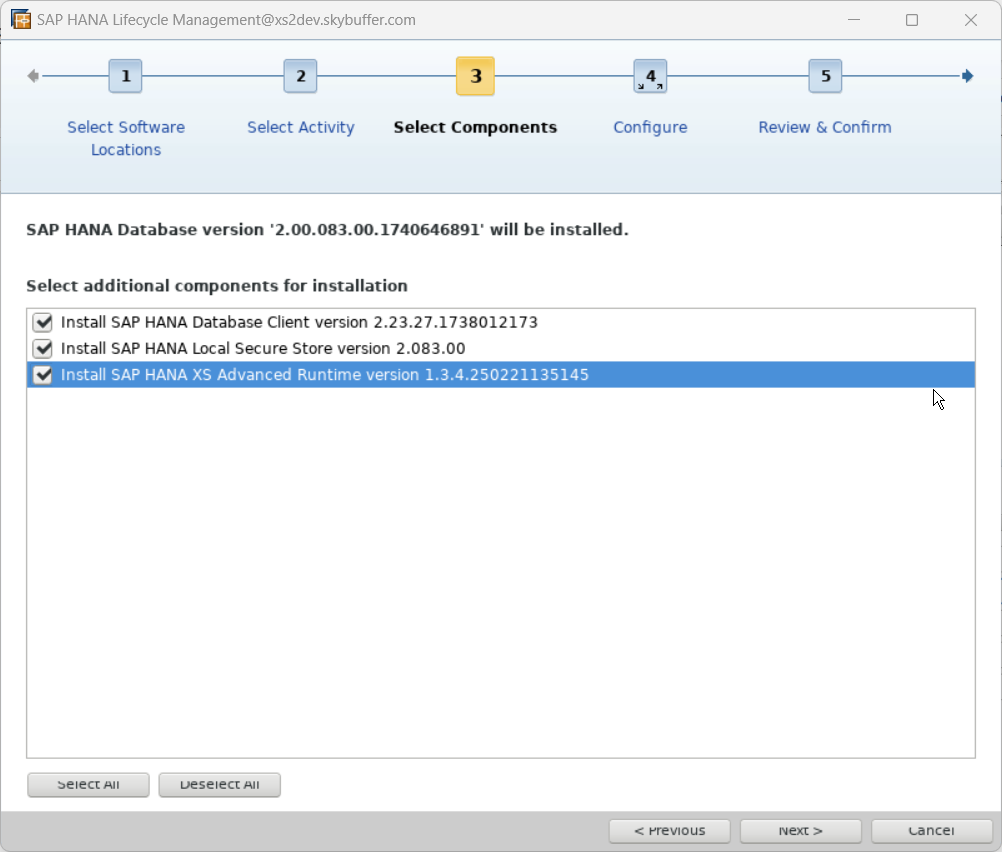
Step 6. Select the following additional installation components:
Step 7. Assign the database system ID as HD1:

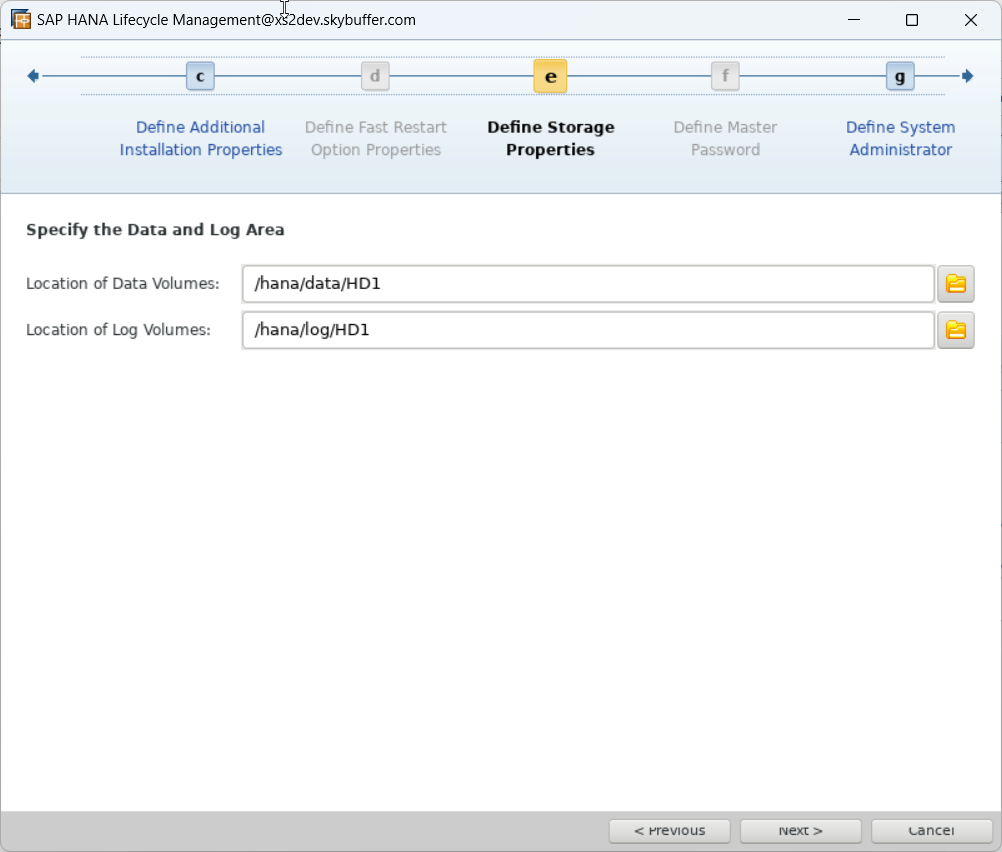
Step 8. Database directories will be found automatically:
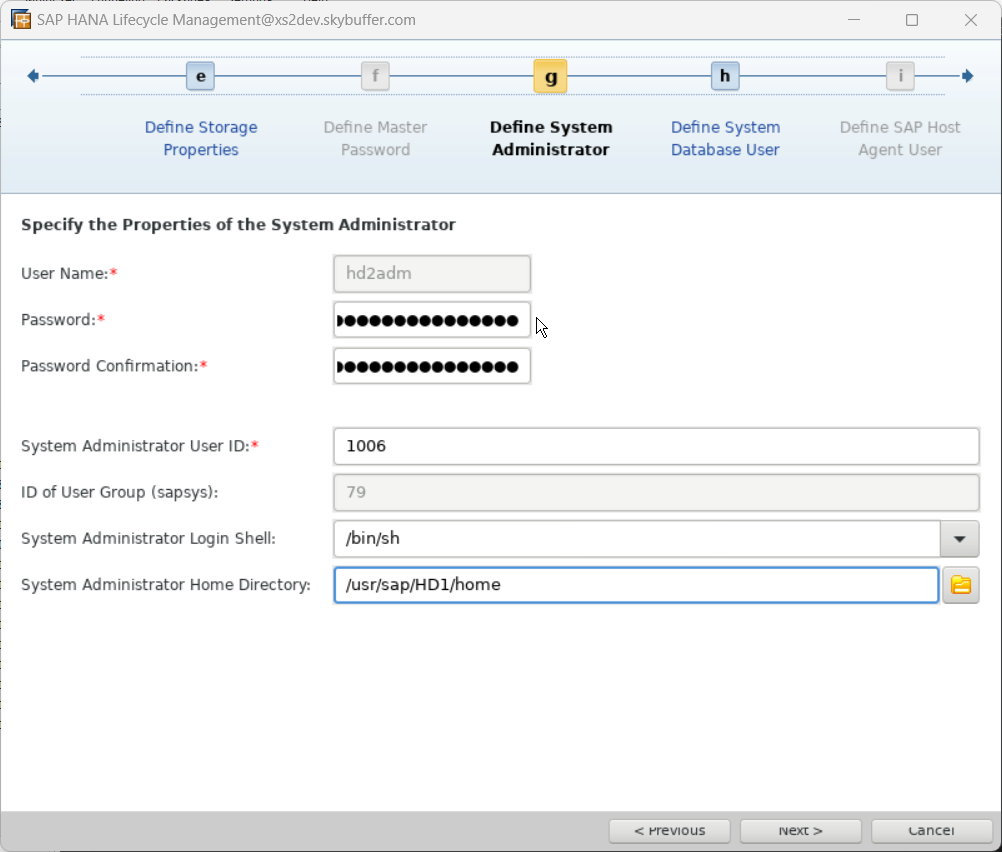
Step 9. Assign a password for SAP HANA users:
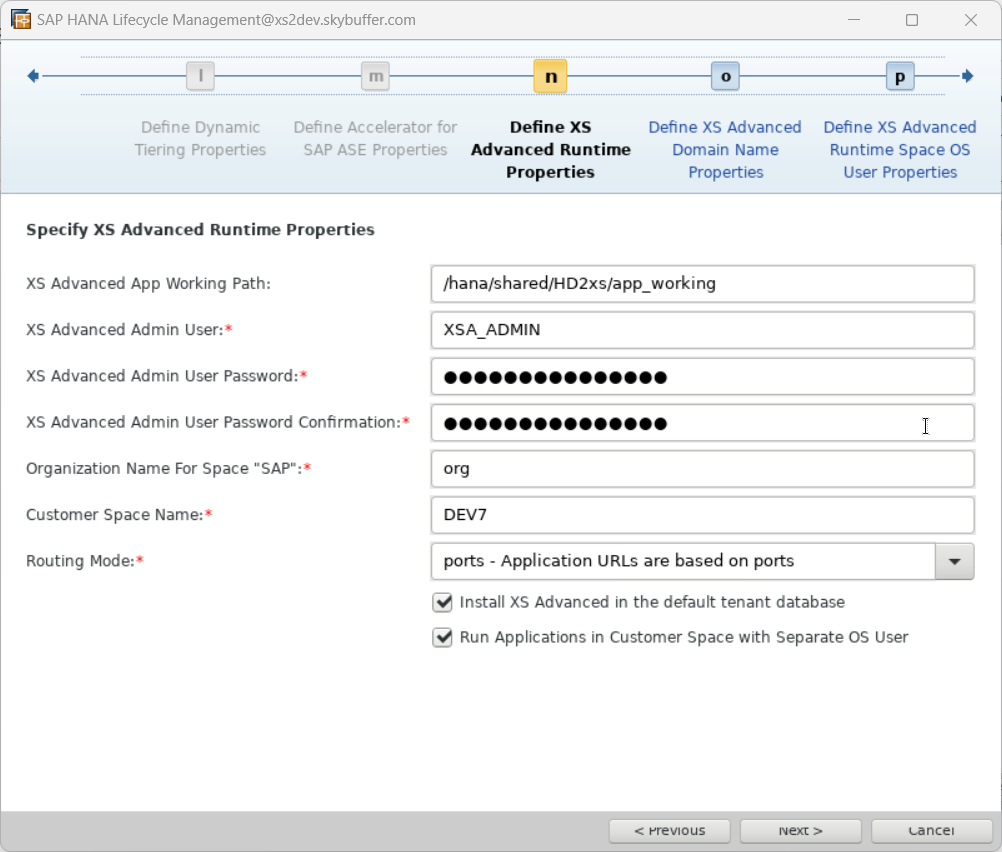
Step 10. Configure XSA Org and Space name:
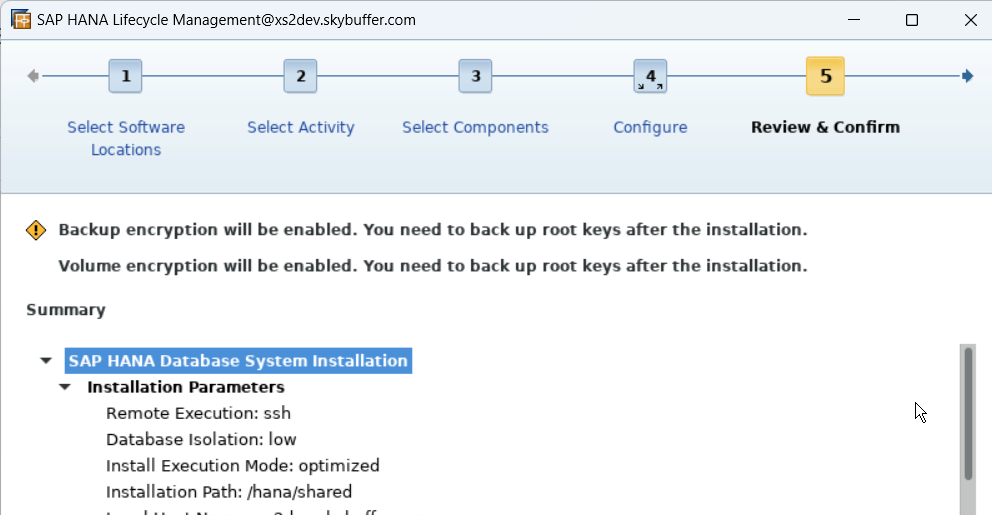
Step 11. Check the summary and complete:
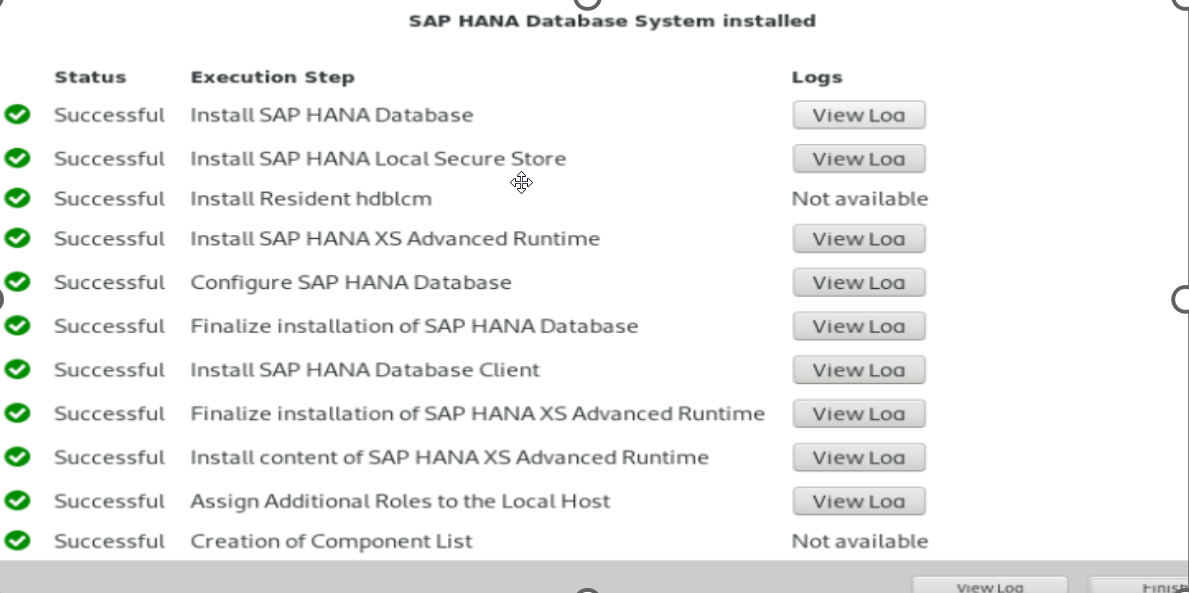
Step 12. Check the results of the installation process to make sure that all the steps are successfully executed:
Configure SAP HANA and XSA
Log In and Check XSA
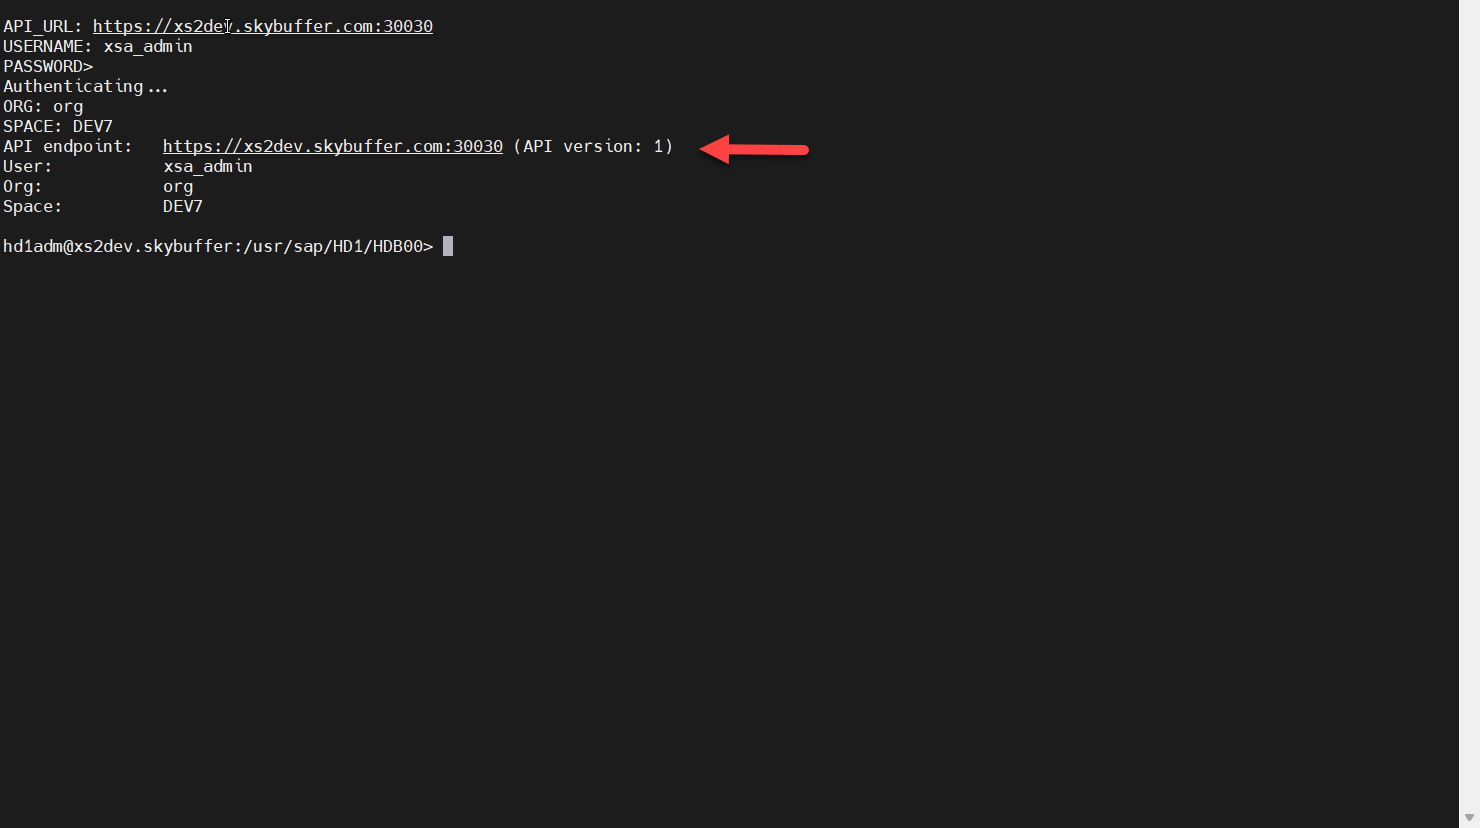
Step 1. Log in to the system under the HANA database sidadm user (as hd1adm) and proceed with the xs login command to access HANA XSA. The login process will initially require the xsa_admin user and its password by default.

Step 2. The following link is available to log in via web browser:
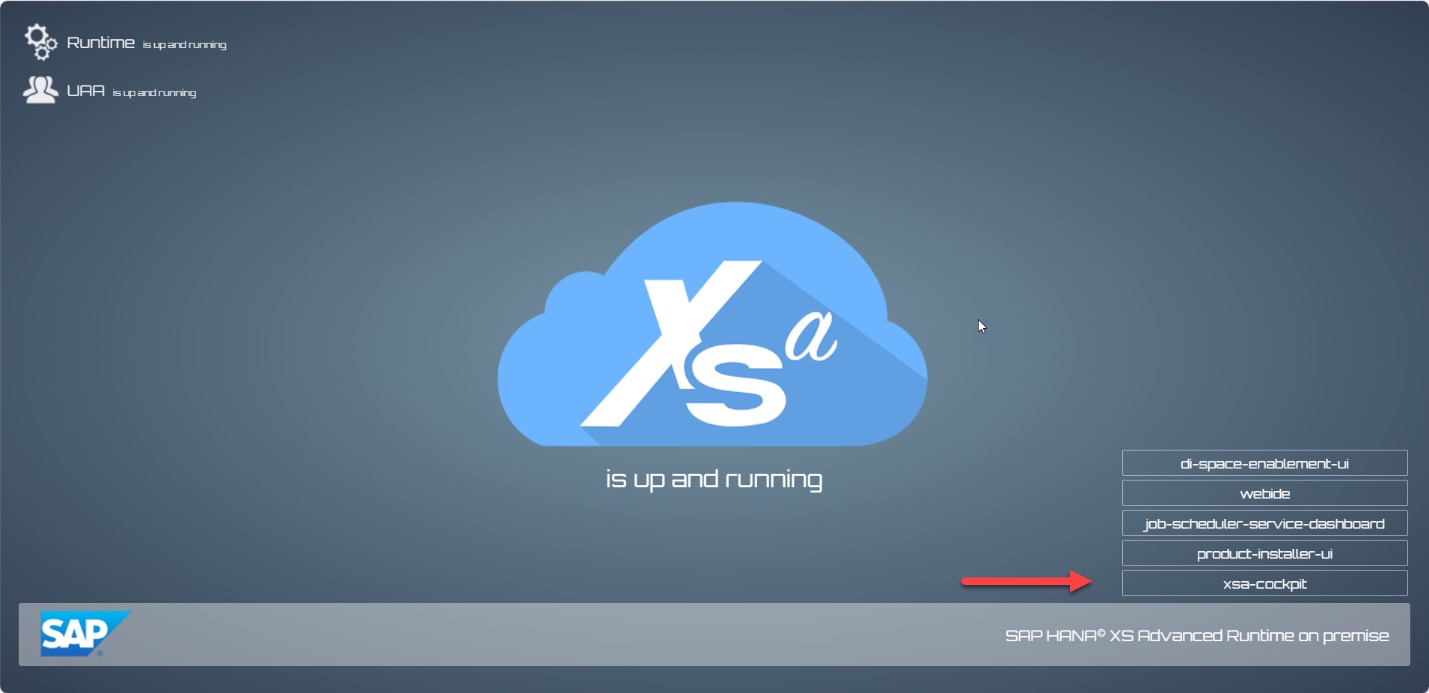
Step 3. Check the same XSA link via web browser and log in to XSA cockpit for post-installation steps:
Step 4: Use XSA_ADMIN user: 
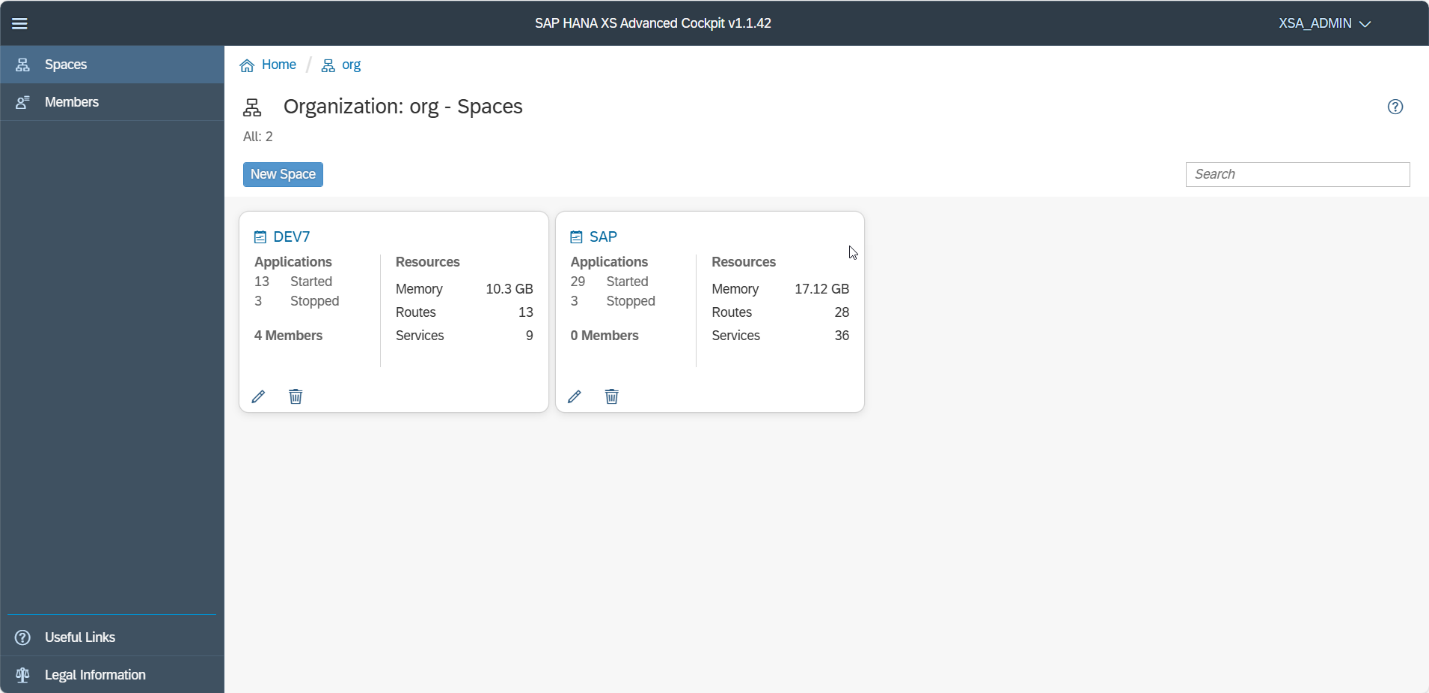
Step 5. Access XSA Cockpit where you can maintain general XSA components:
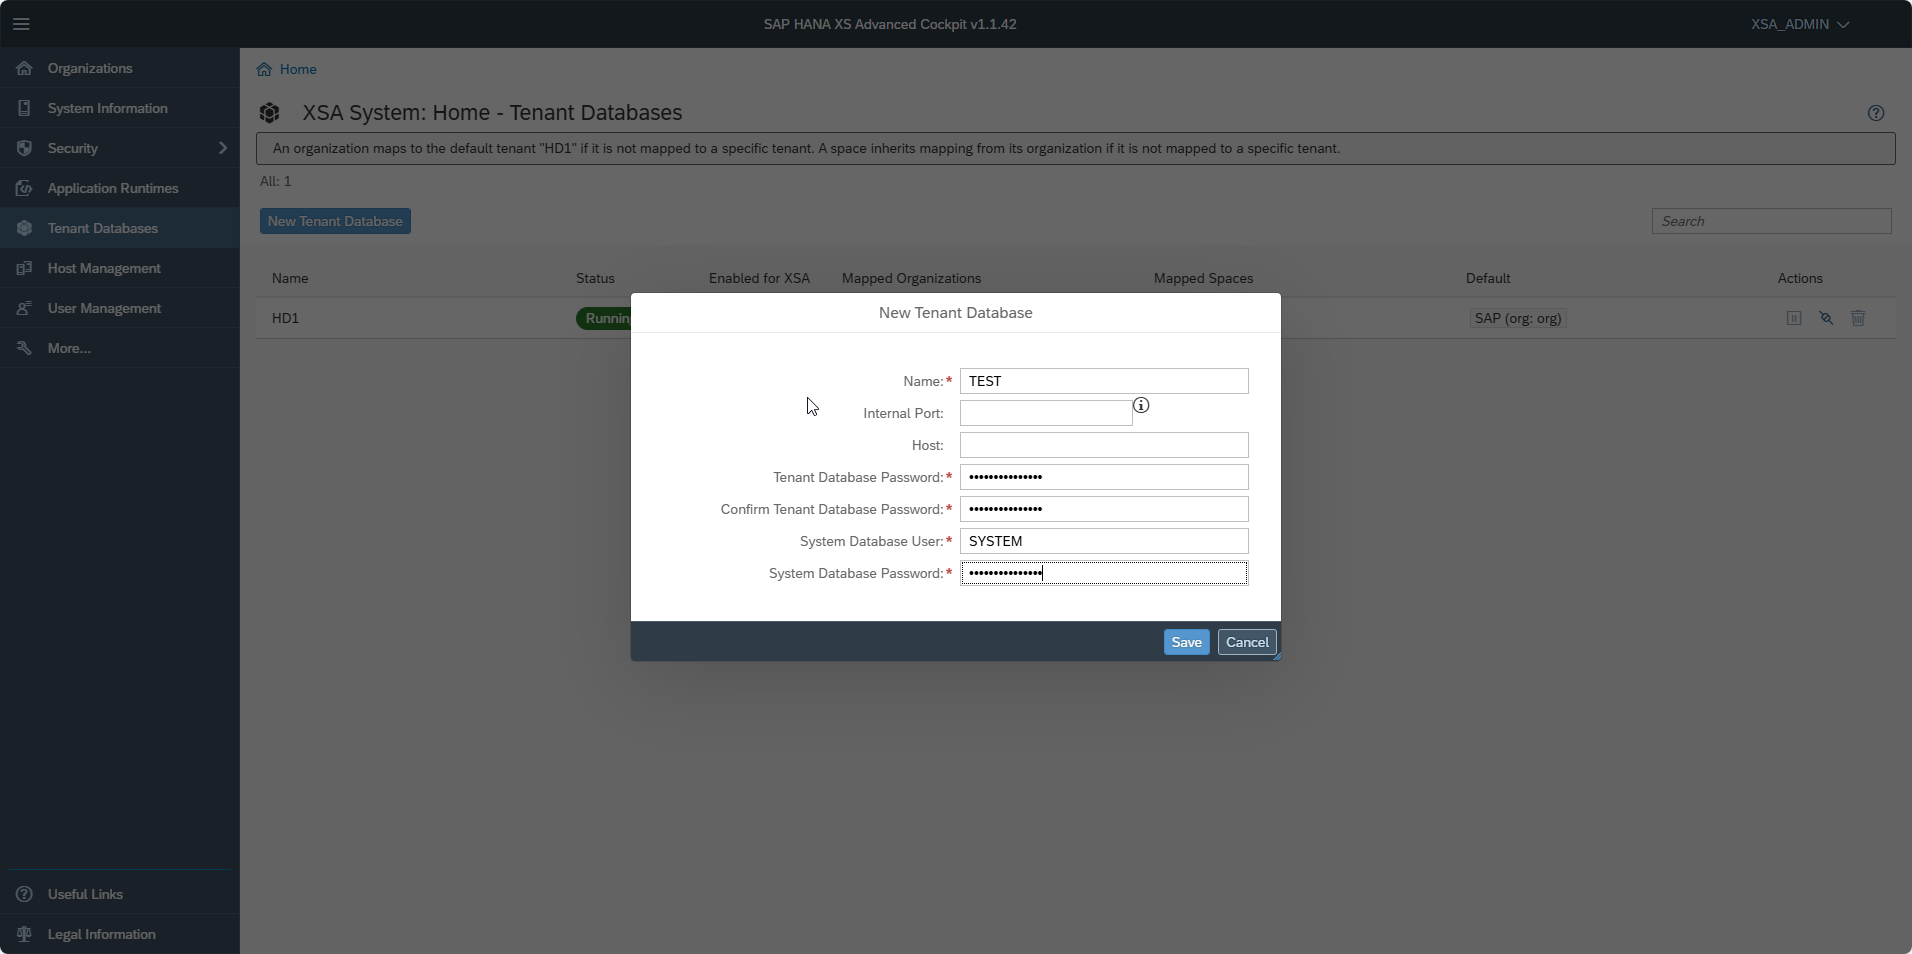
Create New Tenant Database
We have two options for this.
One is through the terminal by using xs command:
xs create-tenant-database TEST [–port <PORT>] [–host <HOST>] [–os-user <USER_NAME>] [–os-group <GROUP_NAME>] [-t <TENANTDB_PWD>] [-u <SYSDB_USER>] [-p <SYSDB_PWD>]
The other is using the XSA Cockpit panel:
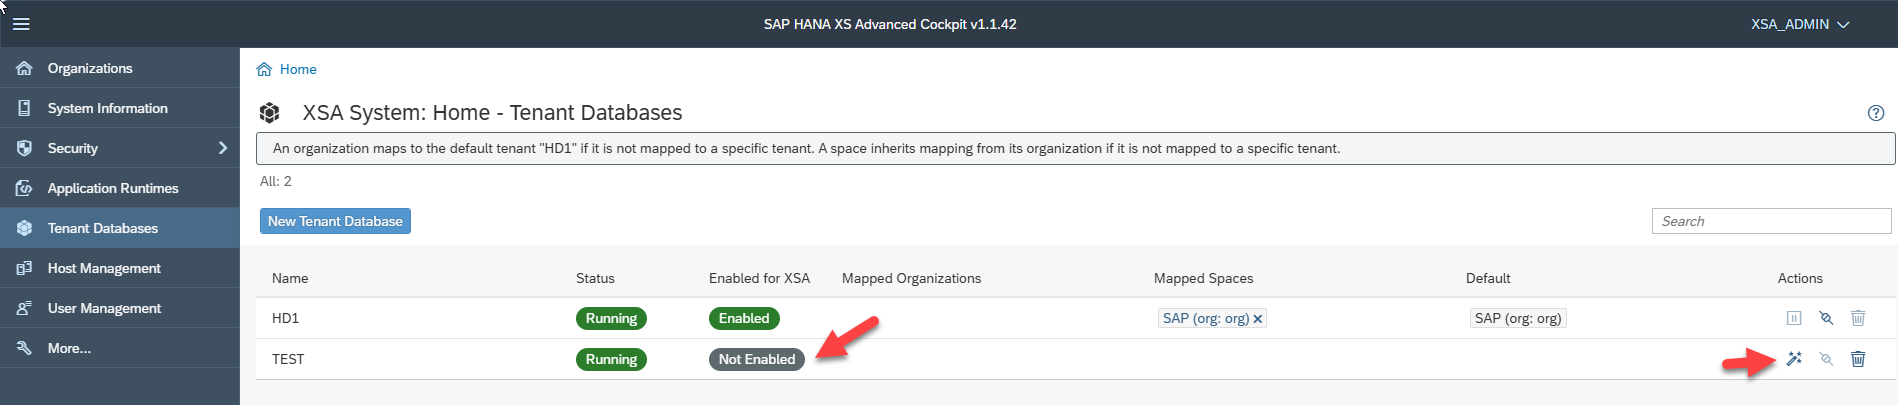
Enable New Tenant Database
We have two options for this.
One is through the terminal by using xs command:
xs enable-tenant-database <NAME> [-n TENANTDB_USER] [-t TENANTDB_PWD] [-u <SYSDB_USER>] [-p <SYSDB_PWD>]
The other is using the XSA Cockpit panel:

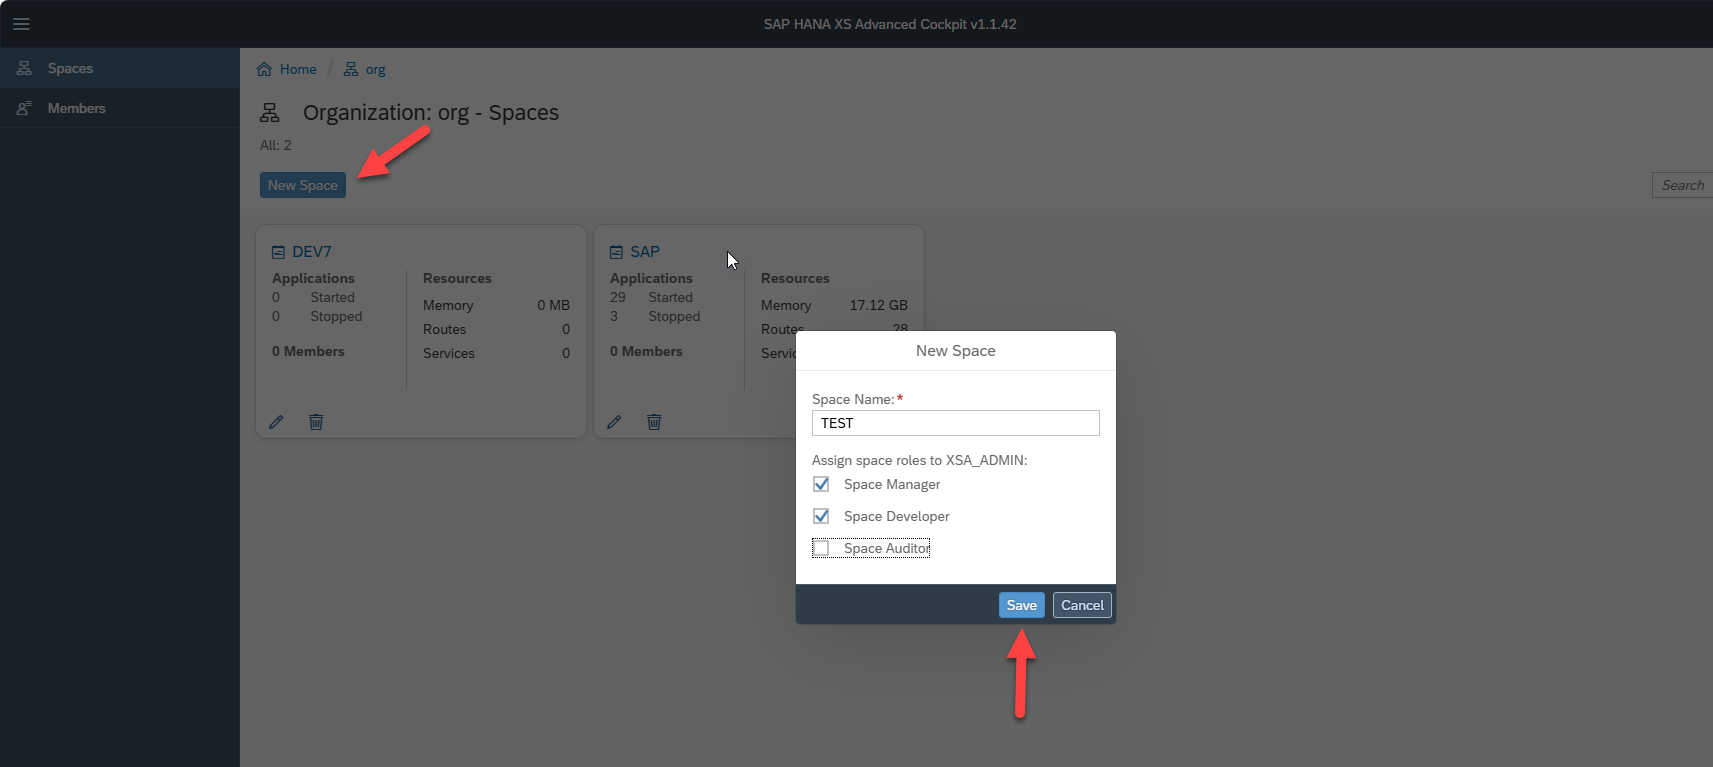
Create New Space
We have two options for this.
One is through the terminal by using xs command: xs create-space <SPACE> [-o <ORG>] -u <USERNAME>
The other is using the XSA Cockpit panel:
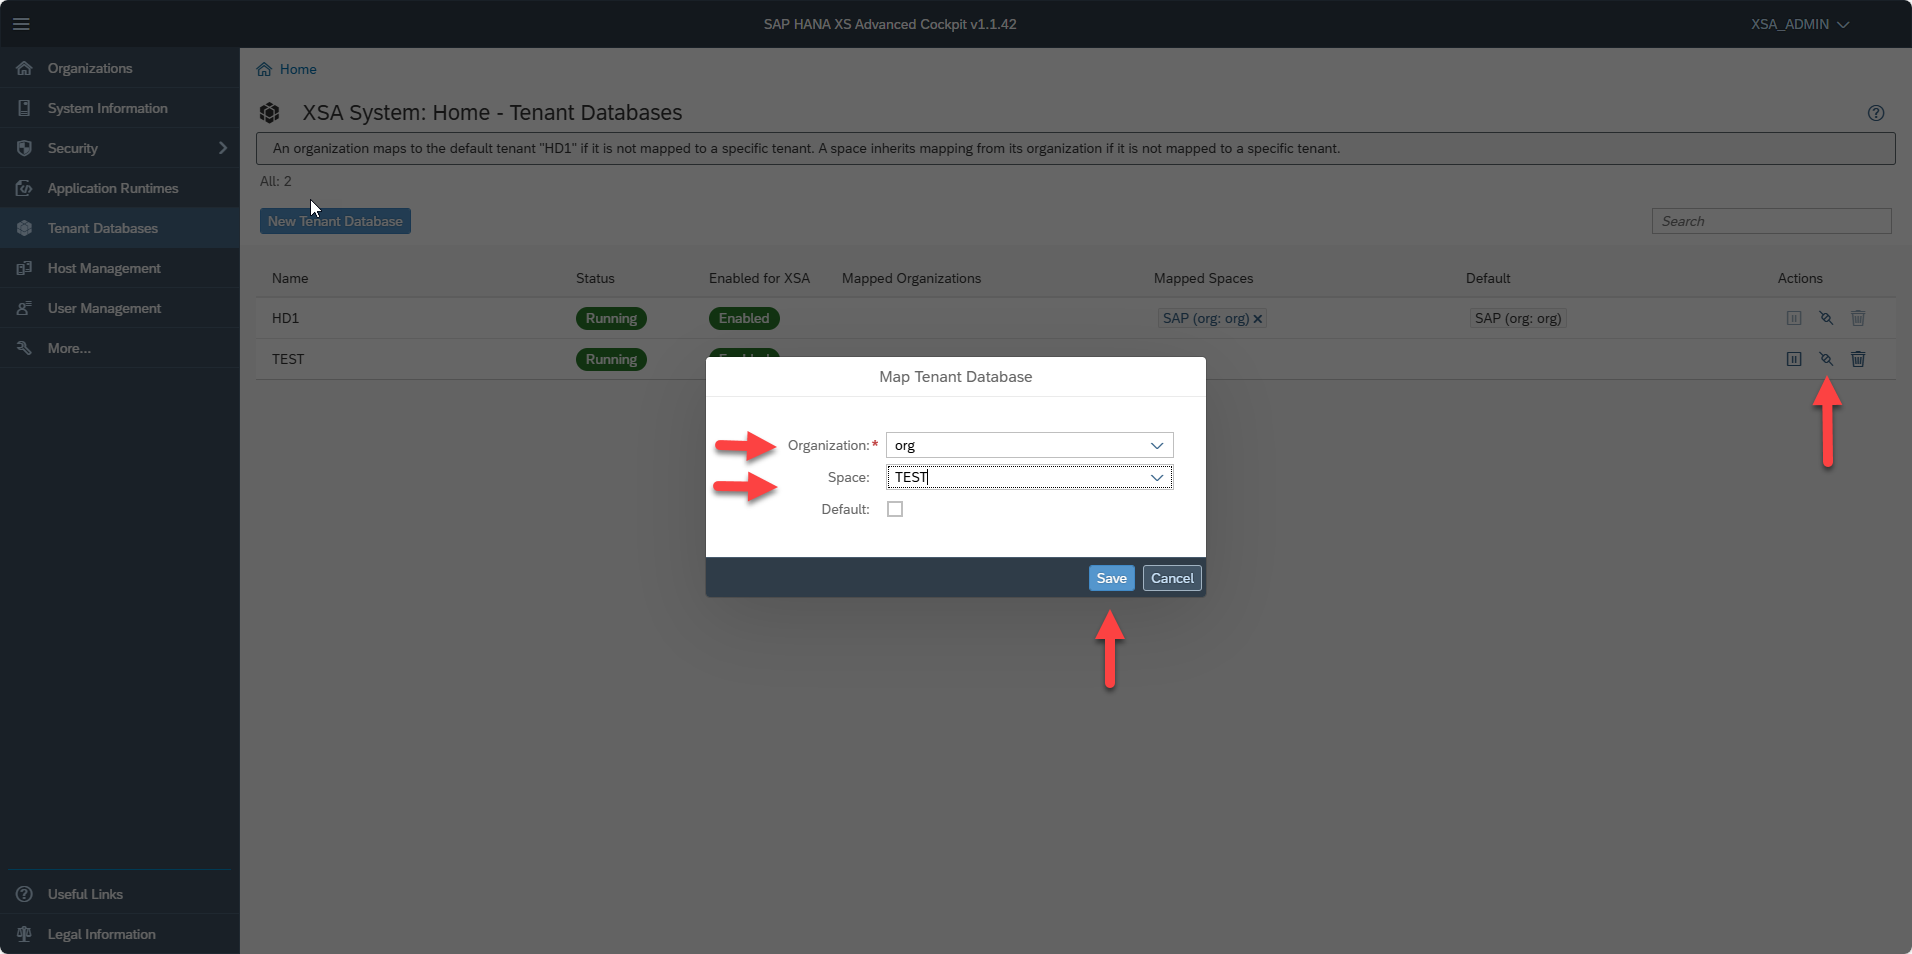
Map Tenant Database
We have two options for this.
One is through the terminal with the command: xs tenant-database-mappings
The other is using the XSA Cockpit panel:
Useful Links