Installation Activities
Components of Addon
Software Components are delivery blocks packed in separate installation and update packages and provided to Customer. They are building blocks to be combined in the way necessary for SAP system type you have.
Software Components provided for User Management:
- SBCMNN Skybuffer Common Packages NetWeaver Core (v.1.00)
- SBIDDACN Skybuffer IDD Action Cards NetWeaver Core (v.1.00)
- SBIDDCAN Skybuffer IDD Conversational Actions NetWeaver Core (v.1.00)
Each component is provided separately as installation and update SAR file having the name in the format of
K-{version}{delivery week}INS{component name}, e.g. K-10018INSBCMNN.
In such a way, you can see the component version and the delivery week number of each.
NOTE: you should install or update all the components at the same time using the latest version and the last delivery week number available for each of them. Do not try to update just one of them as it can bring you incompatibility issues.
Components Combinations to Be Installed
Software Components combinations used to install User Management should be as follows:
System type \ IDD User Management
Generic NW SBCMNN + SBIDDACN + SBIDDCAN
ERP/S4HANA SBCMNN + SBIDDACN + SBIDDCAN+SBIDDCAE
General Prerequisites
Make sure that the system does not have any prior version of the Intelligent Decision Dimensions Add-on. If the Intelligent Decision Dimensions Add-on was previously installed, you should not proceed with a new installation, but update the Intelligent Decision Dimensions Add-on instead.
System Prerequisites
- SAP BASIS 7.0 or newer for WSDL version
- SAP BASIS 7.4 or newer for oData
Installation Process
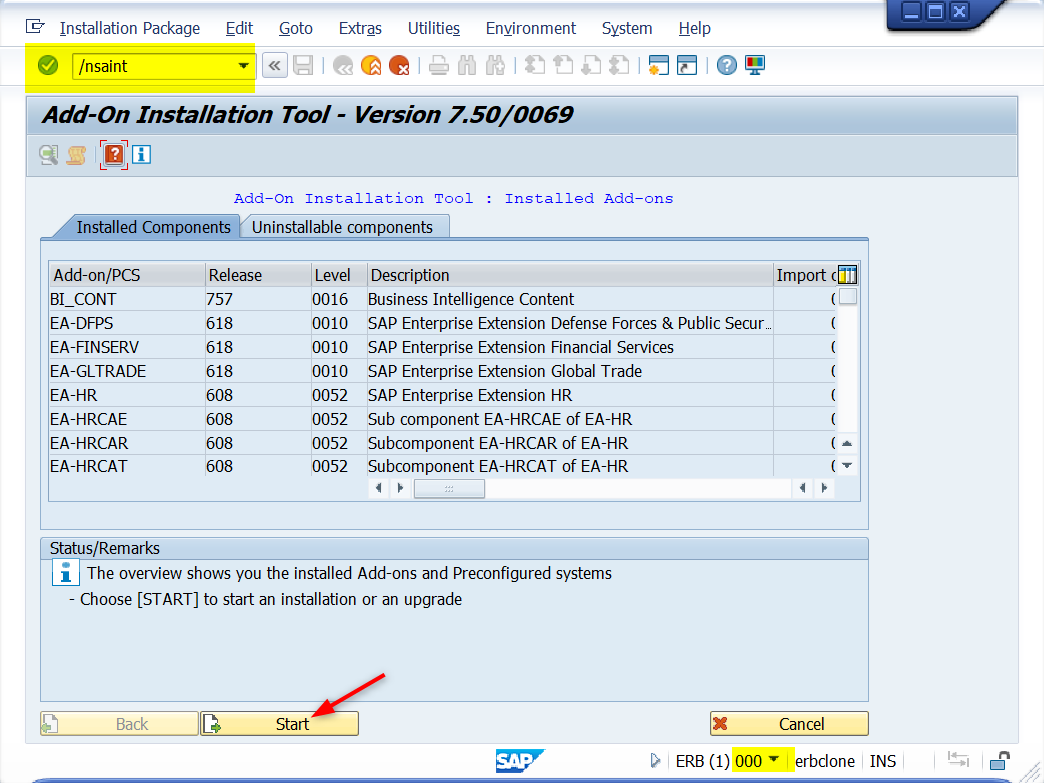
Step. 1 Log in to the SAP system with SAP logon to client 000, go to t-code /nSAPINST and click Start:
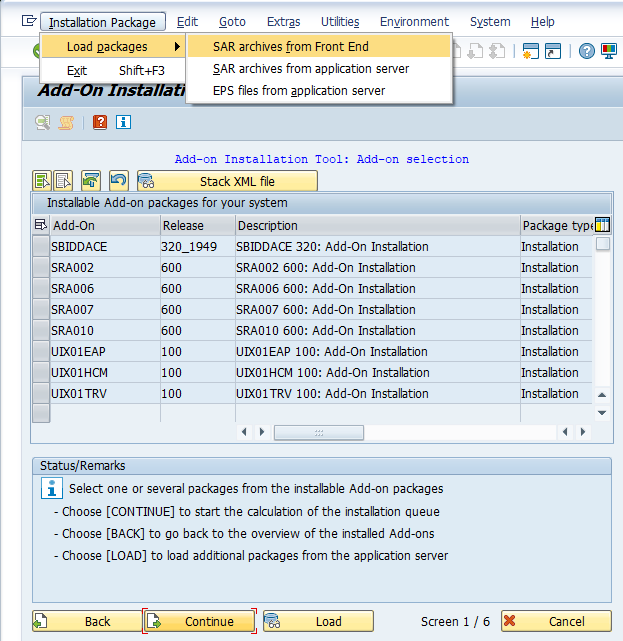
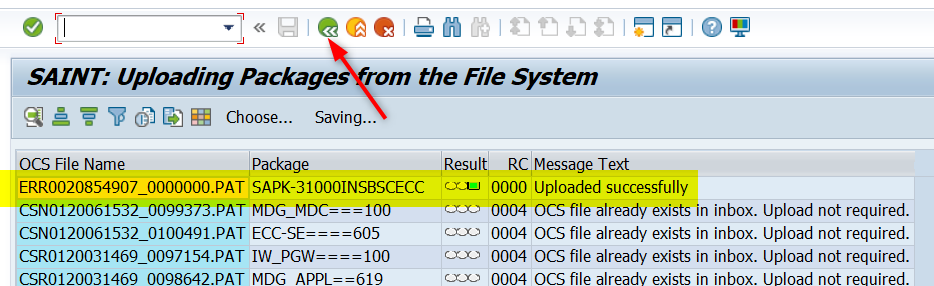
Step 2. Upload the packages to the server:
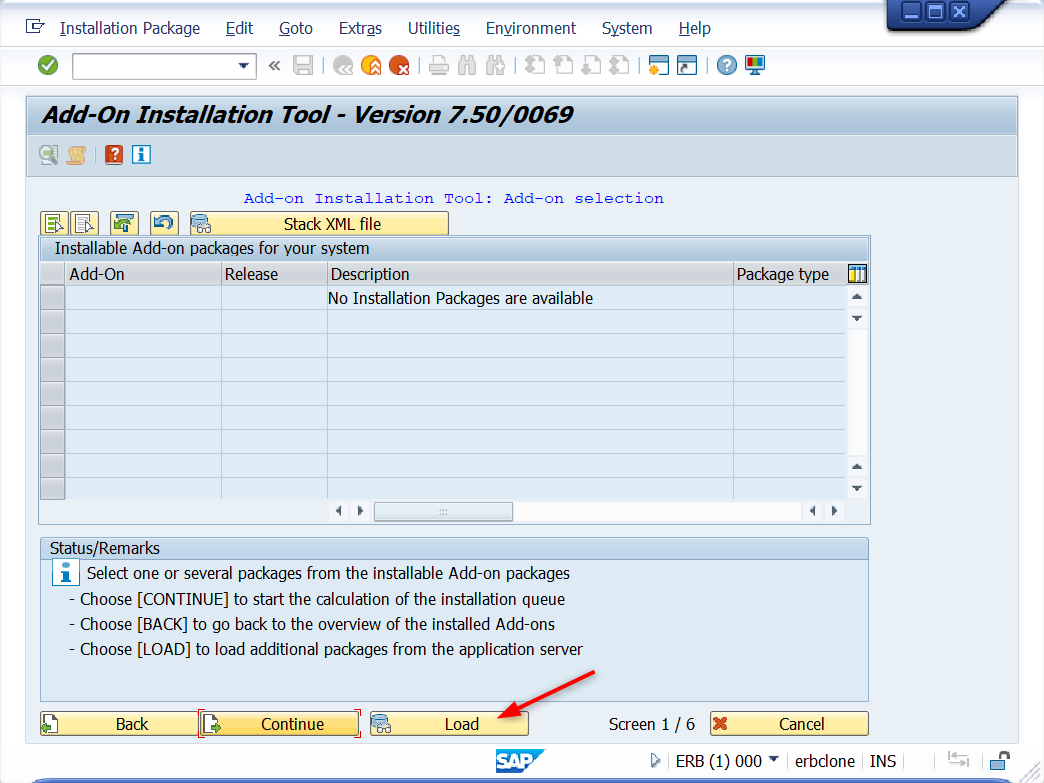
Step 3. Click Load button:
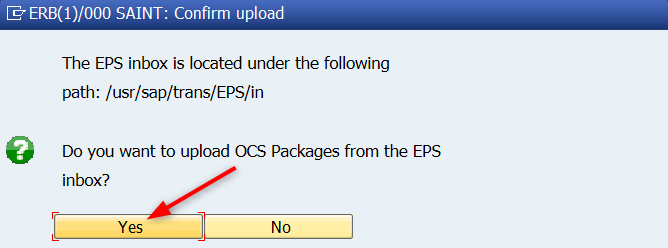
Step 4. Confirm loading of packages from /usr/sap/trans/EPS/in by clicking Yes:
Step 5. After the packages are uploaded, go back to SAINT by clicking the back button:
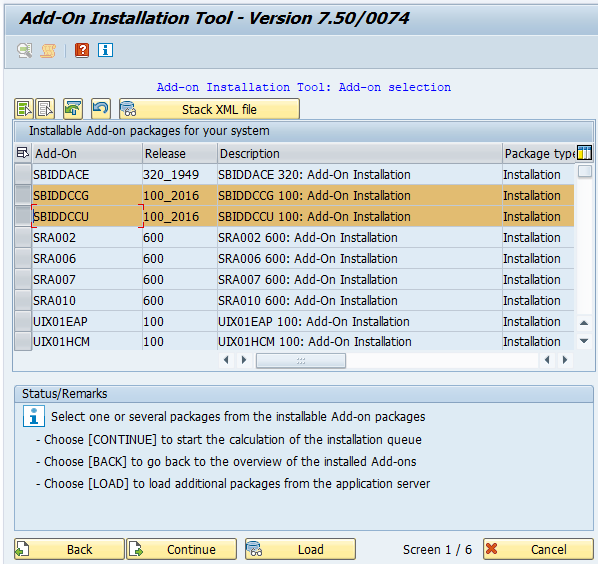
Step 6. Select the software component to install and click Continue:
Step 7. Click Continue again on the following screen:
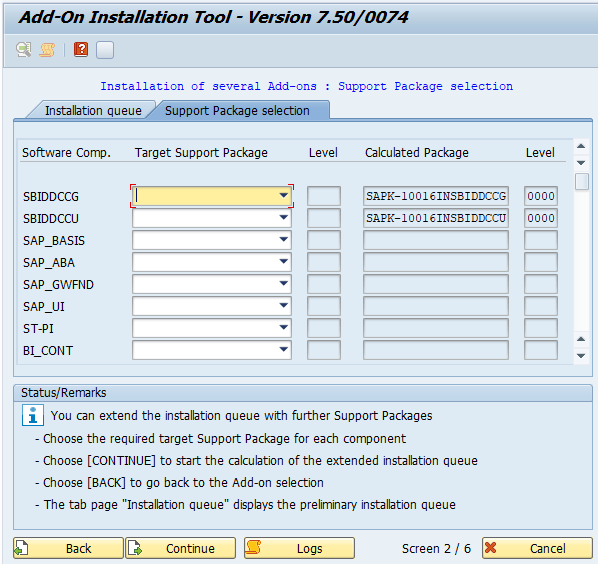
Step 8. Make sure that the correct component is selected to be installed, click Continue:
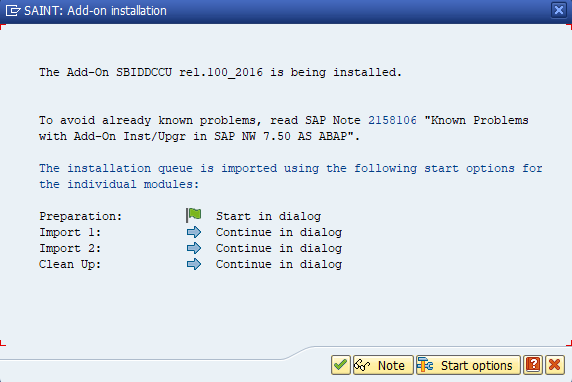
Step 9. If a message like this appears, please, ignore it:

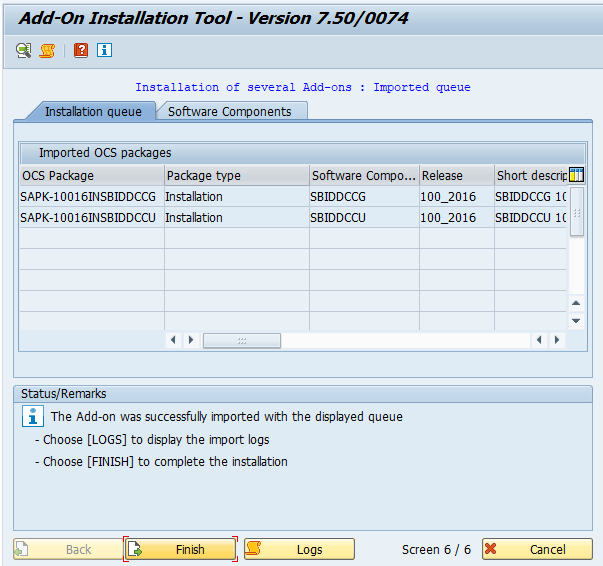
Step 10. Now the component is installed. The procedure can be ended by clicking Finish button:
Post-Installation Activities – Central Bot OData Service Activation
Prerequisites
Before activation, ensure:
- The Skybuffer add-on is installed in the SAP system.
- You have authorization for the following transactions:
/IWFND/MAINT_SERVICE – Maintain OData services
/IWFND/GW_CLIENT – Test OData service
/IWFND/TRACES – Check gateway traces
SICF – Verify service activation
- The system alias LOCAL (or a system alias pointing to the same system) is configured in the SAP Gateway.
Step 1. Activate the Service
- Open transaction /IWFND/MAINT_SERVICE.
- Choose “Add Service”.
- In the System Alias field, enter LOCAL.
- In the External Service Name field, enter /SKYBFR/BOT_CENTRAL_SERVICE_SRV.
- Click Get Services.
- Select the service /SKYBFR/BOT_CENTRAL_SERVICE_SRV from the list and choose Add Selected Services.
- When prompted, confirm the default technical service name and assign it to the appropriate package (or choose Local Object for testing systems).
- Once activated, the service should appear in the Active Services list.
Step 2. Verify Service Activation
- In the same transaction /IWFND/MAINT_SERVICE, locate the activated service.
- Double-click the service entry to display details.
- Check that the System Alias and Technical Service Name fields are populated correctly.
- Confirm that the service is active in transaction SICF under the following path:
If the node is inactive, activate it manually via Right-click → Activate Service.
Step 3. Final Verification
- The service should be accessible via HTTP(S) through the Gateway endpoint.
- You can test external connectivity (e.g., from BTP or Postman) using the full URL:
- Ensure that the technical user or destination used by the Skybuffer AI Agent has sufficient authorization for:
S_SERVICE (Gateway service access)
S_RFC (if RFC calls are involved in tools)
S_TCODE for /IWFND/MAINT_SERVICE (for troubleshooting only)
Reference
For more details on OData service registration and maintenance, refer to the official SAP documentation:
https://help.sap.com/doc/saphelp_gateway20sp12/2.0/en-US/67/a273535edfe047e10000000a441470/frameset.htm