Deploy Your App into Microsoft Teams (Bot Integration)
This section describes how to deploy your custom application into Microsoft Teams using the Developer Portal (previously App Studio).
Step 1. Open the Developer Portal
Go to the Microsoft Teams Developer Portal.
Alternatively, in Microsoft Teams open Other Apps → Developer Portal (or App Studio in older versions).
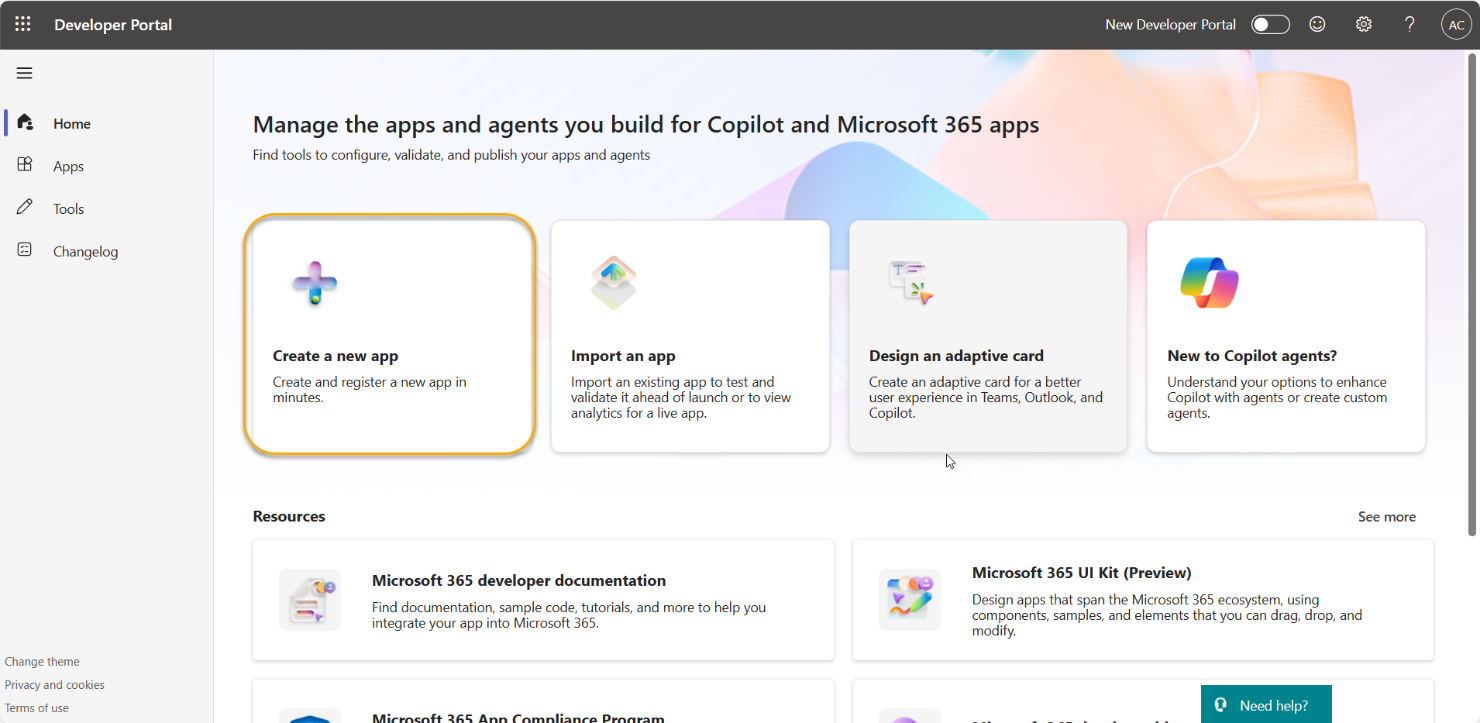
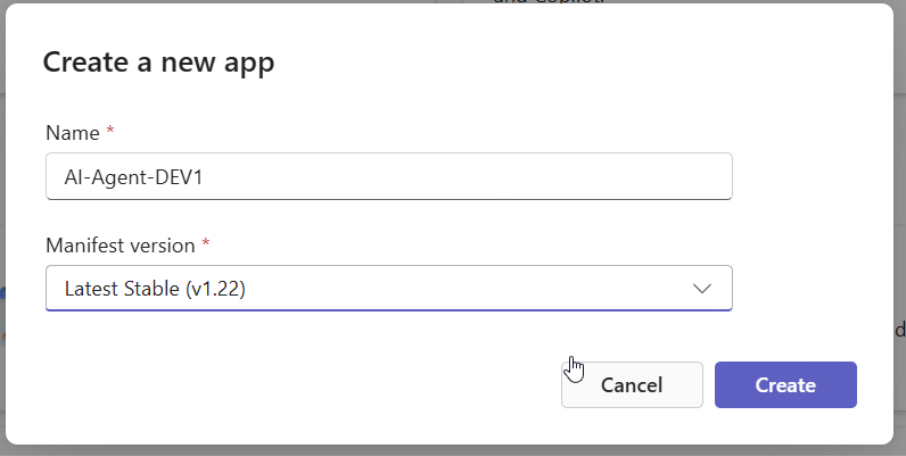
Step 2. Create a New App
Select New app. Fill in the Name and Manifest version and click on the Create button.
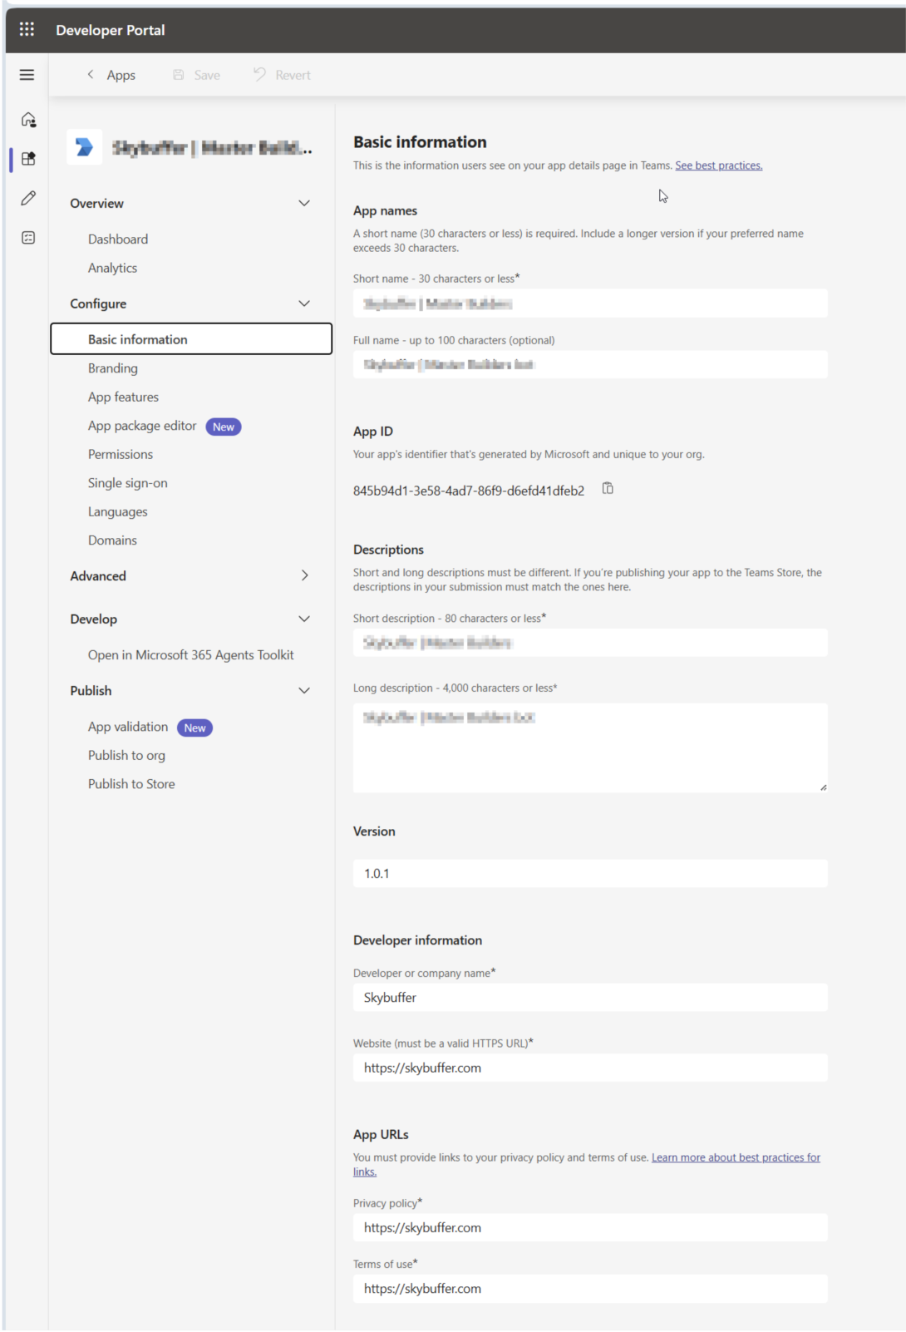
Step 3. Configure the Bot
Go to the Basic Information Tab and fill in all the necessary fields (marked with *):
- Short name
- Descriptions (short and long)
- Application ID – Use the Azure Bot Client ID (the same ID you created when adding the Teams channel).
- Developer or company name
- Privacy Policy
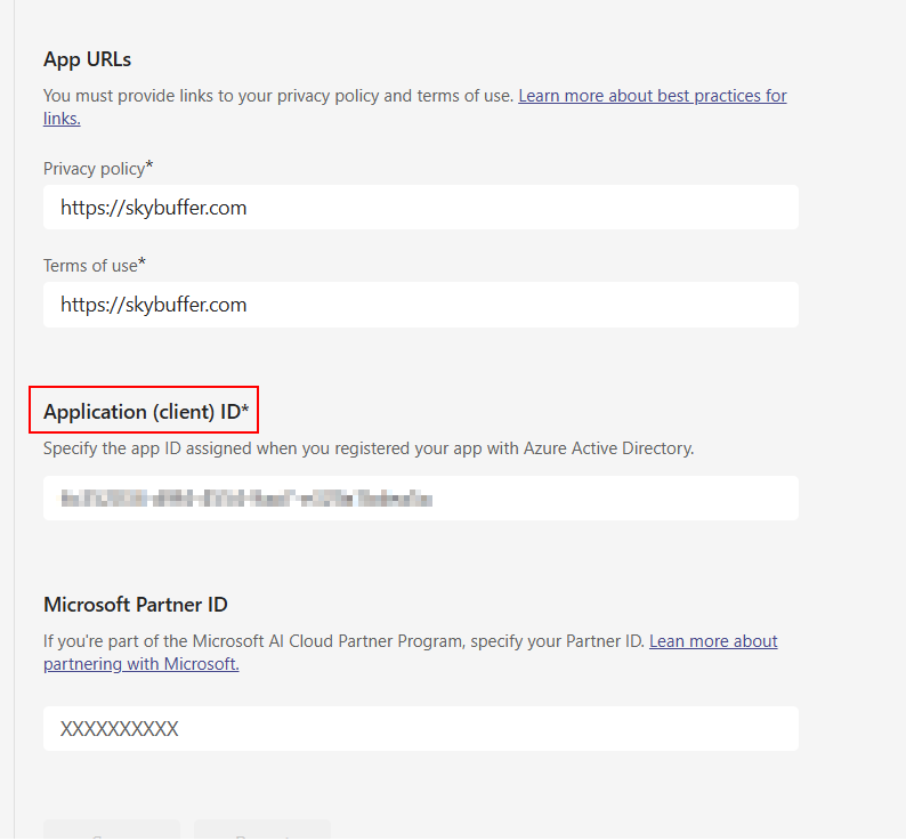
- Terms of Use
- Application (client) ID
NOTE: In the field Application (client) ID enter the Azure Bot Client ID where you created Teams channel.
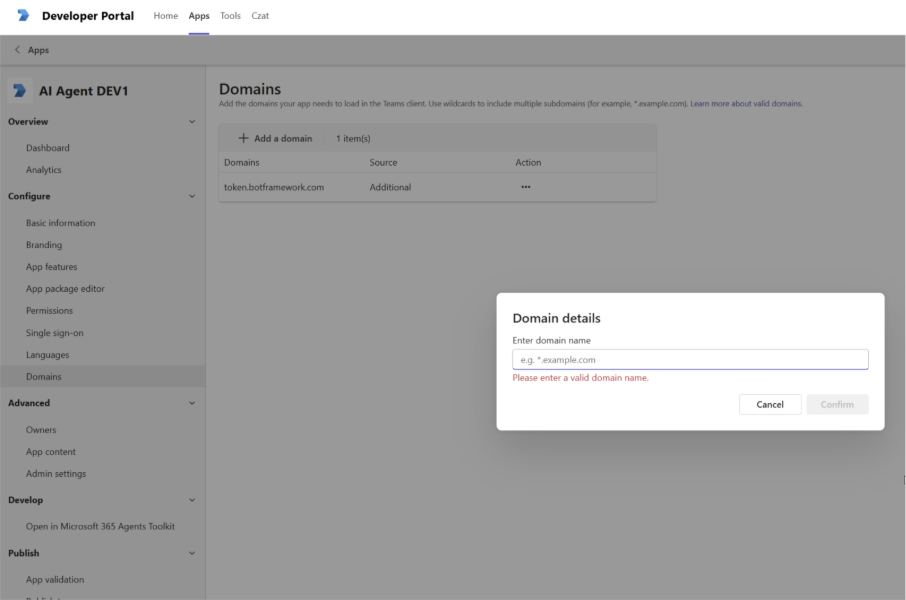
Step 4. Configure Domains
Go to the Domains tab and add the following domain: token.botframework.com
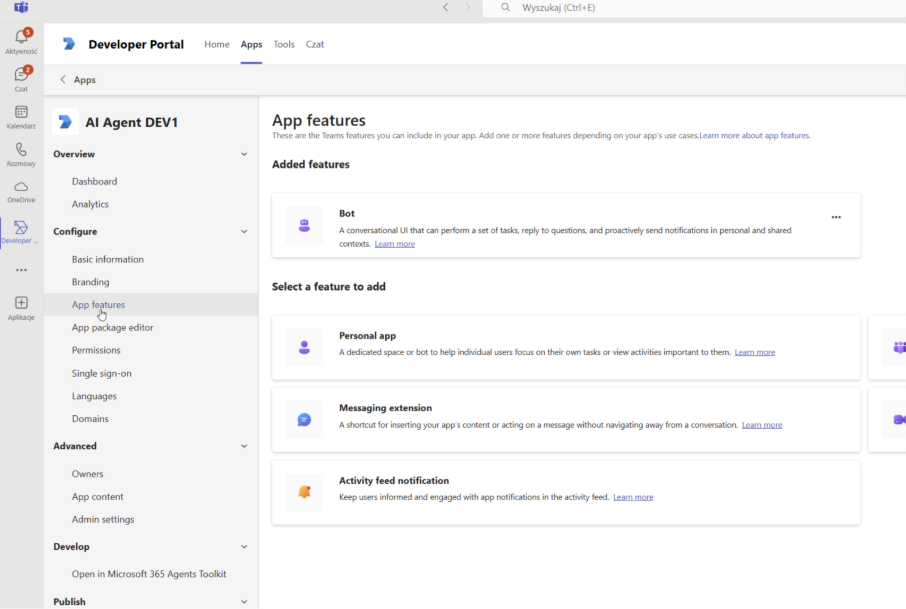
Step 5. Configure App Features
Go to the App Features Tab and select the Bot tile:
Enter a BOT ID – use the same Azure BOT Client ID as before.
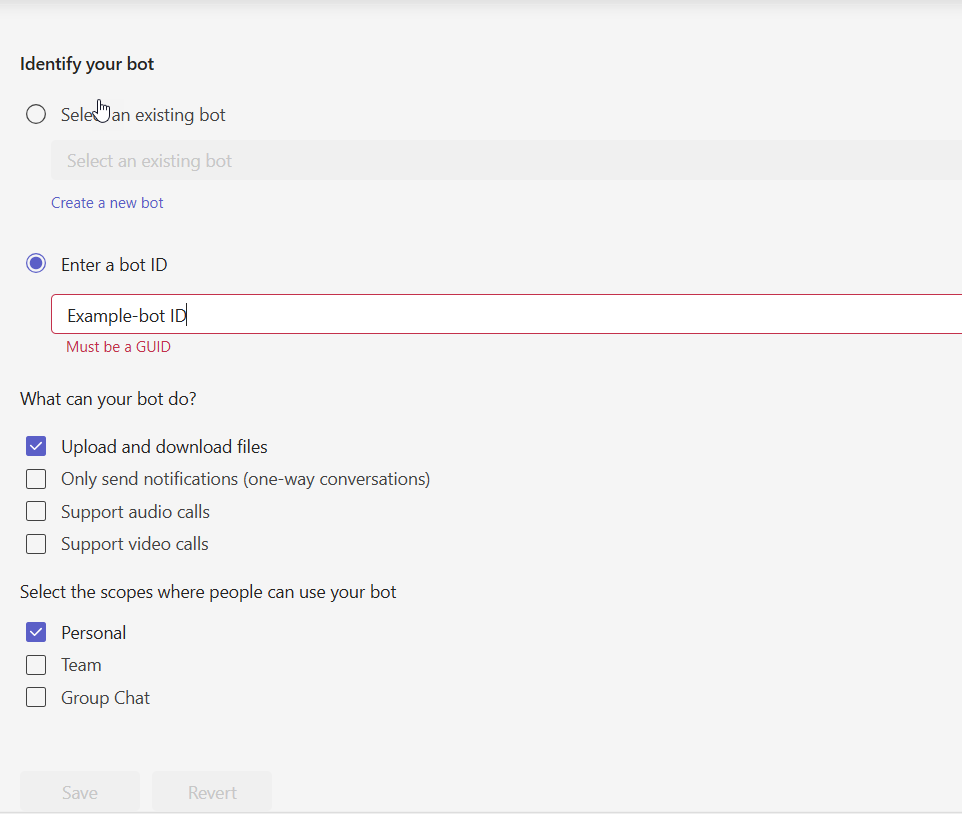
What can your bot do?
Select features you would like to include for example file uppload and download.
In the field Select the scope where people can use your bot choose: Personal.
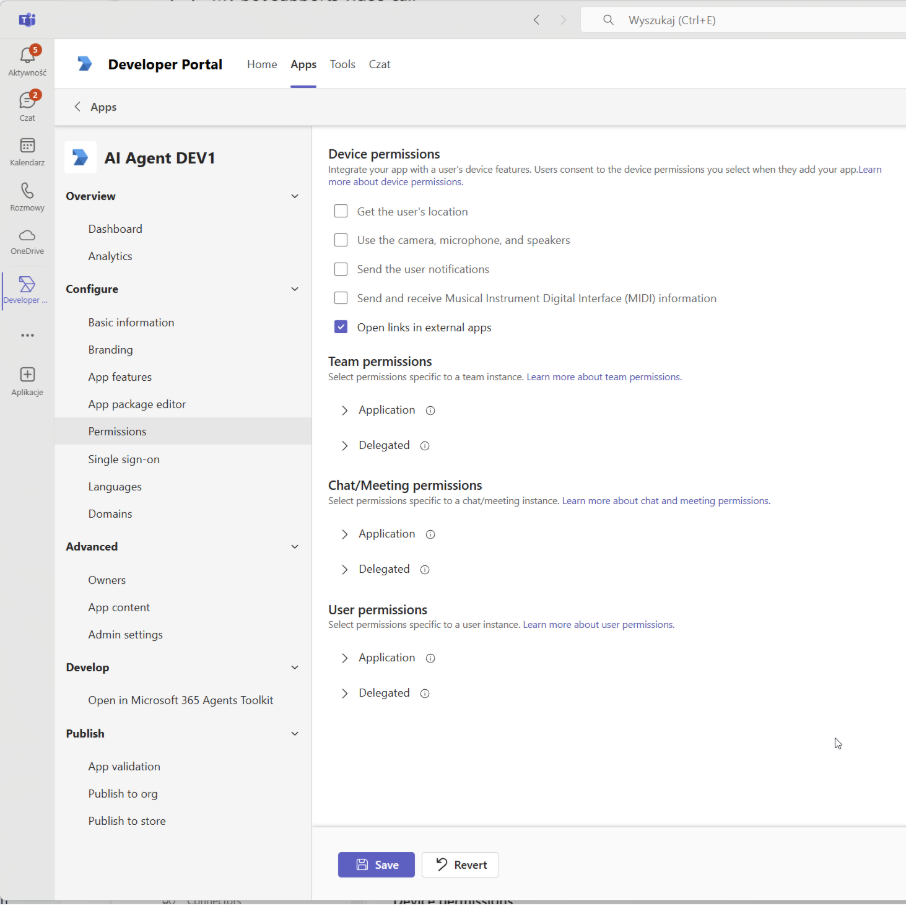
Step 6. Permissions
Got to the Permissions tab and enable: Open links in external apps.
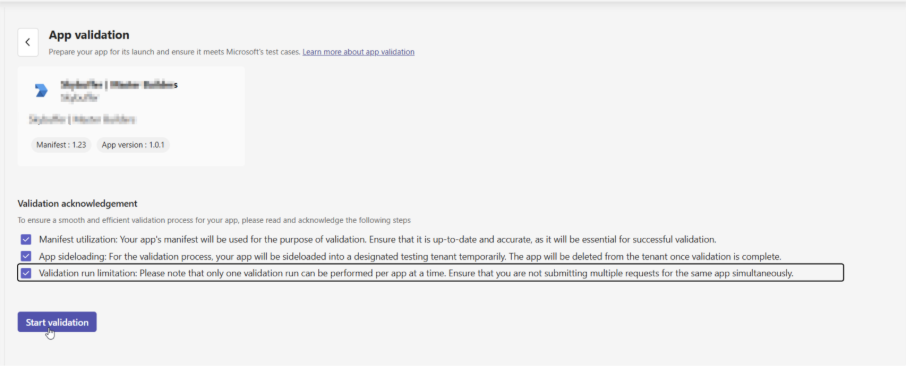
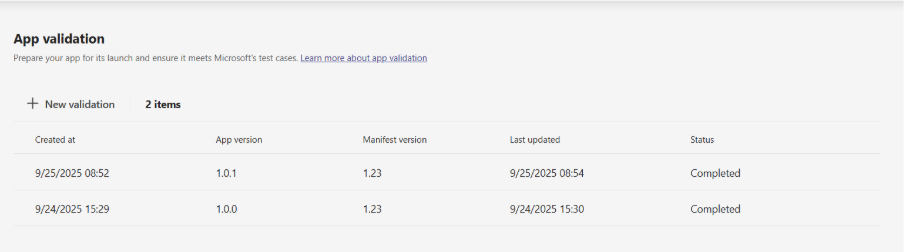
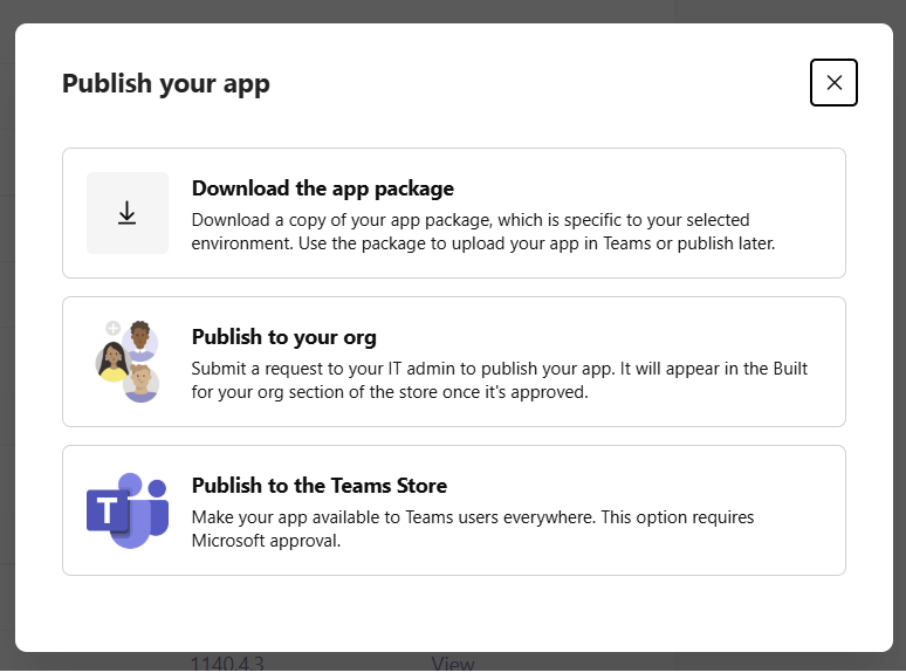
Step 7. Validate and Publish to Organization
If you want to publish the app to your organization, you must complete app validation first.
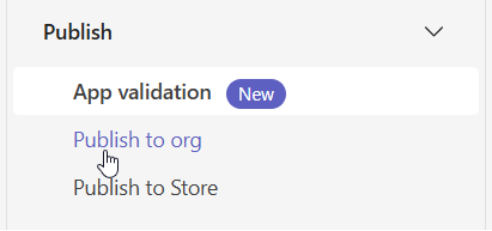
After validation, select Publish → Publish to your org.
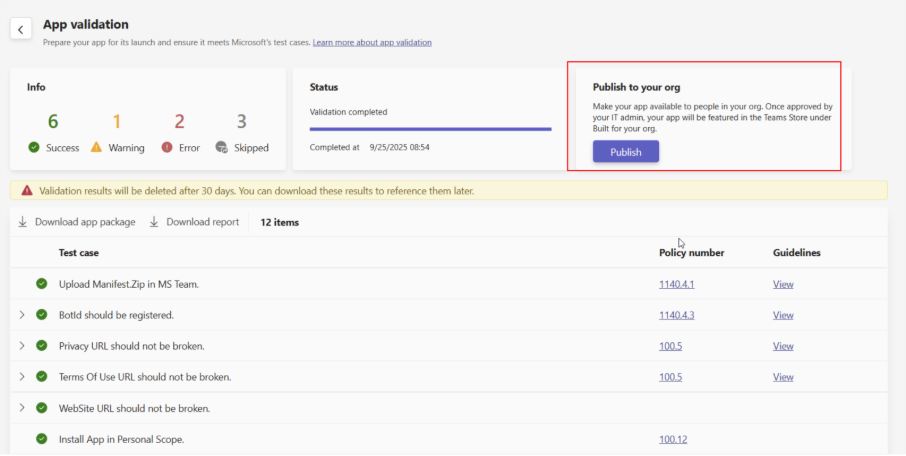
Step 8. Admin Approval and Installation
From the Office 365 Teams Admin Center, your administrator must approve the app.
Once approved, the app can be installed and used across the organization.